Drawing an action plan + printables!
Even though we don’t see them this way, we are all project managers in our daily lives: planning a moving, organizing a wedding, writing a thesis… They can be “small” projects or bigger ones, but they still are projects we need to handle. I’m convinced that, just as professional ones, personal projects need to be managed.
Once you’ve well define what’s your project and the goal of it, it sometimes may be difficult to know where to start from. Setting up an action plan is the first thing to do to divide it into big steps, and then into achievable tasks. The action plan setting also allows to identify and prevent any difficulty that may occur and delay your project.
In today’s post, I’m explaining how to manage projects with the bullet journal system, and which tools I use for each step of the process. It’s a long post as I put a lot of details but I think it’s worth it! Plus, I put together some printables to be found at the very end of the post!
The first blog post about project management in a bullet journal can be found following this link!
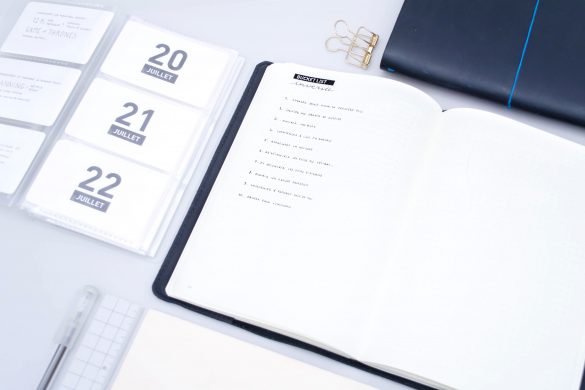
Task list
When it’s time to start a new project, the first step to go through is to declutter your brain with every idea or task you can think of and that is related to your project. The goal of this first step is to help you divide your project into several phases and achievable tasks, before organizing then in an action plan.
At this stage, I usually use a regular “braindump”, but I can also use mind mapping if I’m working on a bigger project.
Braindump
The braindump is my all-purpose tool for my smallest projects. As soon as I start to have more than 3 ideas in a raw, I open my bullet journal and start to write everything down.
The point is to make a randomly organized list of everything that come across your mind regarding the project you’re about to start, and go deeper and further as you keep going. It’s then possible to categorize the list depending on the entry nature, priority or any other criteria relevant for your project.

A “braindump” is basically a randomly organized list of ideas and tasks.
At this stage, I organize the result of the braindump into 3 categories: the tasks, the ideas about the project and the resources I may need at some point (things to buy, people to get in touch with…). I also underline urgent tasks if needed.
The braindump is an easy way to start a new project, but it’s not sufficient in my opinion. Using the braindump doesn’t allow to make an exhaustive list of tasks and steps and key steps may be missing. Also, the result of the braindump has to be organized into real project phases before starting to draw an action plan.
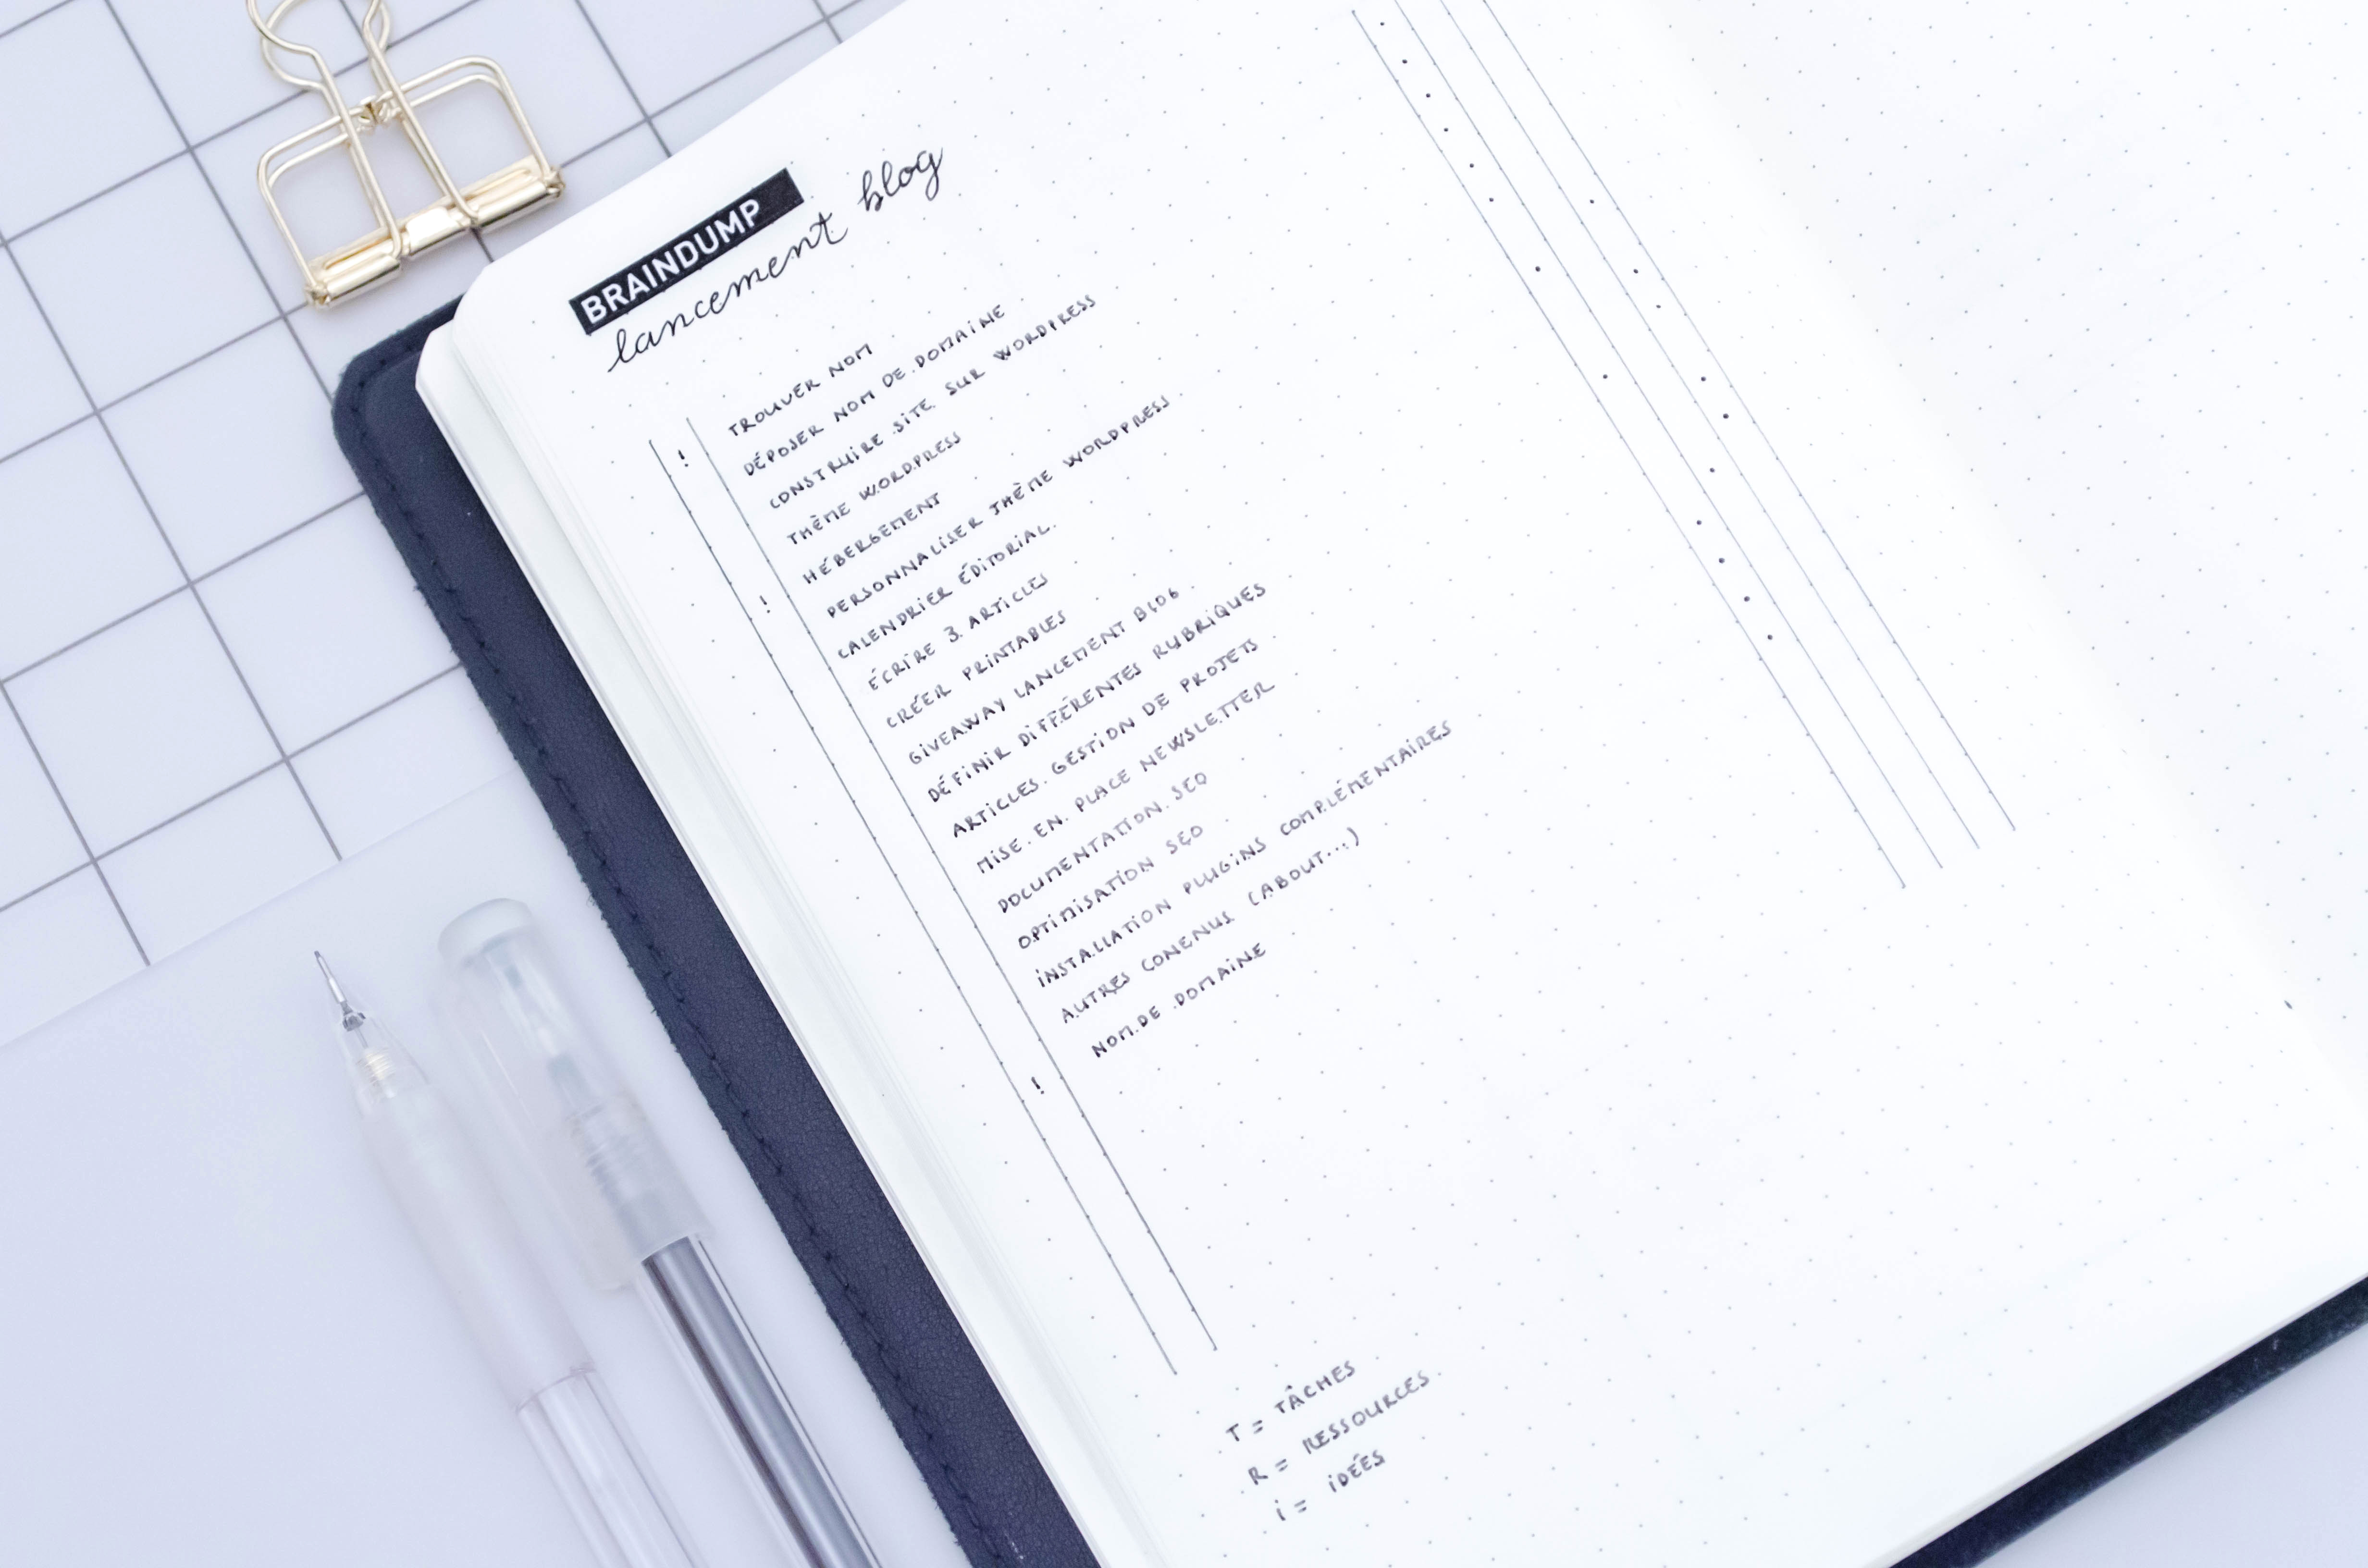
Adding columns to your braindump helps to categorize your list. In this example, the first column on the left allows to identify urgent tasks, and the 3 on the right stand for 3 categories (tasks, ideas, resources).
Mindmapping
I love this tool and find it super useful when it comes to start a new project as it allows me to draw and organize my task list.
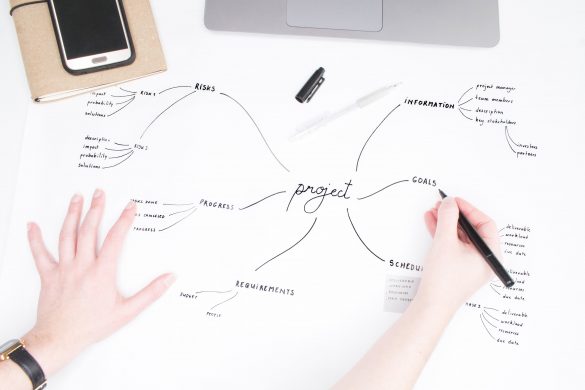
A mindmap is a diagram that collects information around a central subject. Starting from a central topic (in this case, a project), you spread your thoughts (ideas, tasks, project phases…), organizing them into branches. The main branches are for main ideas, and they then split into smaller branches as you go further into details. For a project, the first, big branches may be for project phases or project’s parts (technical stuff, communication…).
Each main branche is then split into smaller ones until you reach the task level. The mindmapping technique allows to draw more exhaustive task lists, and to organize them logically. It can be interesting to draw this first mindmap with friends or any relevant people to make sure you’ve been considering all aspects of your project.
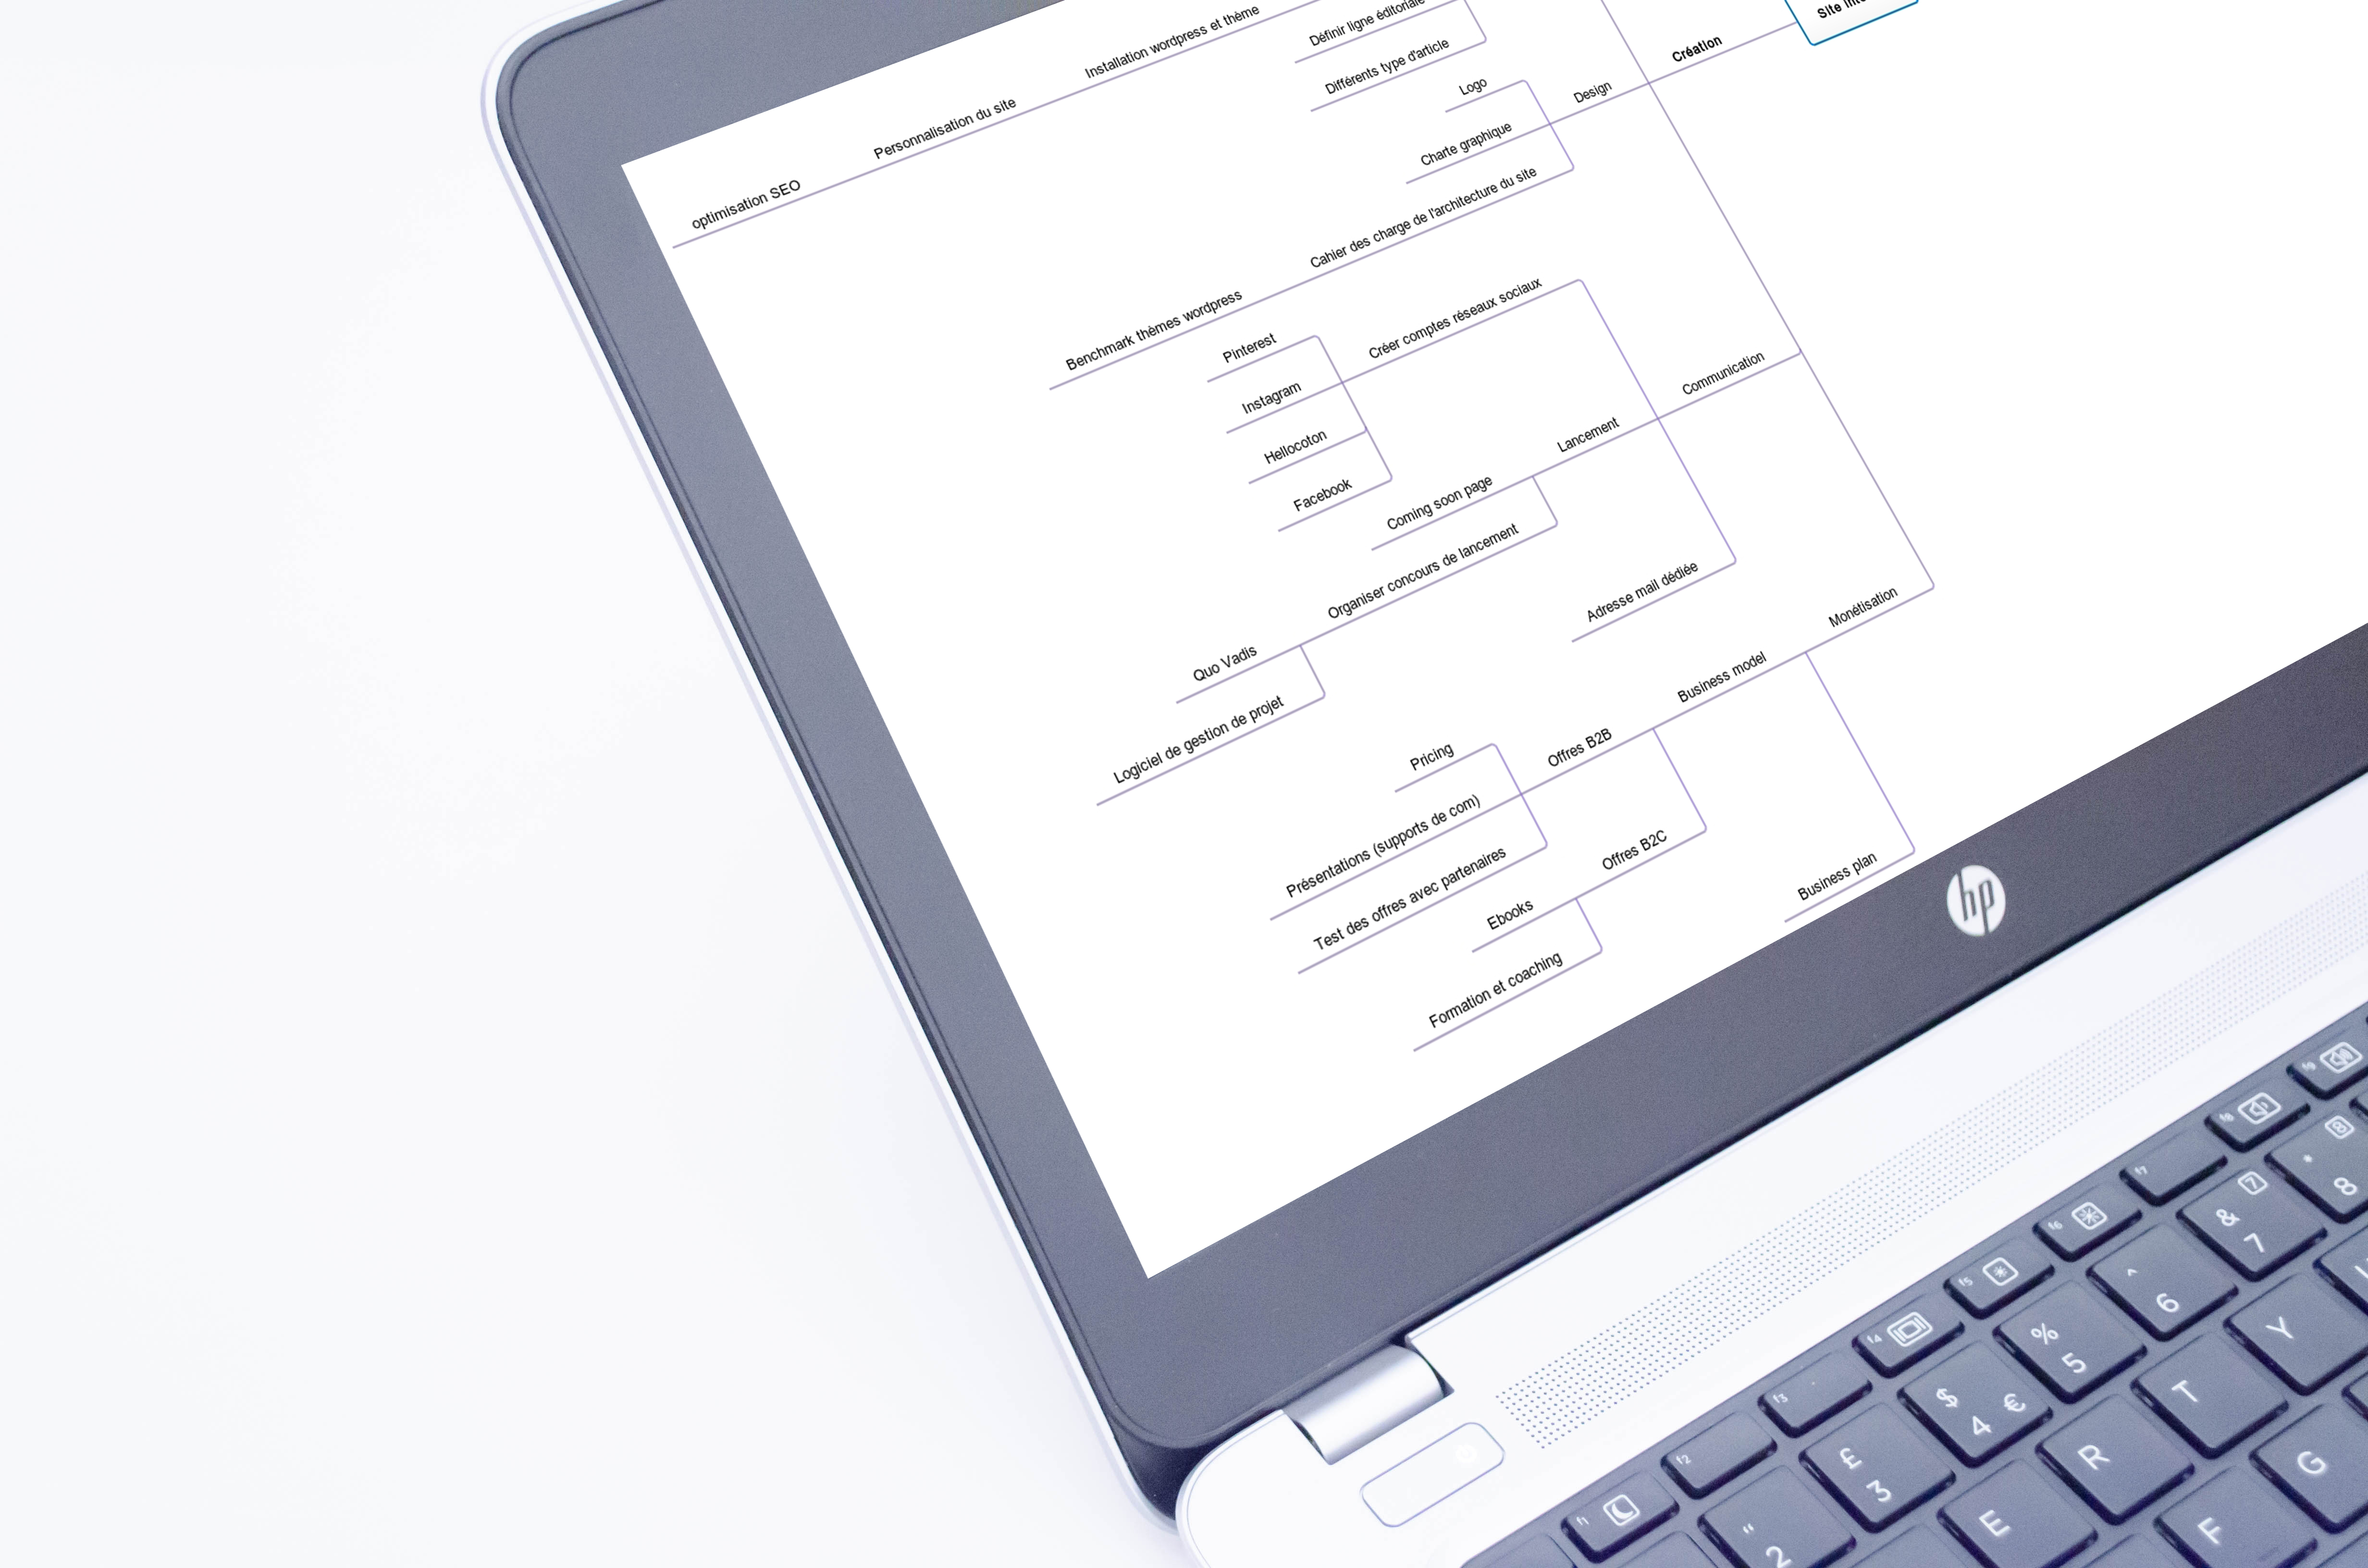
I’m using a free online tool, Mind42 , to draw my mind maps.
Drawing a mindmap requires some practice to organize the ideas as they come, without having an existing task list before starting. It’s a tool that can be complementary to the braindump and allows to go deeper into the task oriented brainstorming.
What I really like about the mindmapping is also that I can link any idea or resource I have to consider to the related task on the map. For instance, is my project is to renovate a house, I’ll probably ask for the help of some contractors for some tasks. Being able to have this information (and maybe already someone in mind) in my mindmap will definitively help me to think ahead of how I’ll manage this.
Once you have a solid task list, either as a braindump or mindmap, the next goal will be to turn it into an action plan.
Action plan
Having a task list is not enough to manage a project, especially when it’s a big one. The goal of having an action plan and then a planning is to spread the tasks over time and to set up goals. I’m going through 3 simple steps to draw my action plan.
Define the workload
It is key at this point to evaluate the workload for all the tasks. This estimation aims to draw a realistic action plan. a lot of projects require to run several phases and tasks at the same time. Knowing the workload for each task is useful to avoid setting unachievable goals.
The estimation is usually made in man-days, but it can also be quantify in man-hours, depending on the project size. At the end of this step, it’s always interesting to compute the overall workload to have a first estimation of how long the project will take. I usually add a 25% to the total score. Managing a project is also about managing the unexpected and there’s always some unplanned events that impact the initial plan.

The next step is to draw the action plan itself.
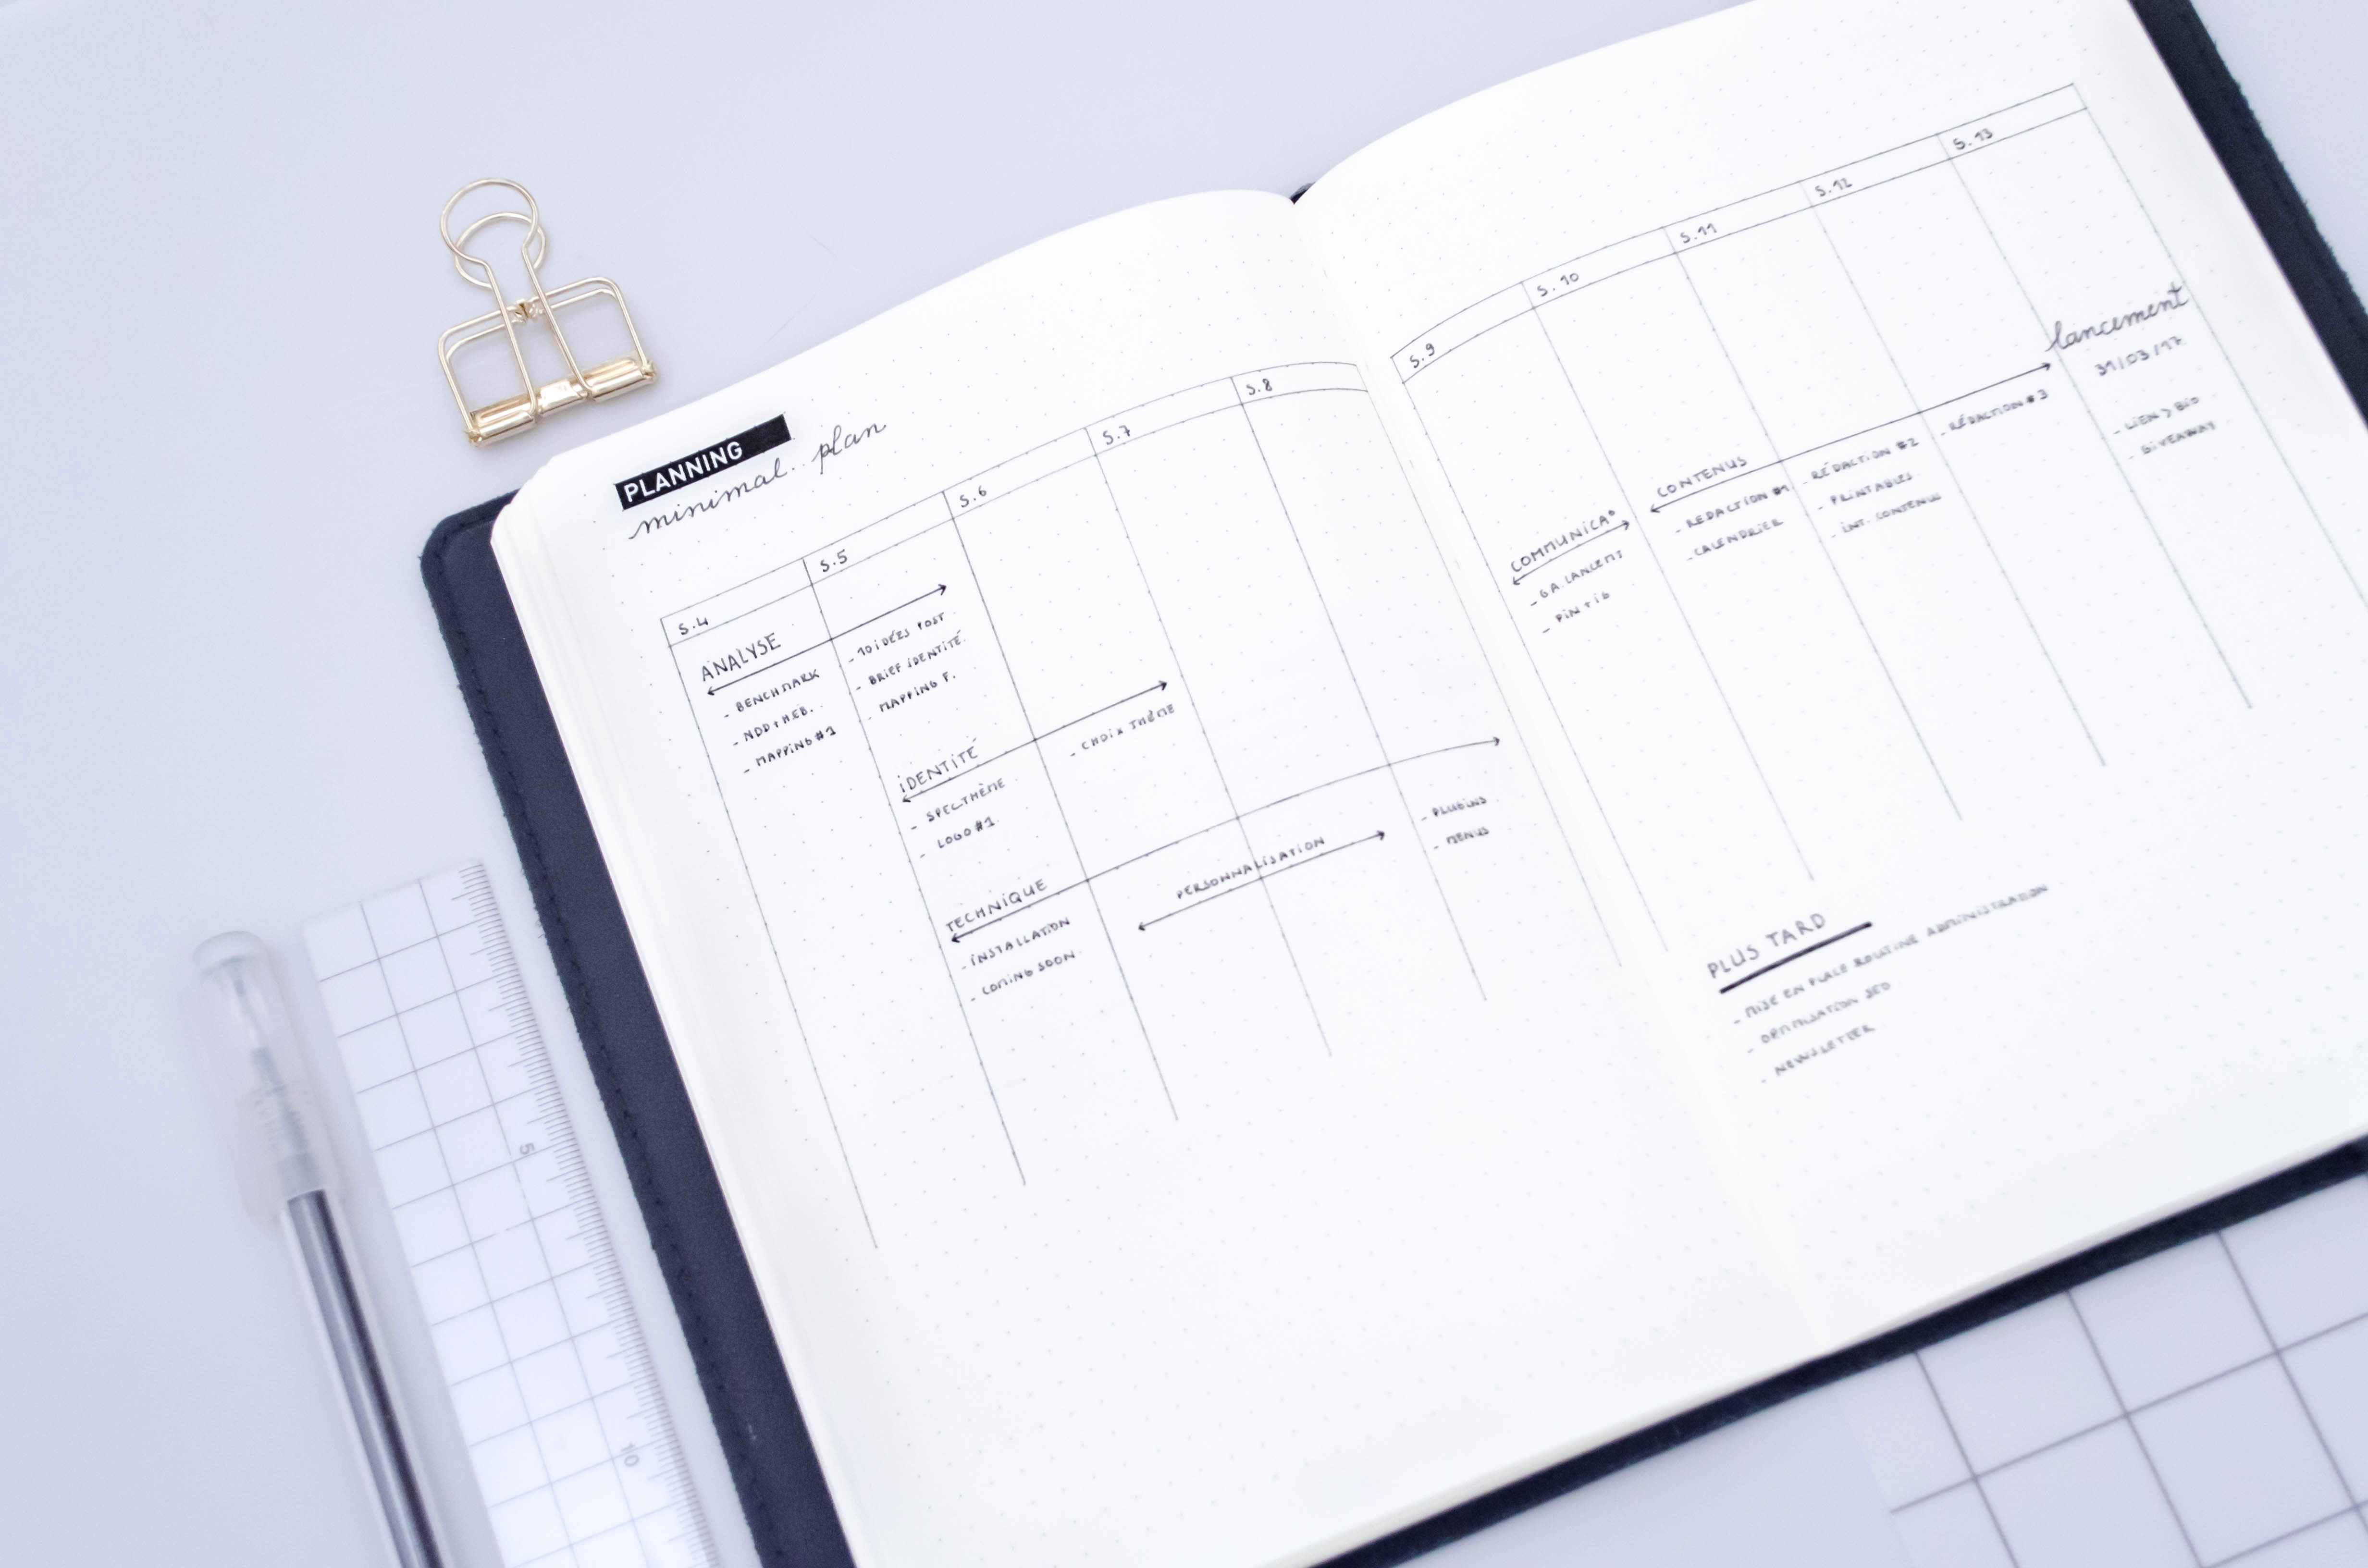
Draw the outline
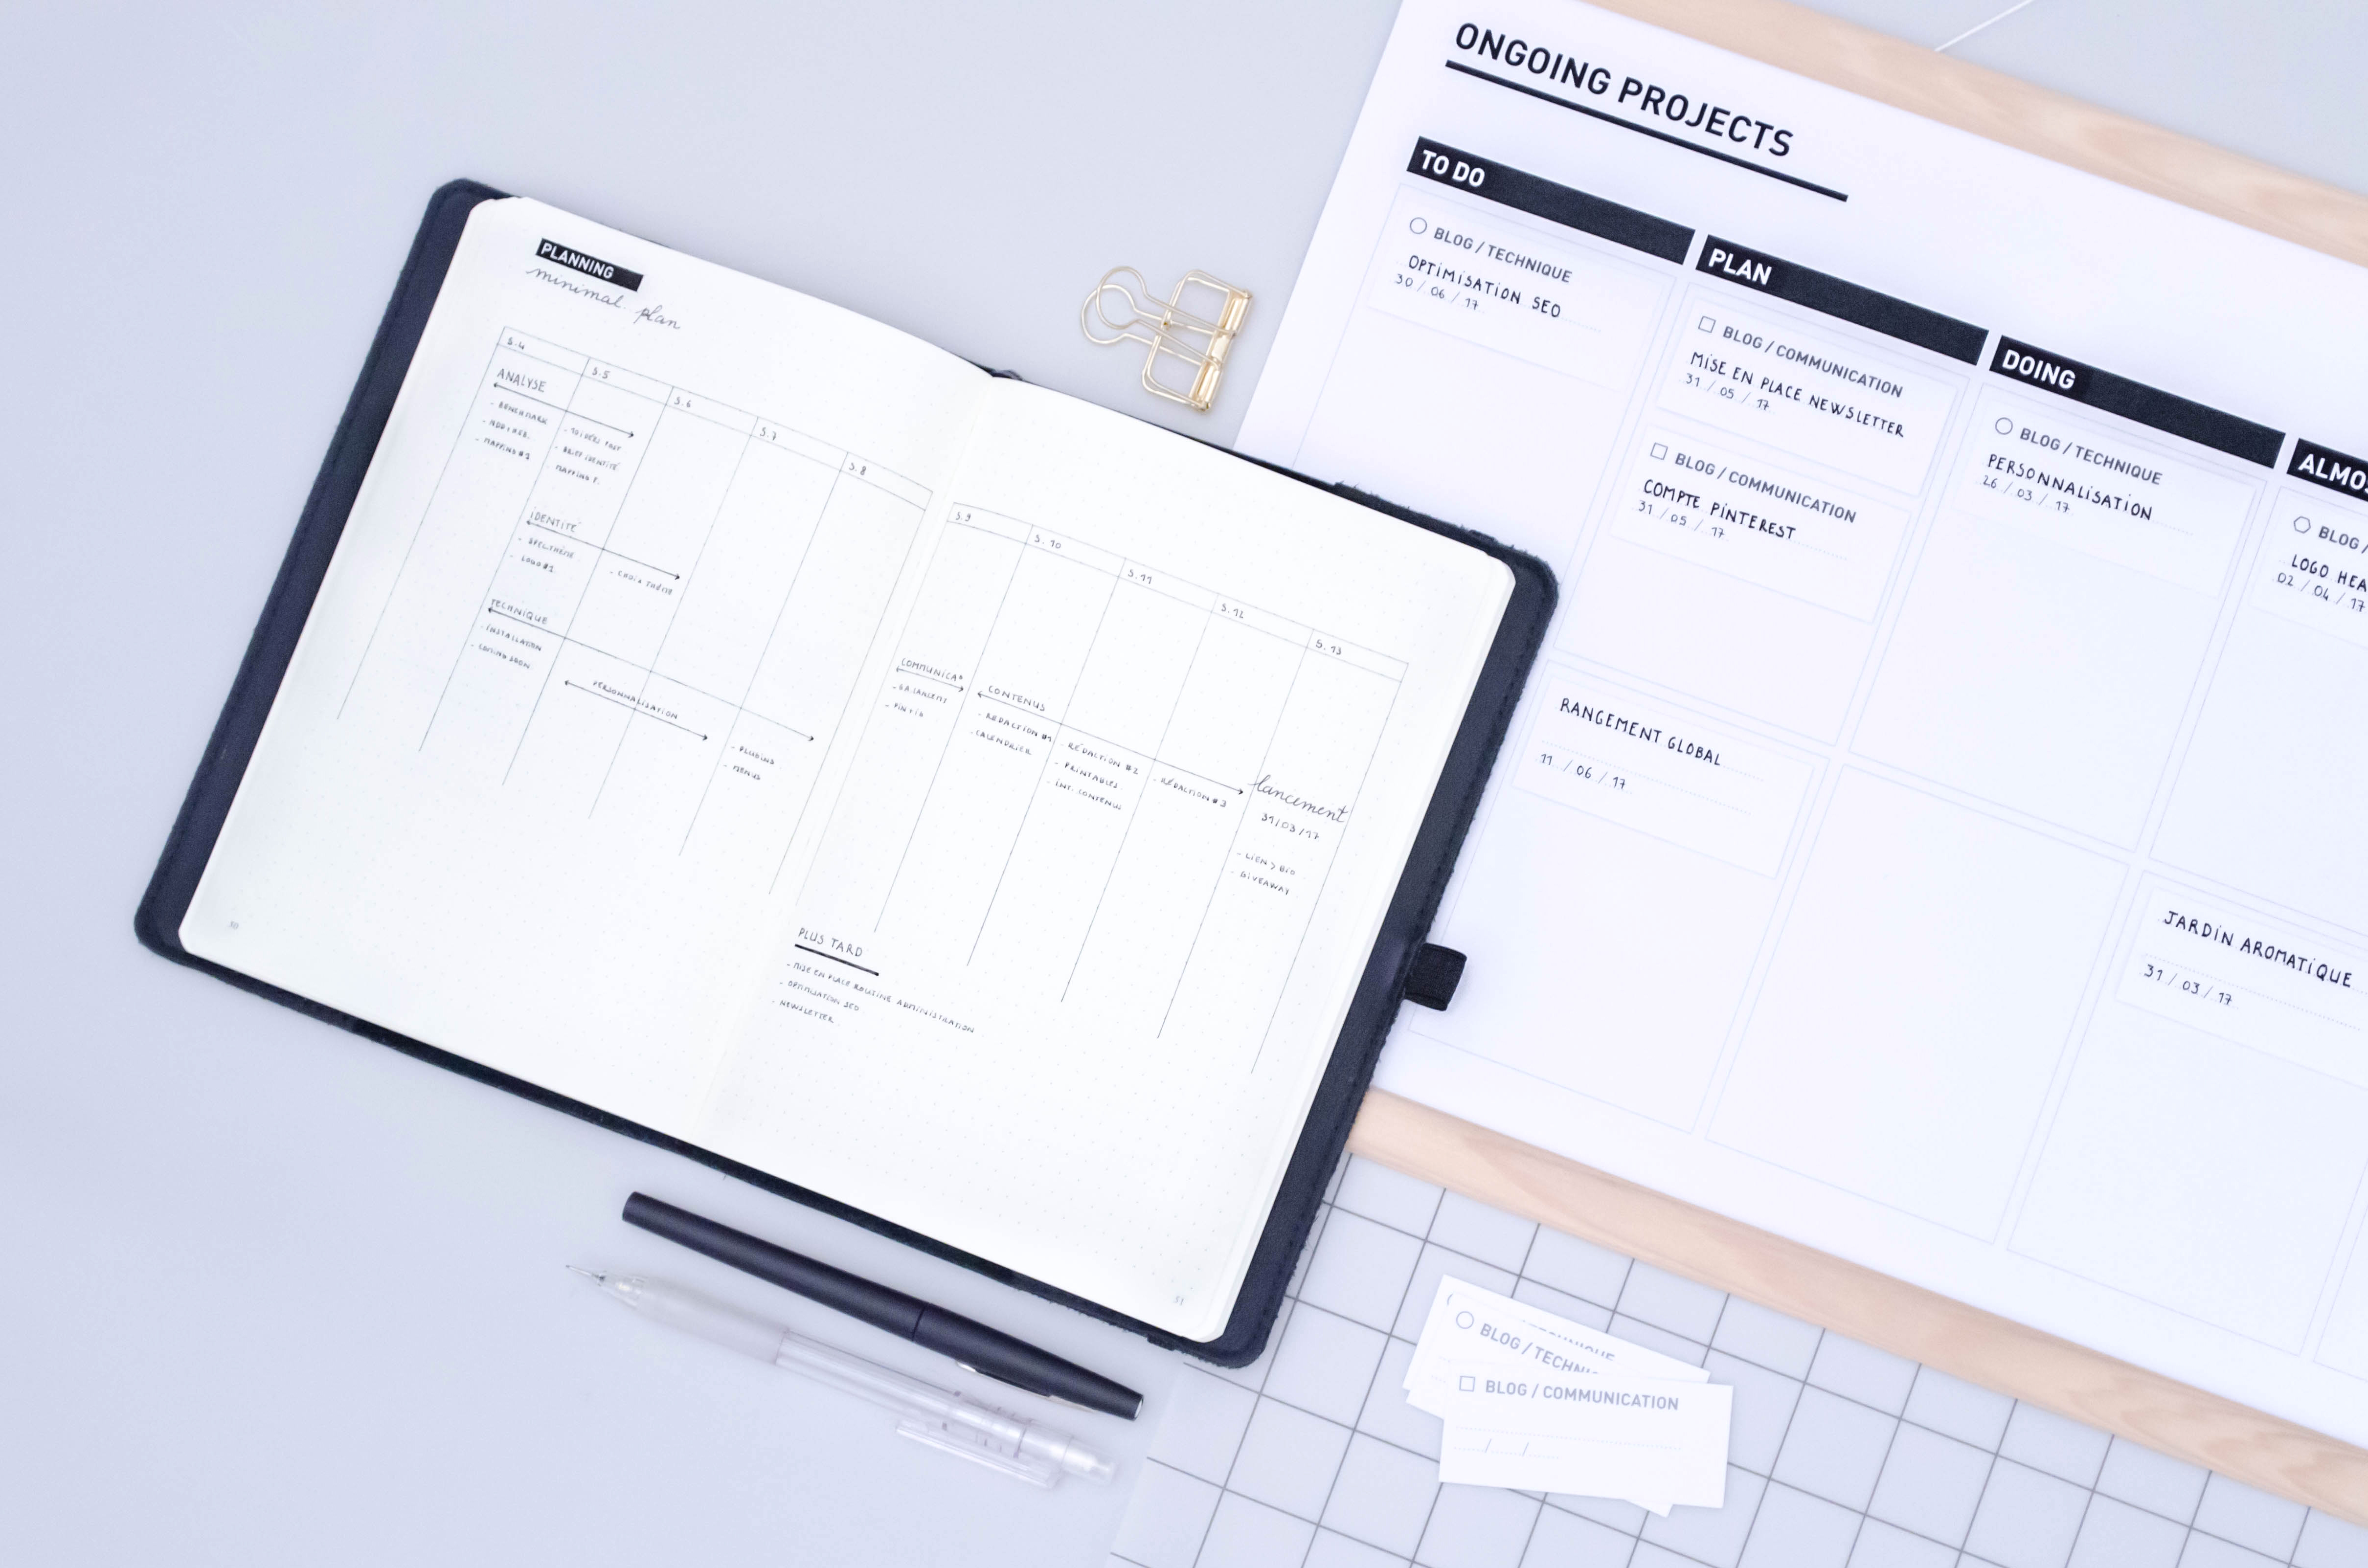
The second step of planning is to draw an action plan (see picture above). The goal is to identify.the right sequence of tasks and to organize them accordingly. The action plan doesn’t involve dates or deadlines.
The action plan aims to visualise how the project and the related tasks are supposed to be handled. It also is a chance to add tasks to the list and to identify other resources to involve. It also allows to foresee and prevent external constraints (delivery time, availability of people or tools that you may need…).
Schedule the tasks
At the very end of the planning process, the project is becoming real. This steps aim to plan the tasks accordingly to the action plan, and to take into account all te constraint, the biggest one being the time available to work on the project. For the very same project, the schedule can spread over weeks or months.
The tasks are spread over time and deadlines are set to assess the progress made. It is better not to be too optimistic or ambitious about the schedule, for the risk is to be discouraged if the project runs late quickly!
My bullet journal is my main organization tool for all my personal projects.
In any case, the work schedule is an outline to manage the project, but it’s good to keep in mind that it’s likely to evolve regarding unexpected events or change of plans about the project itself. This is why having some tools to track your progress is also key.
Progress tracking
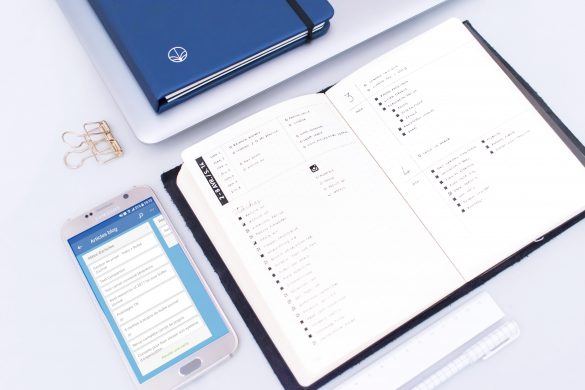
Once your action plan is set and so is your work schedule, it’s time to actually start tackling tasks, and to track your progress with one or several tools.
Ideally, your tracking tool should be flexible and help you to adapt your schedule as if something unexpected impact the project. I personally use the Kanban system.
The Kanban board
The Kanban is a very simple and visual organization tool. Developed by Toyota for manufacturing purposes, it’s a tool that can help manage team work (it is used by software development teams for instance) as well as personal projects.
The way it works is pretty simple: each project or task is represented by a card (kanban means sheet, card in Japanese). The cards are organised within a table with several columns, one for each step of your workflow (to do, plan, doing, done). The tasks can be sorted out regarding their progress status and it’s then easy to have a clear overview of the project at a glance.
The Kanban board can be set up on any medium: it can be a poster pinned above your desk, a collection of your bullet journal (like Jennifer’s) or even a digital version of it. It all depends on the number of projects and tasks you need to manage and on the nature of the project (team work or not).
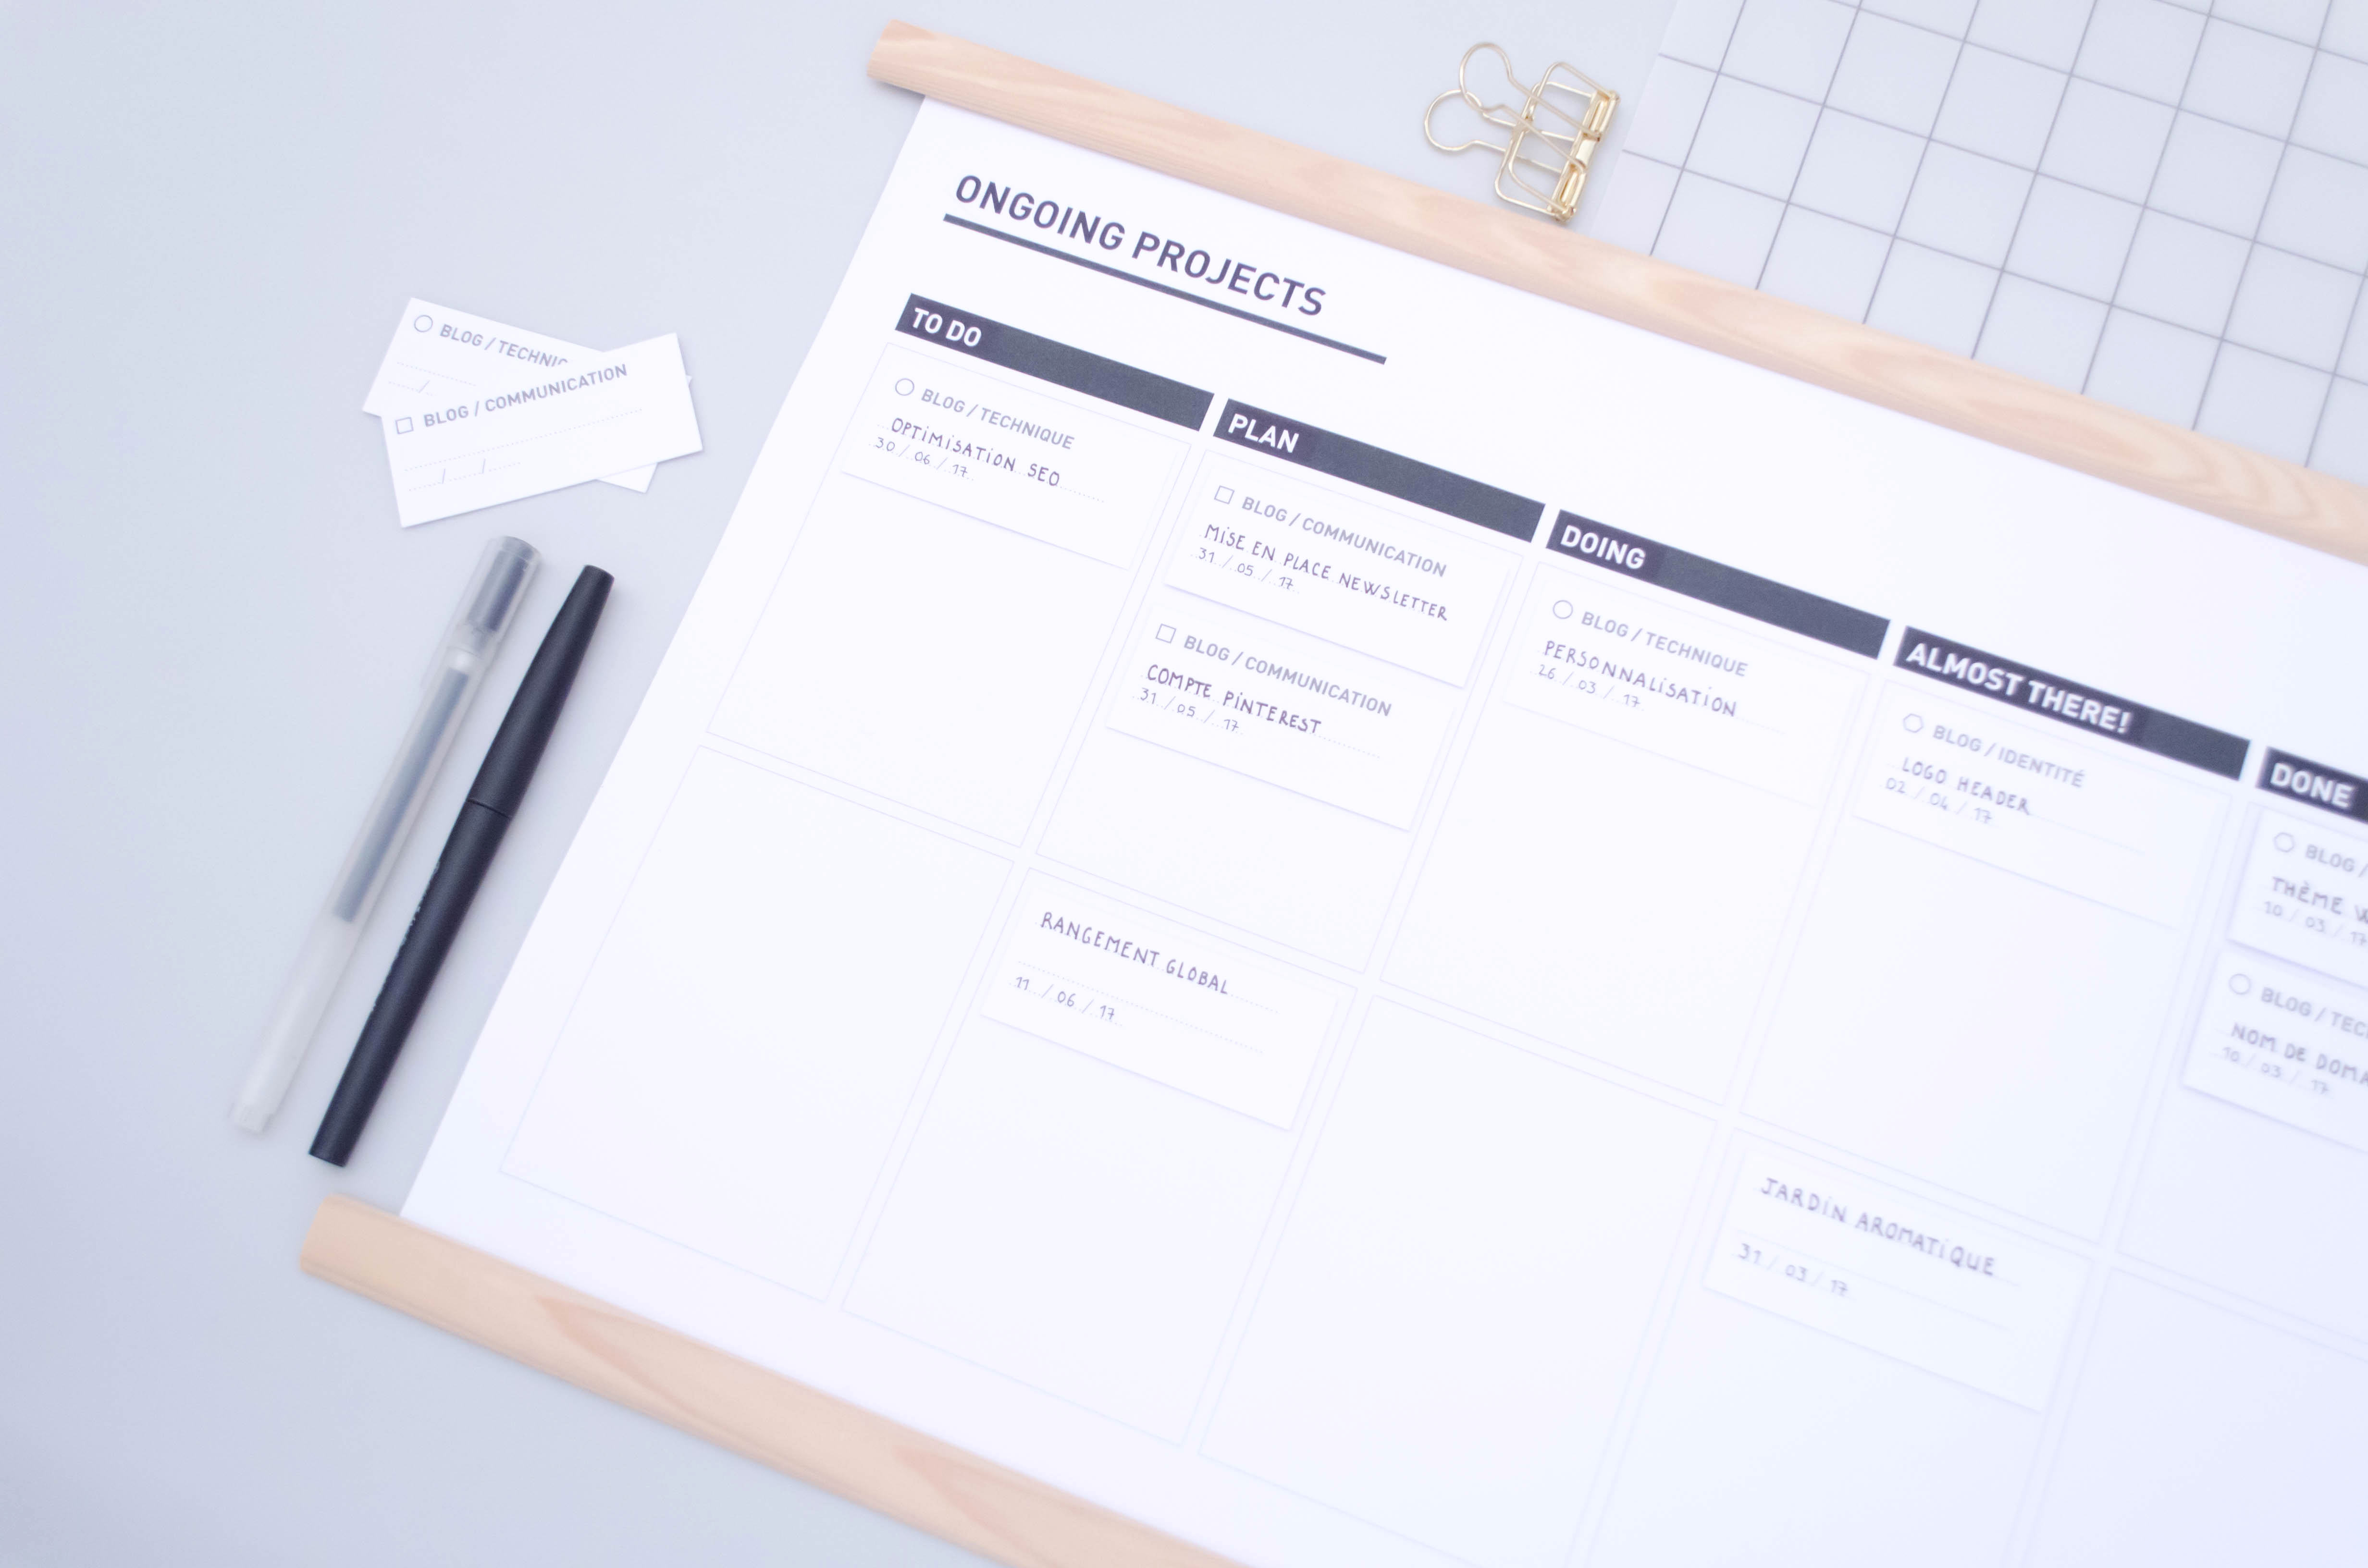
My Kanban board is a A3 sheet that is hanged above my desk in my studio. It is divided in 5 columns (to do, plan, doing, almost done, done) and 2 lines (major project and minor ones).
Using a Kanban board for personal projects
I manage my personal projects with a simplified version of the original Kanban board.
It’s a tool that I mainly use for big projects, such as the opening of the blog in April. I can handle one or several projects on the same board, using signifiers on the cards to identify them.
For each project, I’m using my action plan and schedule to create as more cards as needed. The cards feature 3 main pieces of information: the output of the task (deliverable), the signifier that identify the project or the project phase the task belongs to and the deadline.
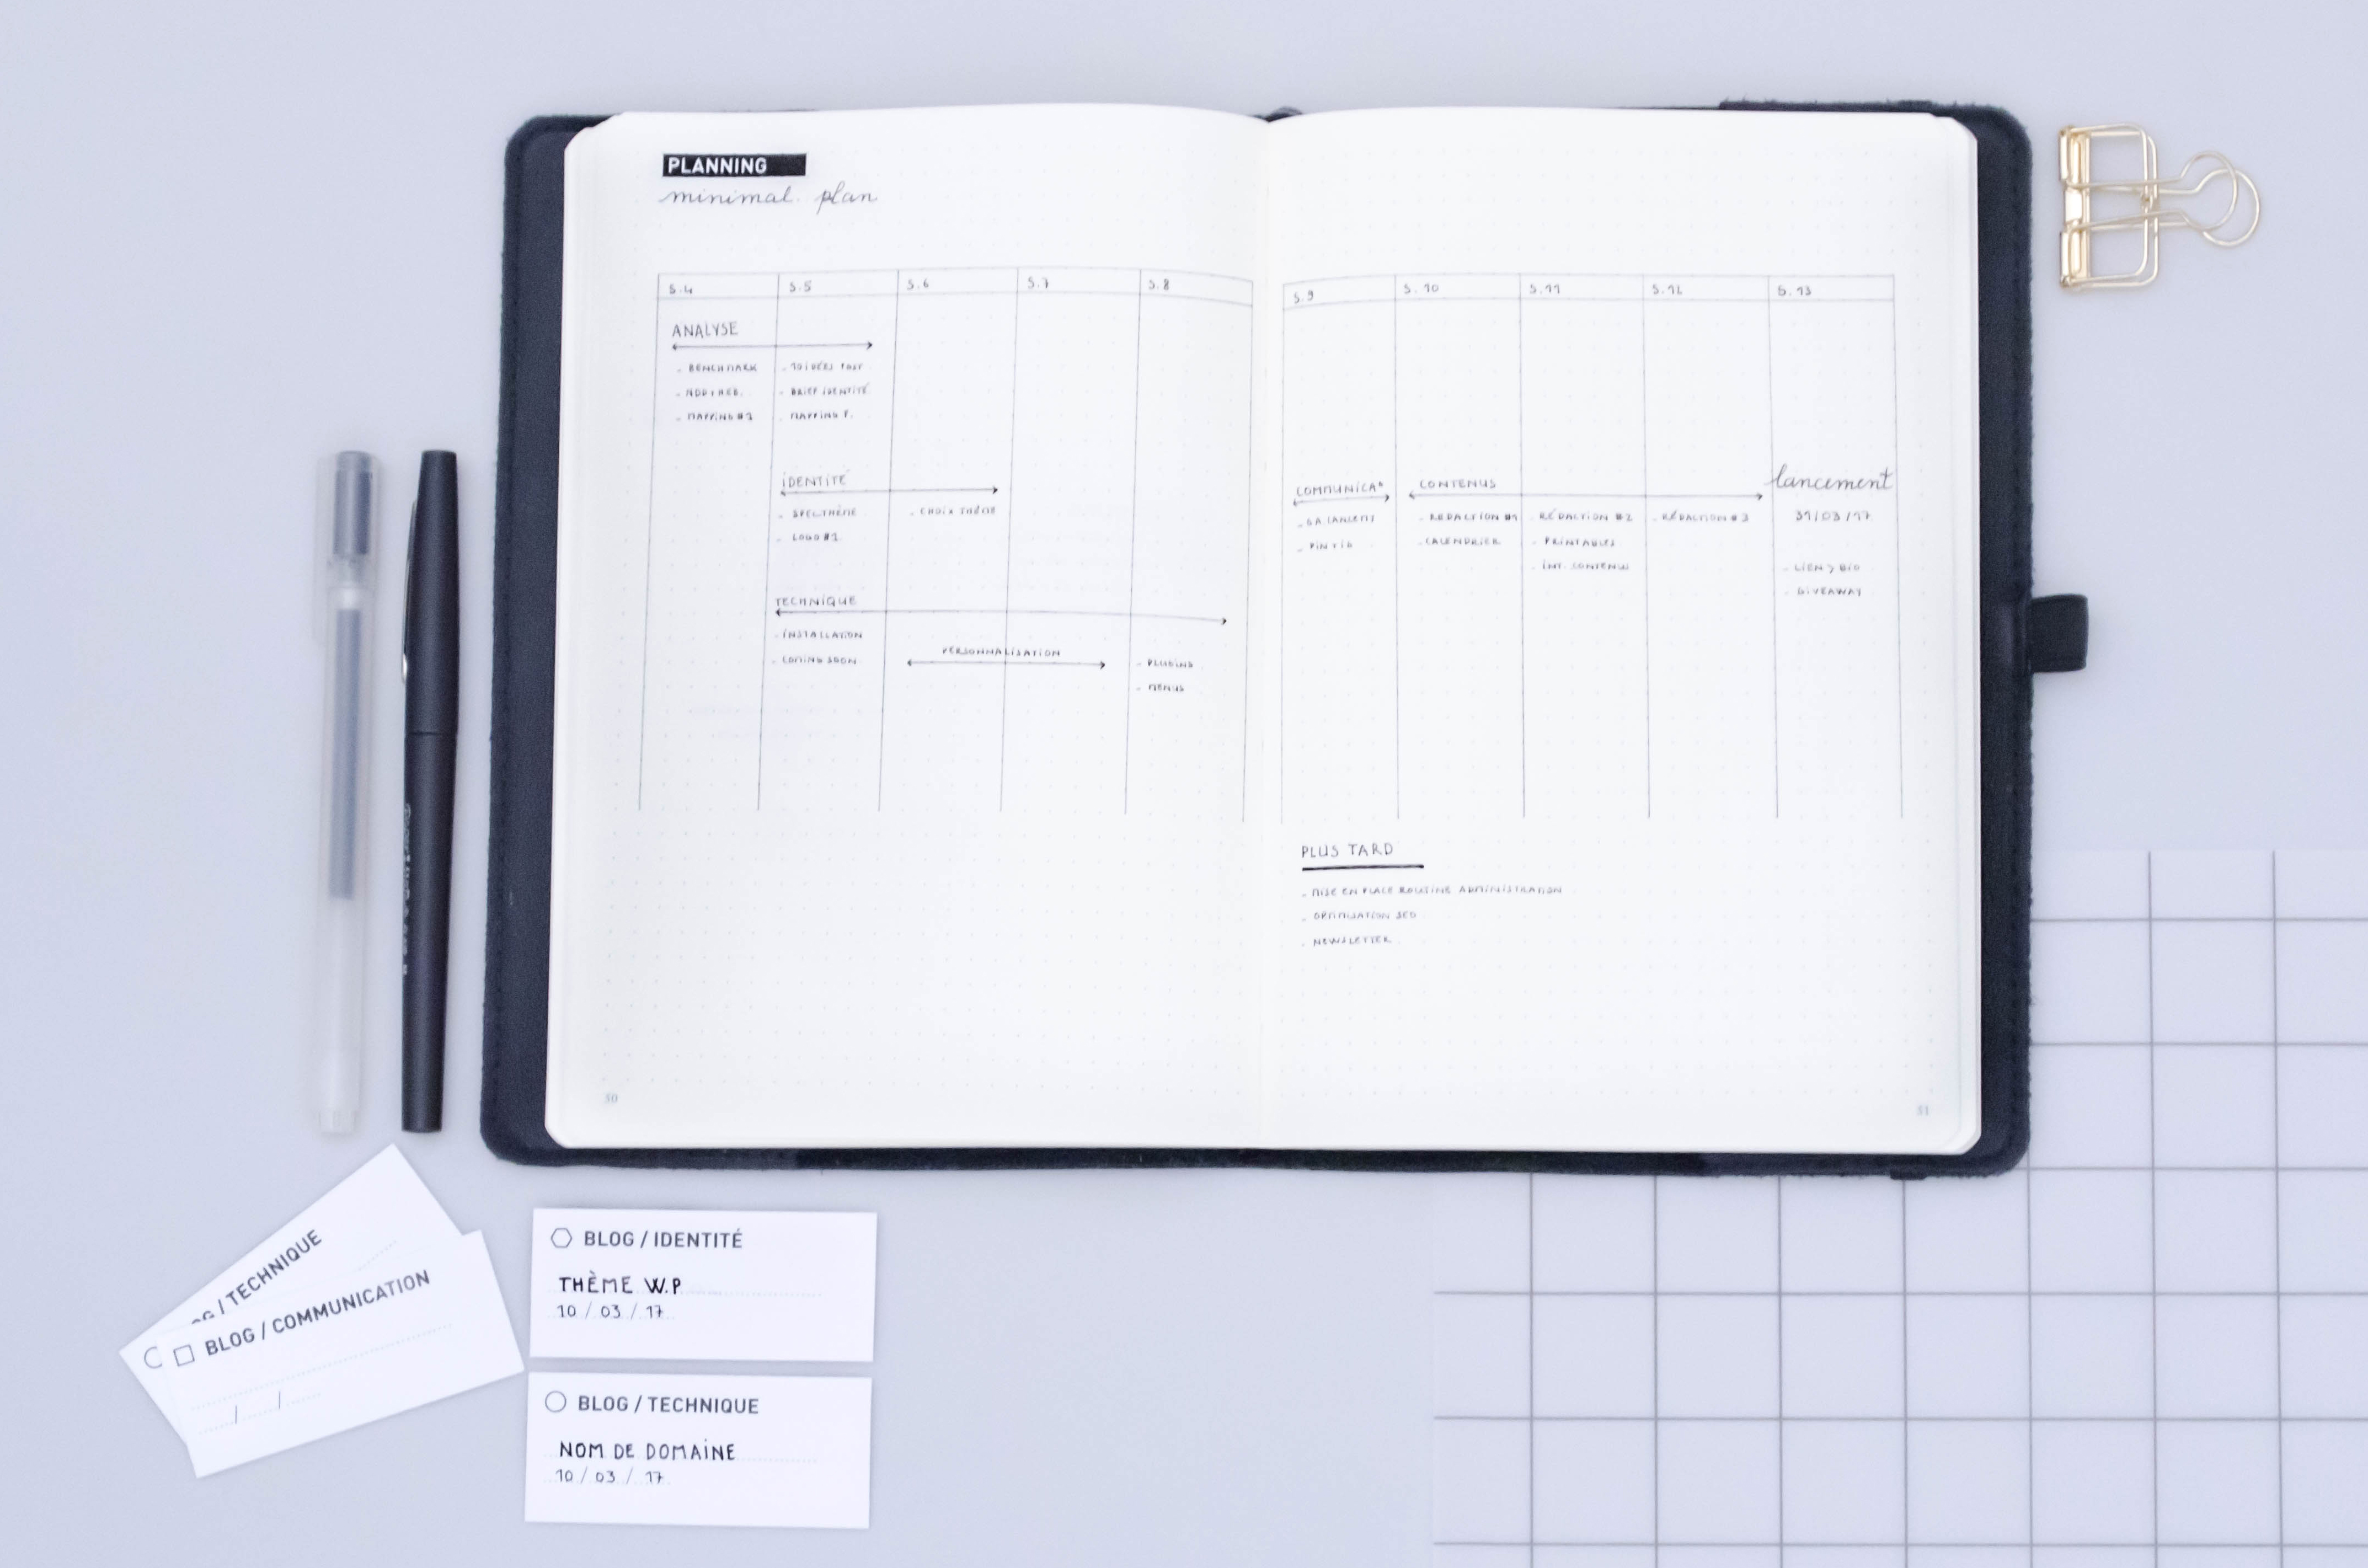
I set up my Kanban board and the cards relying on the project planning.
I make a review of the overall board and the tasks’ status on sundays while getting ready for the new week. This way, I can easily include them in my weekly schedule. I find the Kanban board being a very complementary tool to the bullet journal, that allows me to organize my task lists with more adaptability. I really like to migrate my tasks from a column to another as my project progresses. It’s as satisfying as checking a box in my bullet journal!
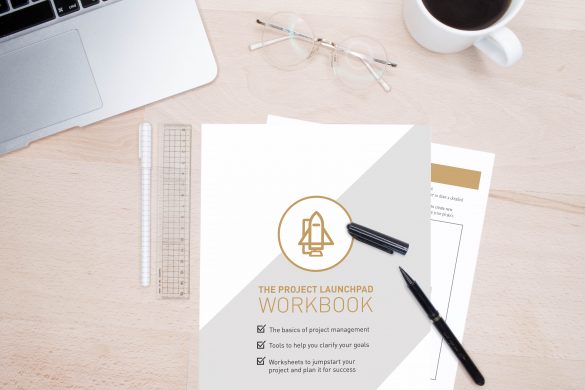
If you’re interested in building your own Kanban, head on over the Planners Secret Society library
to download your FREE Kanban kit (including a A3 Kanban board and matching cards).
![]()
When it comes to start a big project, it can be easy to feel a overwhelmed by the magnitude of the task. Thinking about it calmly and drawing an action plan and then a schedule helps to dive into it with a clear head.
Planning is the very first step I go through for any project I’m starting to work on, either personal or professional. I’m always trying to take time to plan and set a strategy to reach my goal instead of starting right away and being disorganised.
The aim is, of course, not to spend more time to make plans than to actually do things, and you may achieve your goals without a schedule. But having a plan definitely reduces the chances of failure.
You may also like my previous blog posts about project management in a bullet journal:
- Managing personal projects in a bullet journal #1: 3 steps to get started
- Managing multiple projects in a bullet journal
Supplies used:
– Leuchtturm 1917: Medium, softcover, dotted
– Erasable Muji pen (0,4)
– Muji pencil and ruler
– PaperMate Flair M, black