My 2018 bullet journal
It’s no secret that 2018 is just around the corner. The new year fever is seriously spreading in the planner community, and I have to admit I’m super excited too. Because new year means that start fresh in a new notebook!
So I’m slowly getting ready to welcome the new year, setting up my 2018 bullet journal. I think it’s the very first time that I start to prepare my journal that early. It’s also the first time that I create yearly collections… I started my very first bullet journal with the monthly log, and the next ones with quarterly spreads. After 2 years experimenting, I now know that I could use some yearly pages. So I’m giving you a tour of my 2018 bullet journal and what I put in it so far… This way please!
2018 supplies
Before I show you the first spreads I created in my 2018 bullet journal, let’s talk supplies.
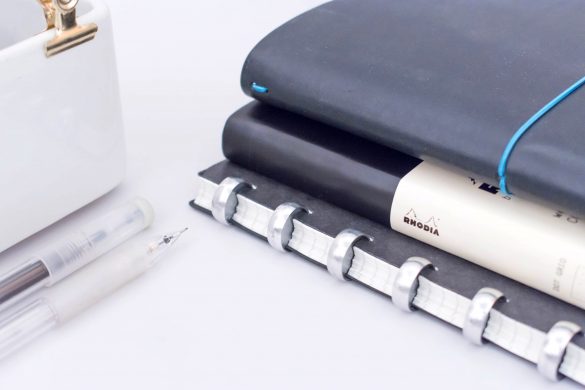
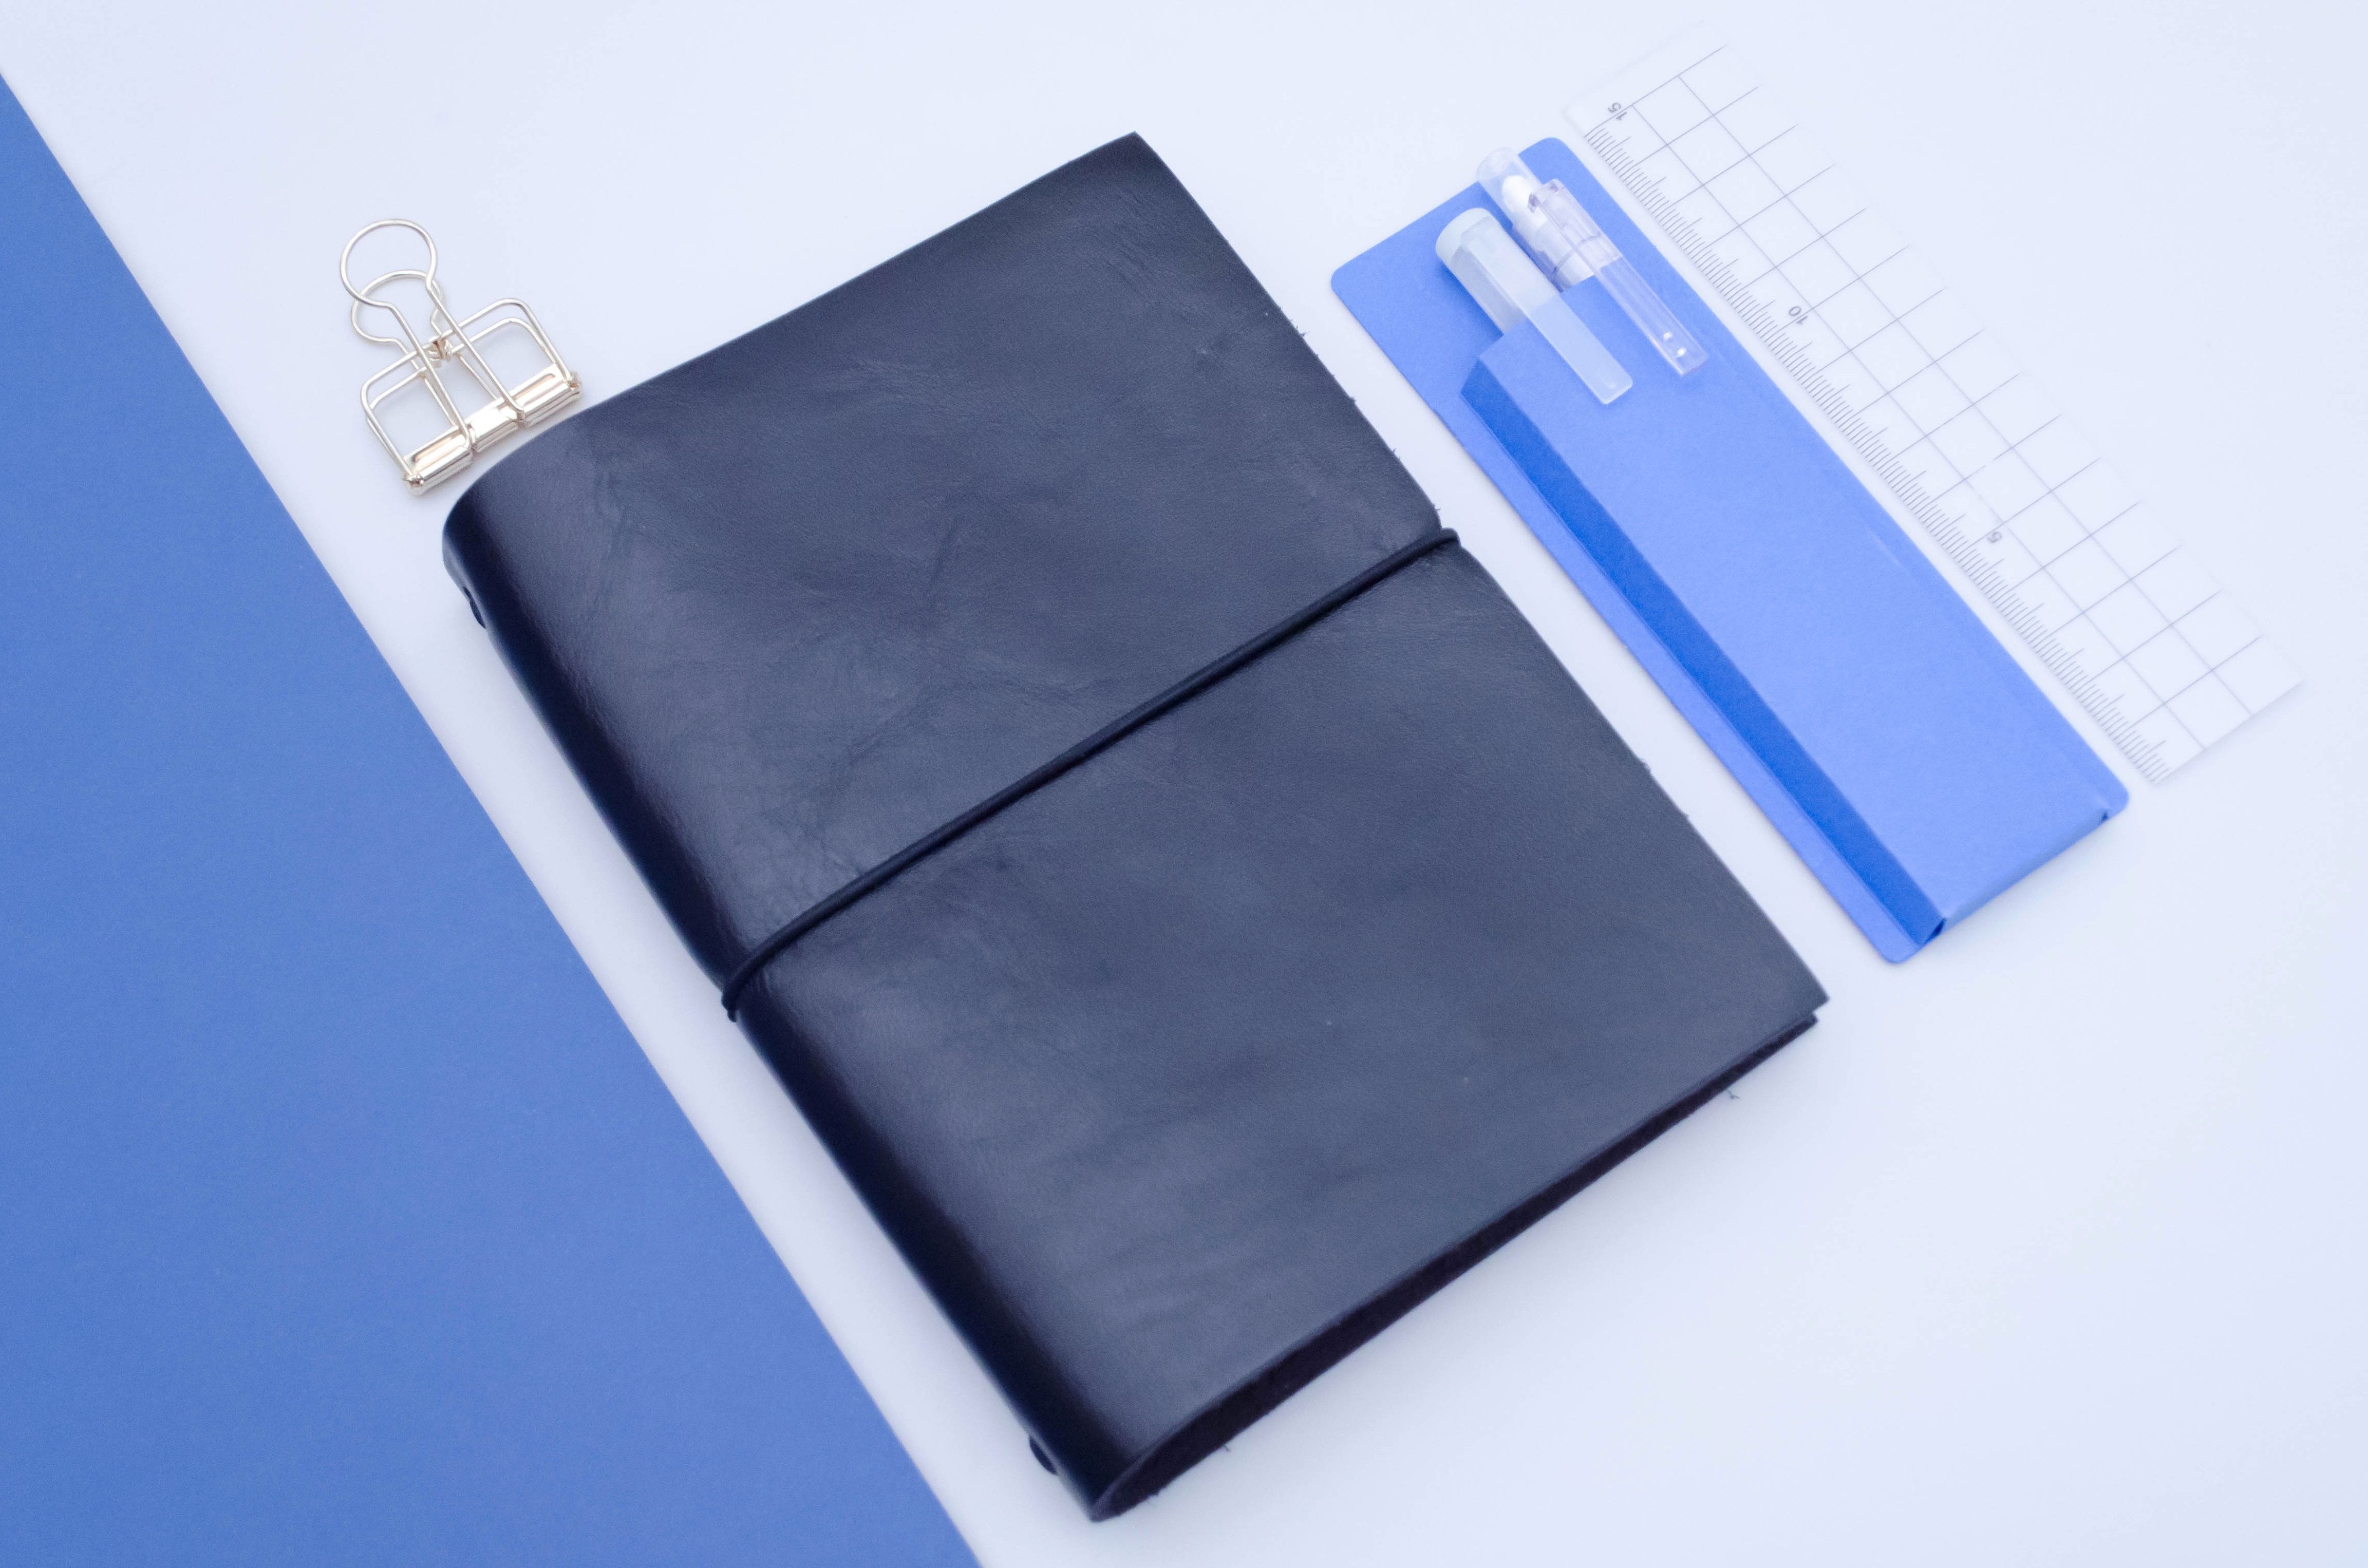
New year means new notebook. I’m leaving the Leuchtturm notebooks I’ve been using for 2 years behind. My bullet journal is migrating in a handbound notebook with 250 pages made of Clairefontaine paper.
Beside the money I’m saving with this DIY notebook, I find using supplies I crafted myself much more satisfaying: my notebook is matching all my needs and desires. I’ve been able to design all the details, from the paper to the font used on the few pre-printed spreads. Some of the spreads have been inspired by the Notem Studio’s planners set-up (I had a crush for their products… ).
In case you’re wondering how to make a handbound notebook, I highly recommend to watch Sea Lemon’s video tutorial… Until I release the post about book binding that I’m working on behind the scene.
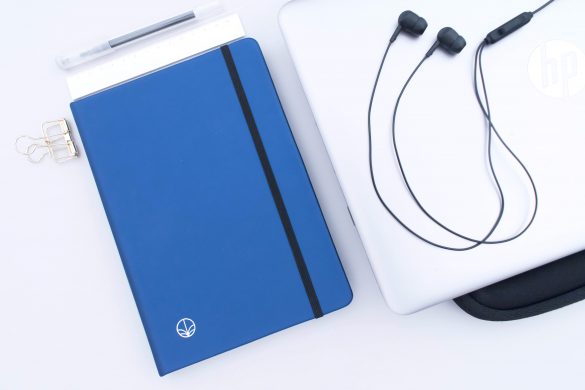
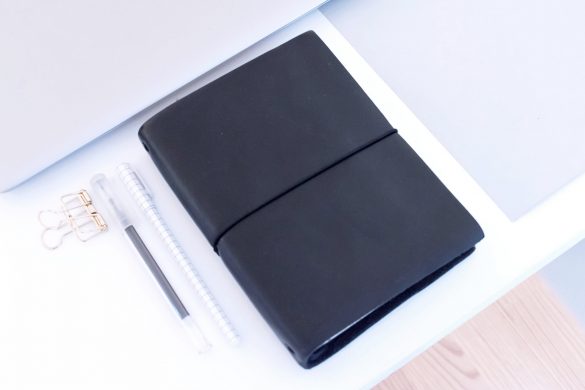
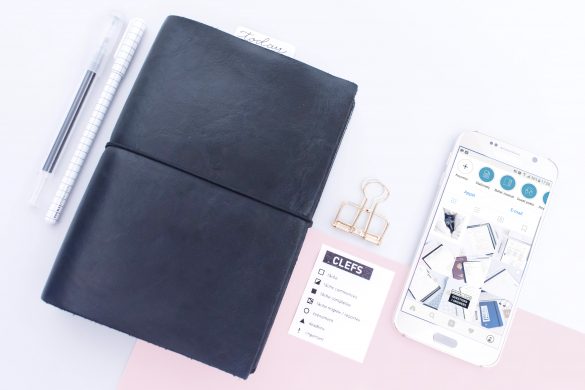
My DIY notebook in it’s DIY leather cover. On the right, a paper pen holder inspired by Ink by Jeng’s gorgeous pens organizers.
Since I gave the TN system a try with the gorgeous Grand Voyageur from Paper Republic, I fell in love with the versatility of this type of covers. So I crafted a new cover to hold my new notebook and a storage pocket insert that I recycled from a cheap TN bought this summer at Flying Tiger.
And in case you’re wondering if it’s hard to craft a TN cover, the answer is definitely no! There are tons of awesome video tutorials on YouTube.
Now that you know everything about the supplies, let’s get to the heart of the matter: the inside of my notebook and the spreads I created to get ready for 2018.
My planning process
The main reason I’m migrating in a new journal for 2018 is that I really want to get back to the basics of Ryder Carroll’s system. I’ve been experimenting a lot with my organisation system in 2017, and I need something much more simple for the new year.
I’m merging my work bullet journal with my personal one, and my 2018 bullet journal will also holds everything blog related (that were in my blog journal so far). In one word, I’ll be using one single notebook for everything.
Before I started to actually write into my new notebook, I had to decide which collections I would migrate and what I wanted my 2018 bullet journal to be like. To help me sort things out, I made a review of my planning system, and a list of spreads ideas in my current bullet journal.
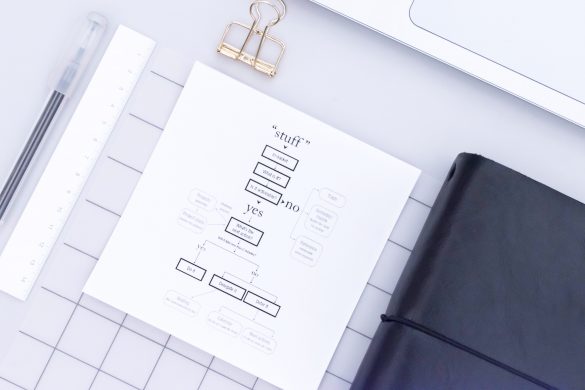
The all point of the migration process is to consider each spread of your old bullet journal and decide if it’s worth the effort of rewriting them. So I flipped through my old journals and only kept the collections I regularly refer to.
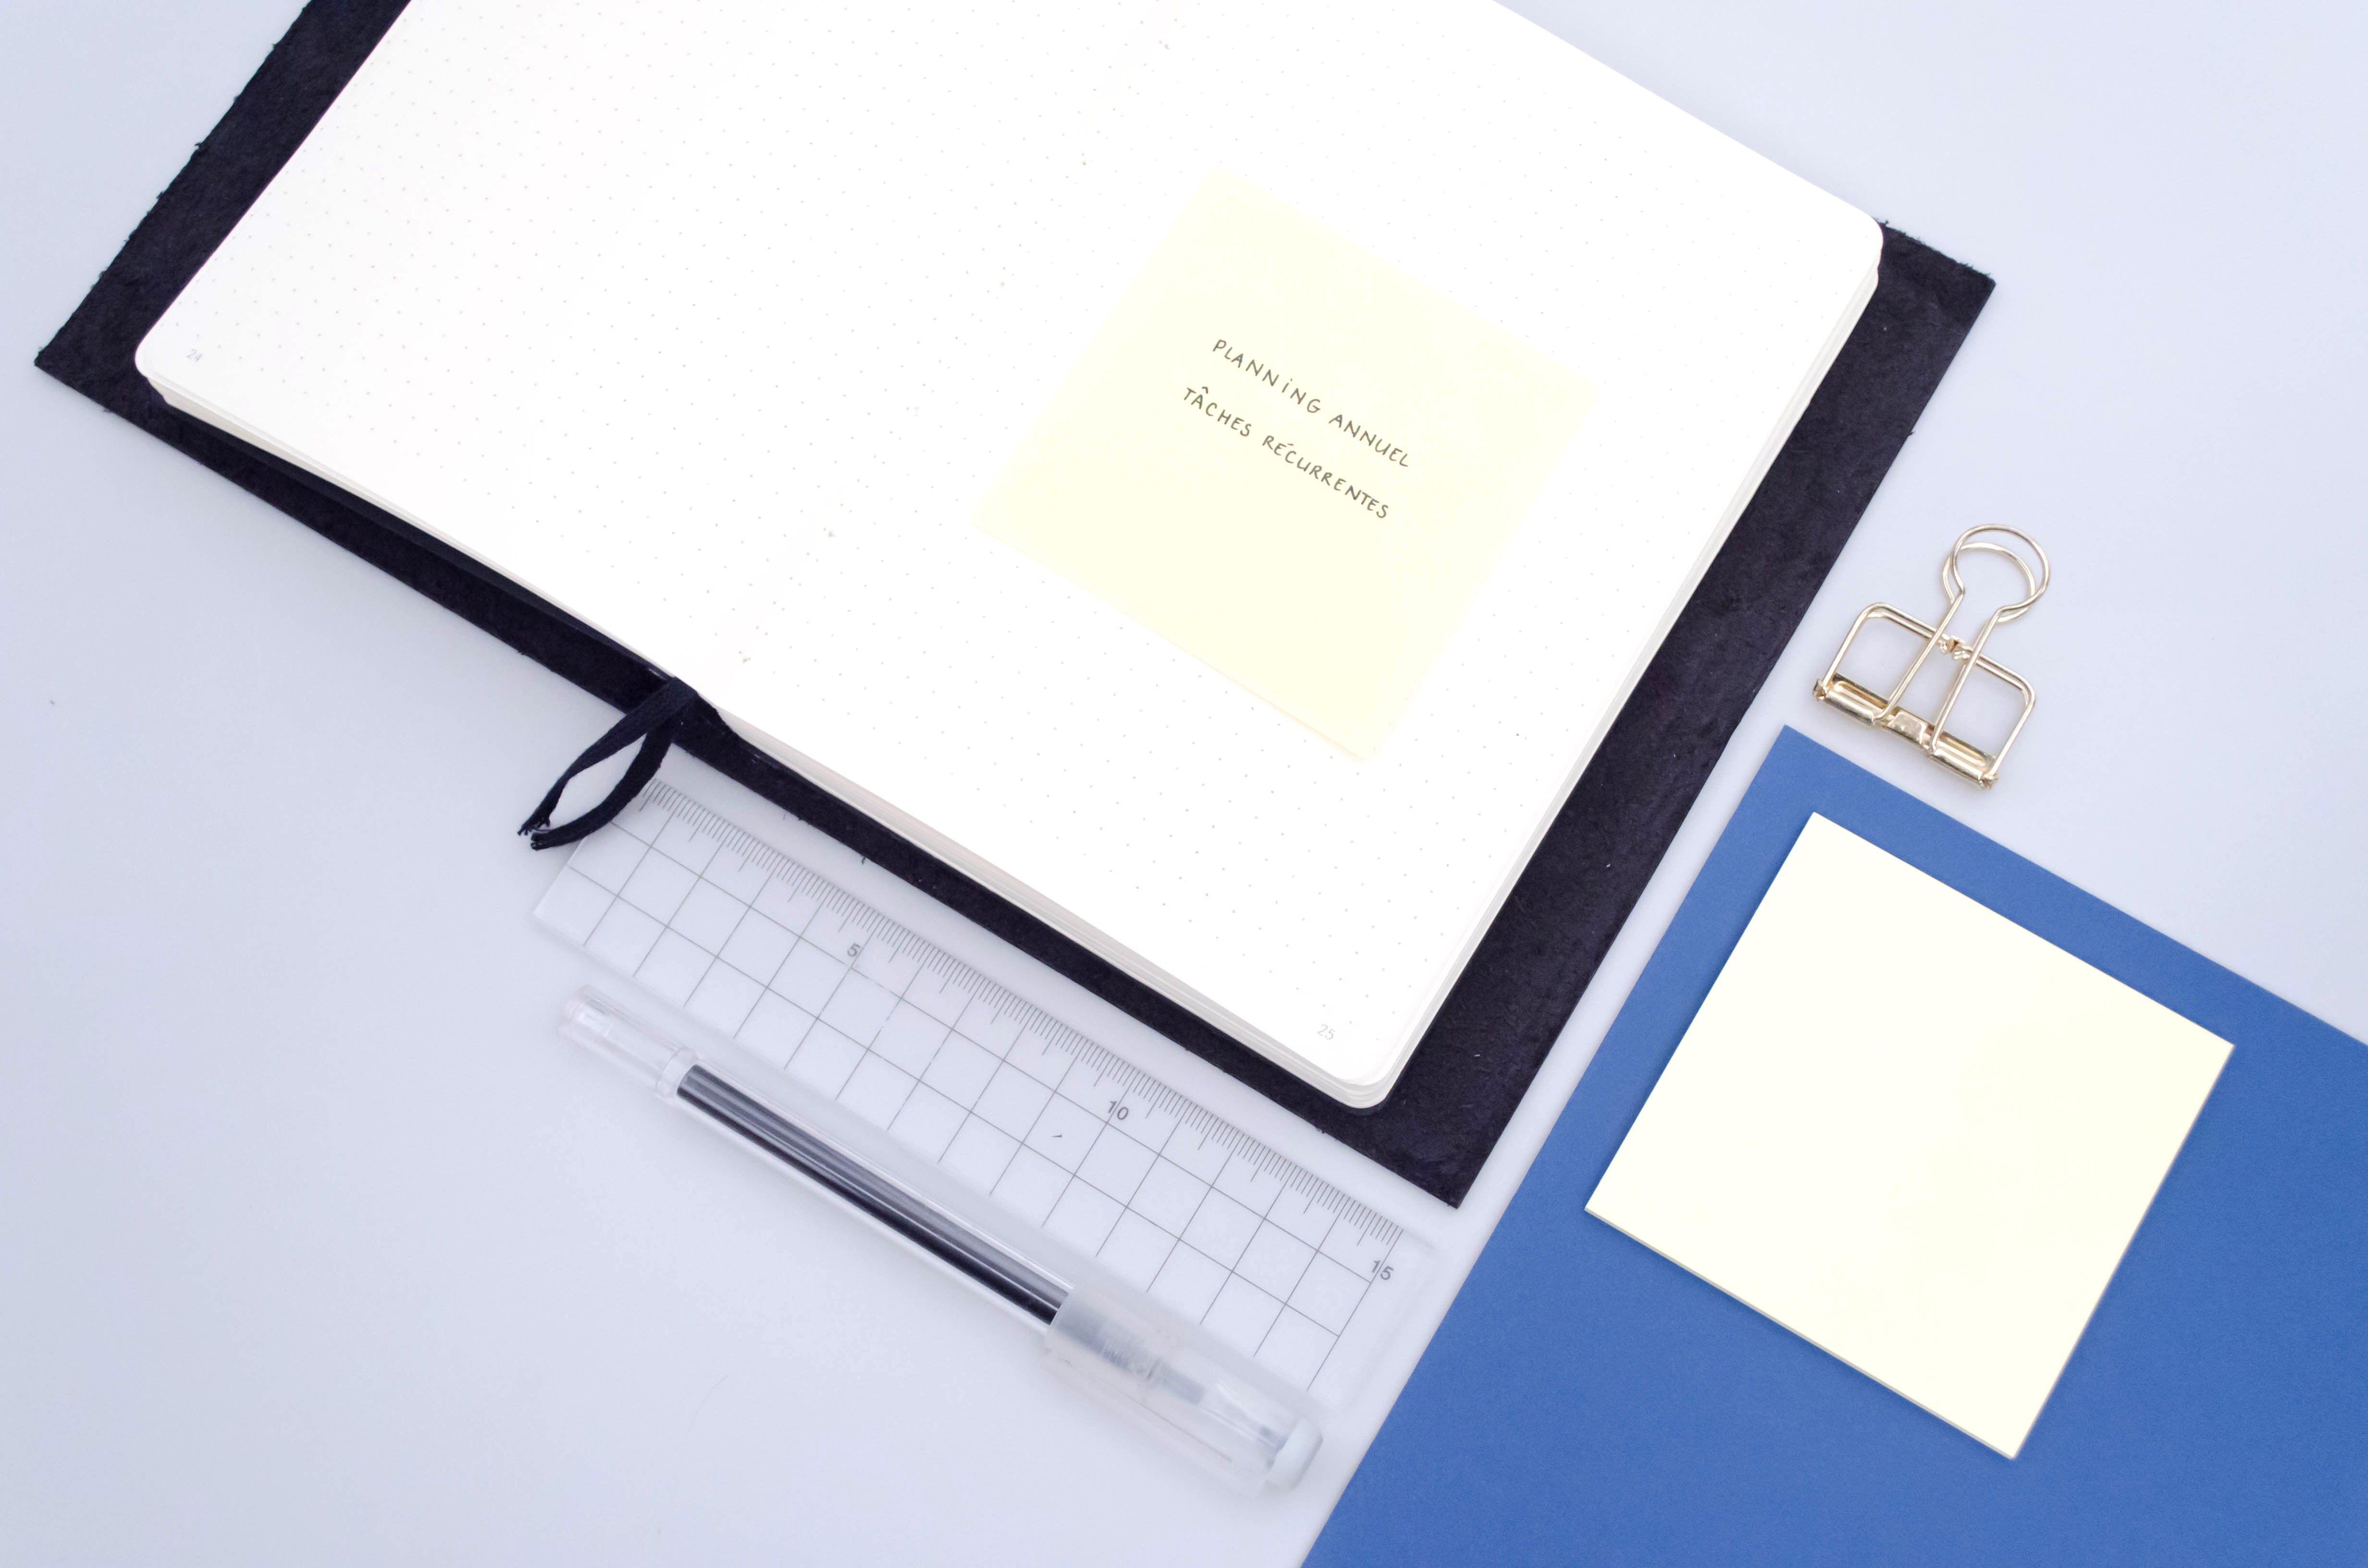
My planning process involves post-its. I use them to create an outline of the collections I want to start.
It’s never easy to start fresh and I’ve seriously been struggling to decide how I should organise the collections in my notebook so that it would make sense when I’ll be using them. So before I created the spreads themselves, I draw an outline of the very first spreads, using sticky notes. I came across this simple yet super effective trick watching Megan’s Planvember videos, and would definitely recommend it. It’s just perfect if, just like me, you’re still not sure what you want to put in your new journal.
Yearly collections
Future log
It’s been 2 years now that I started to use the bullet journal system, but I actually never used a future log as part of my planning system so far. I tend to manage all future appointments and events with my phone, but I find that this system reaches its limits when I’m planning events that last several days (aka holidays for instance).
So I created a future log in my 2018 bullet journal. It’s part of the pre-printed spreads at the very beginning of my notebook. I’ll log events and appointments in a “monthly log style” future log, with the possibility to switch for the calendex system if I lack space.
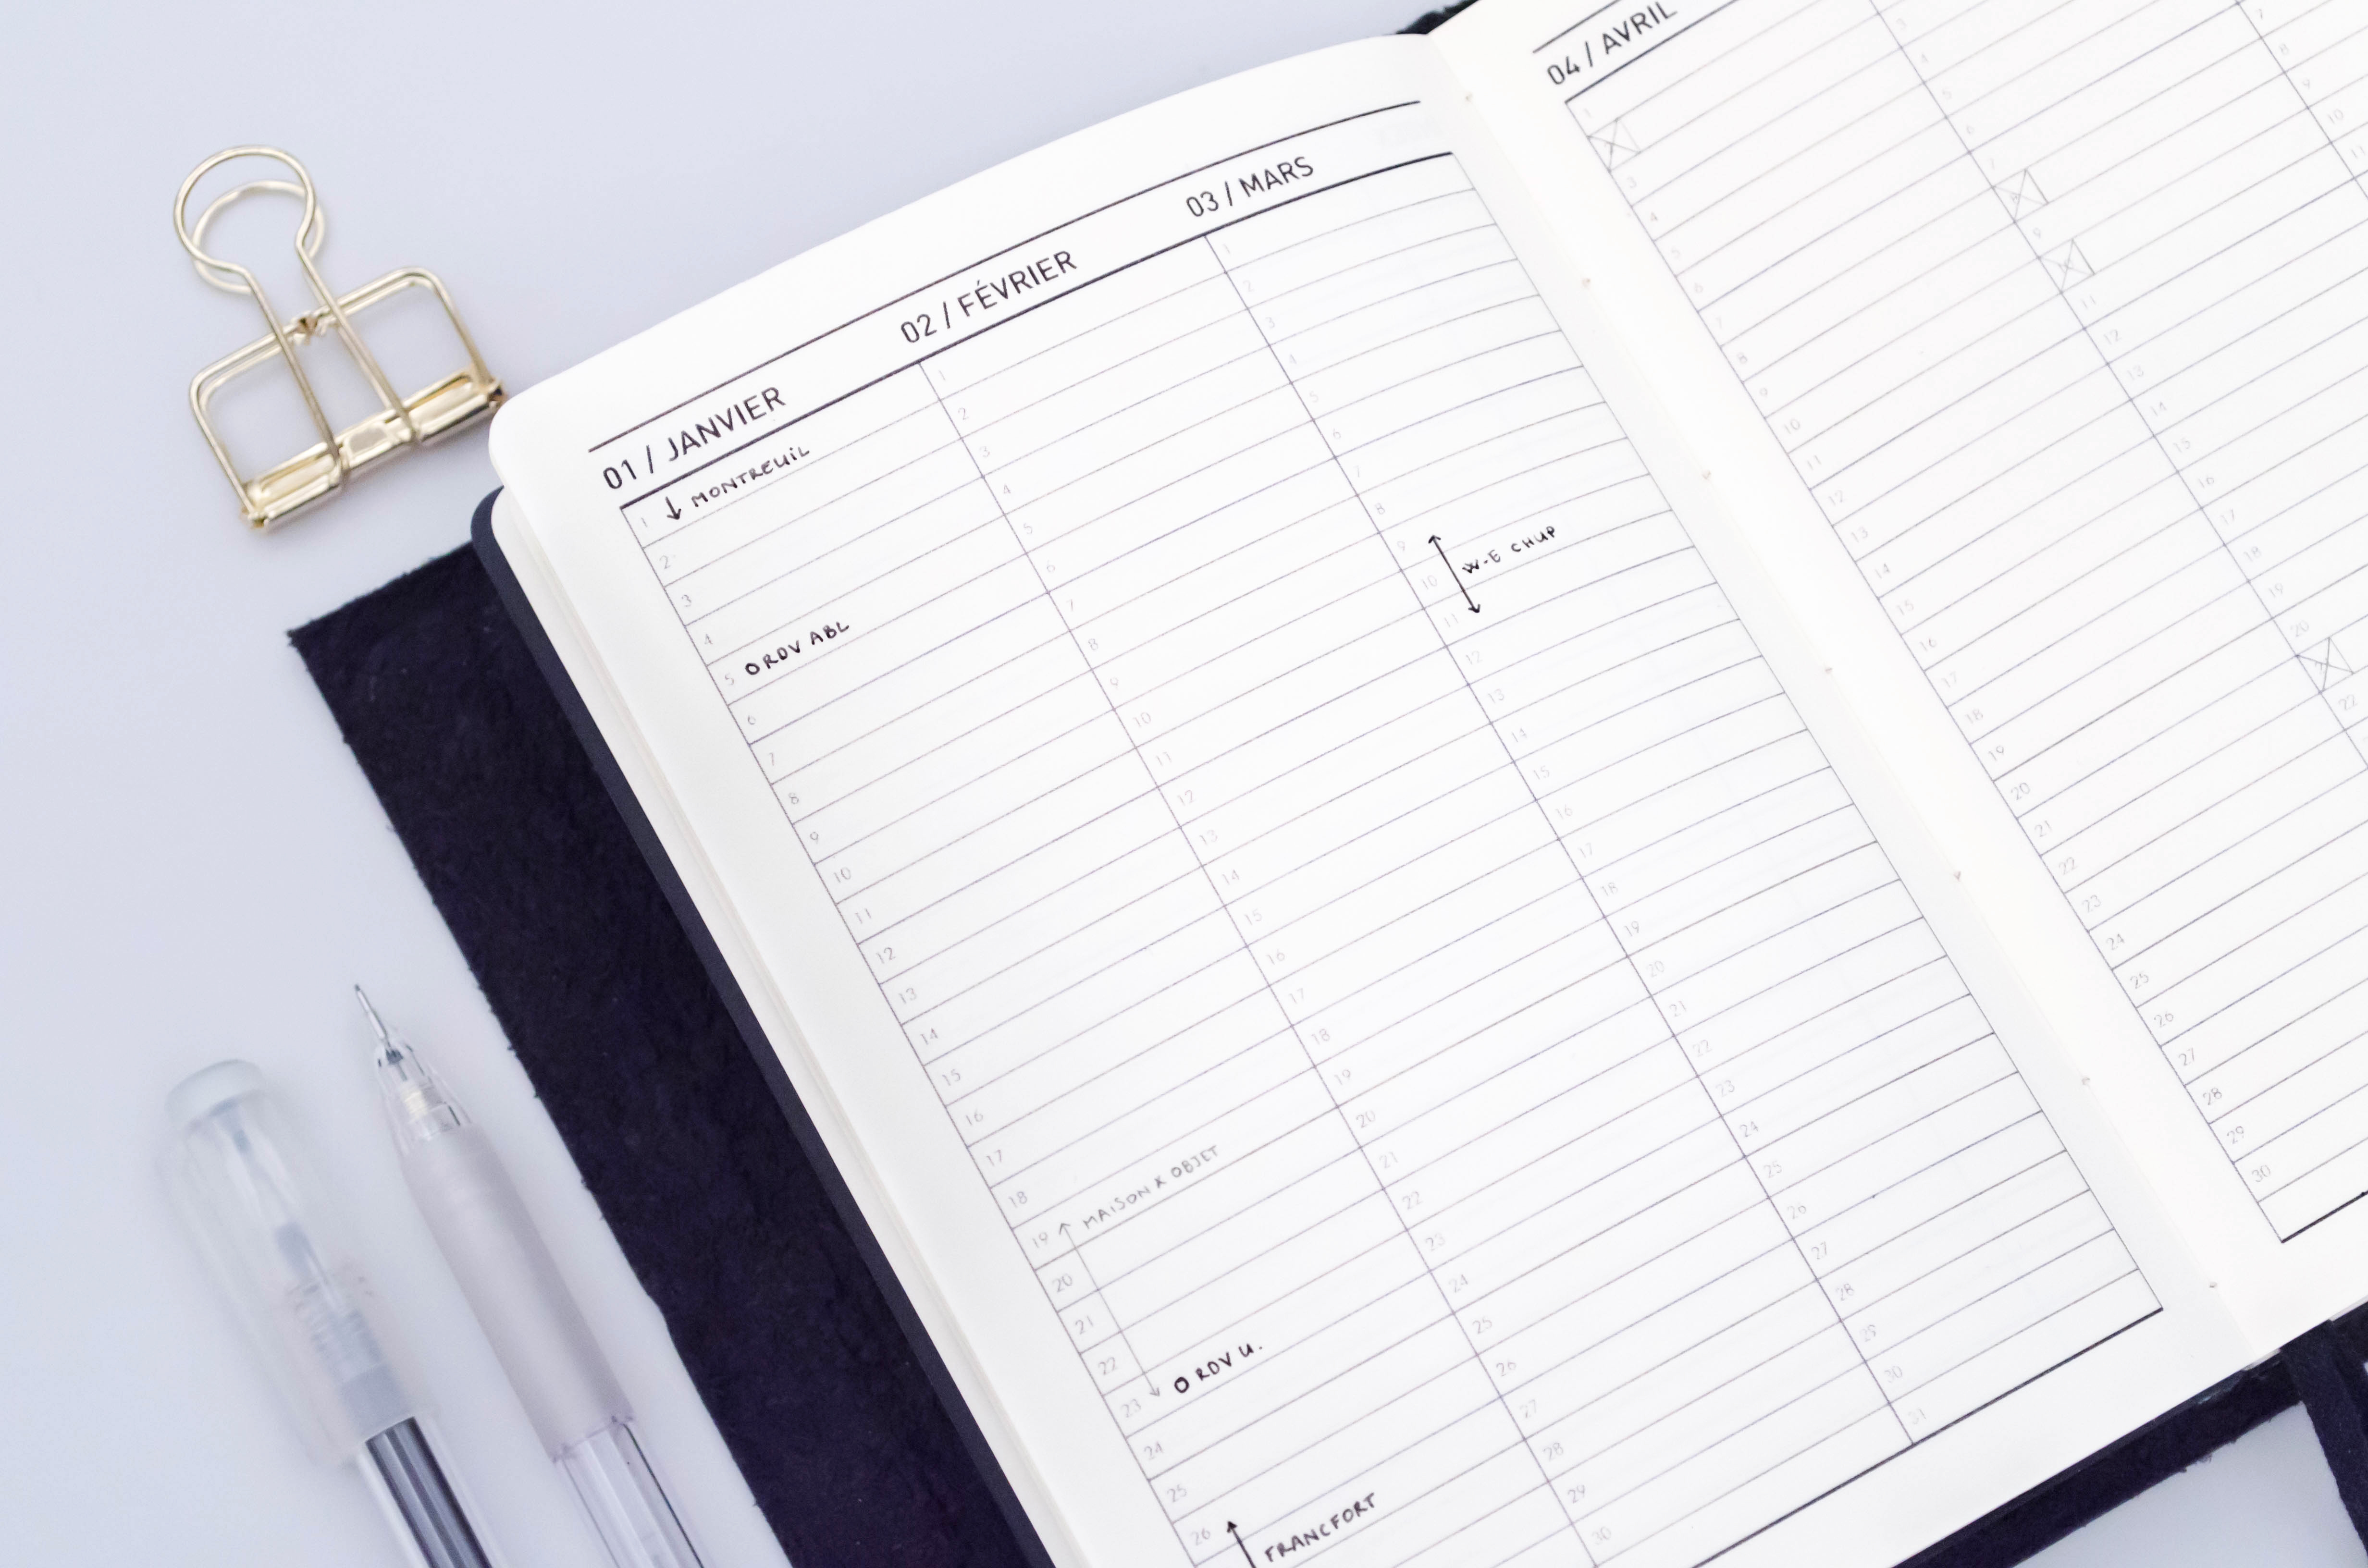
My future log is among the pre-printed spread of my 2018 bullet journal, along with the index.
Word of the year
I wasn’t aware that this was a thing until I came across a LOT of word of the year posts in Facebook groups. The idea is to pick a word and the meaning of it as a mantra for the whole year.
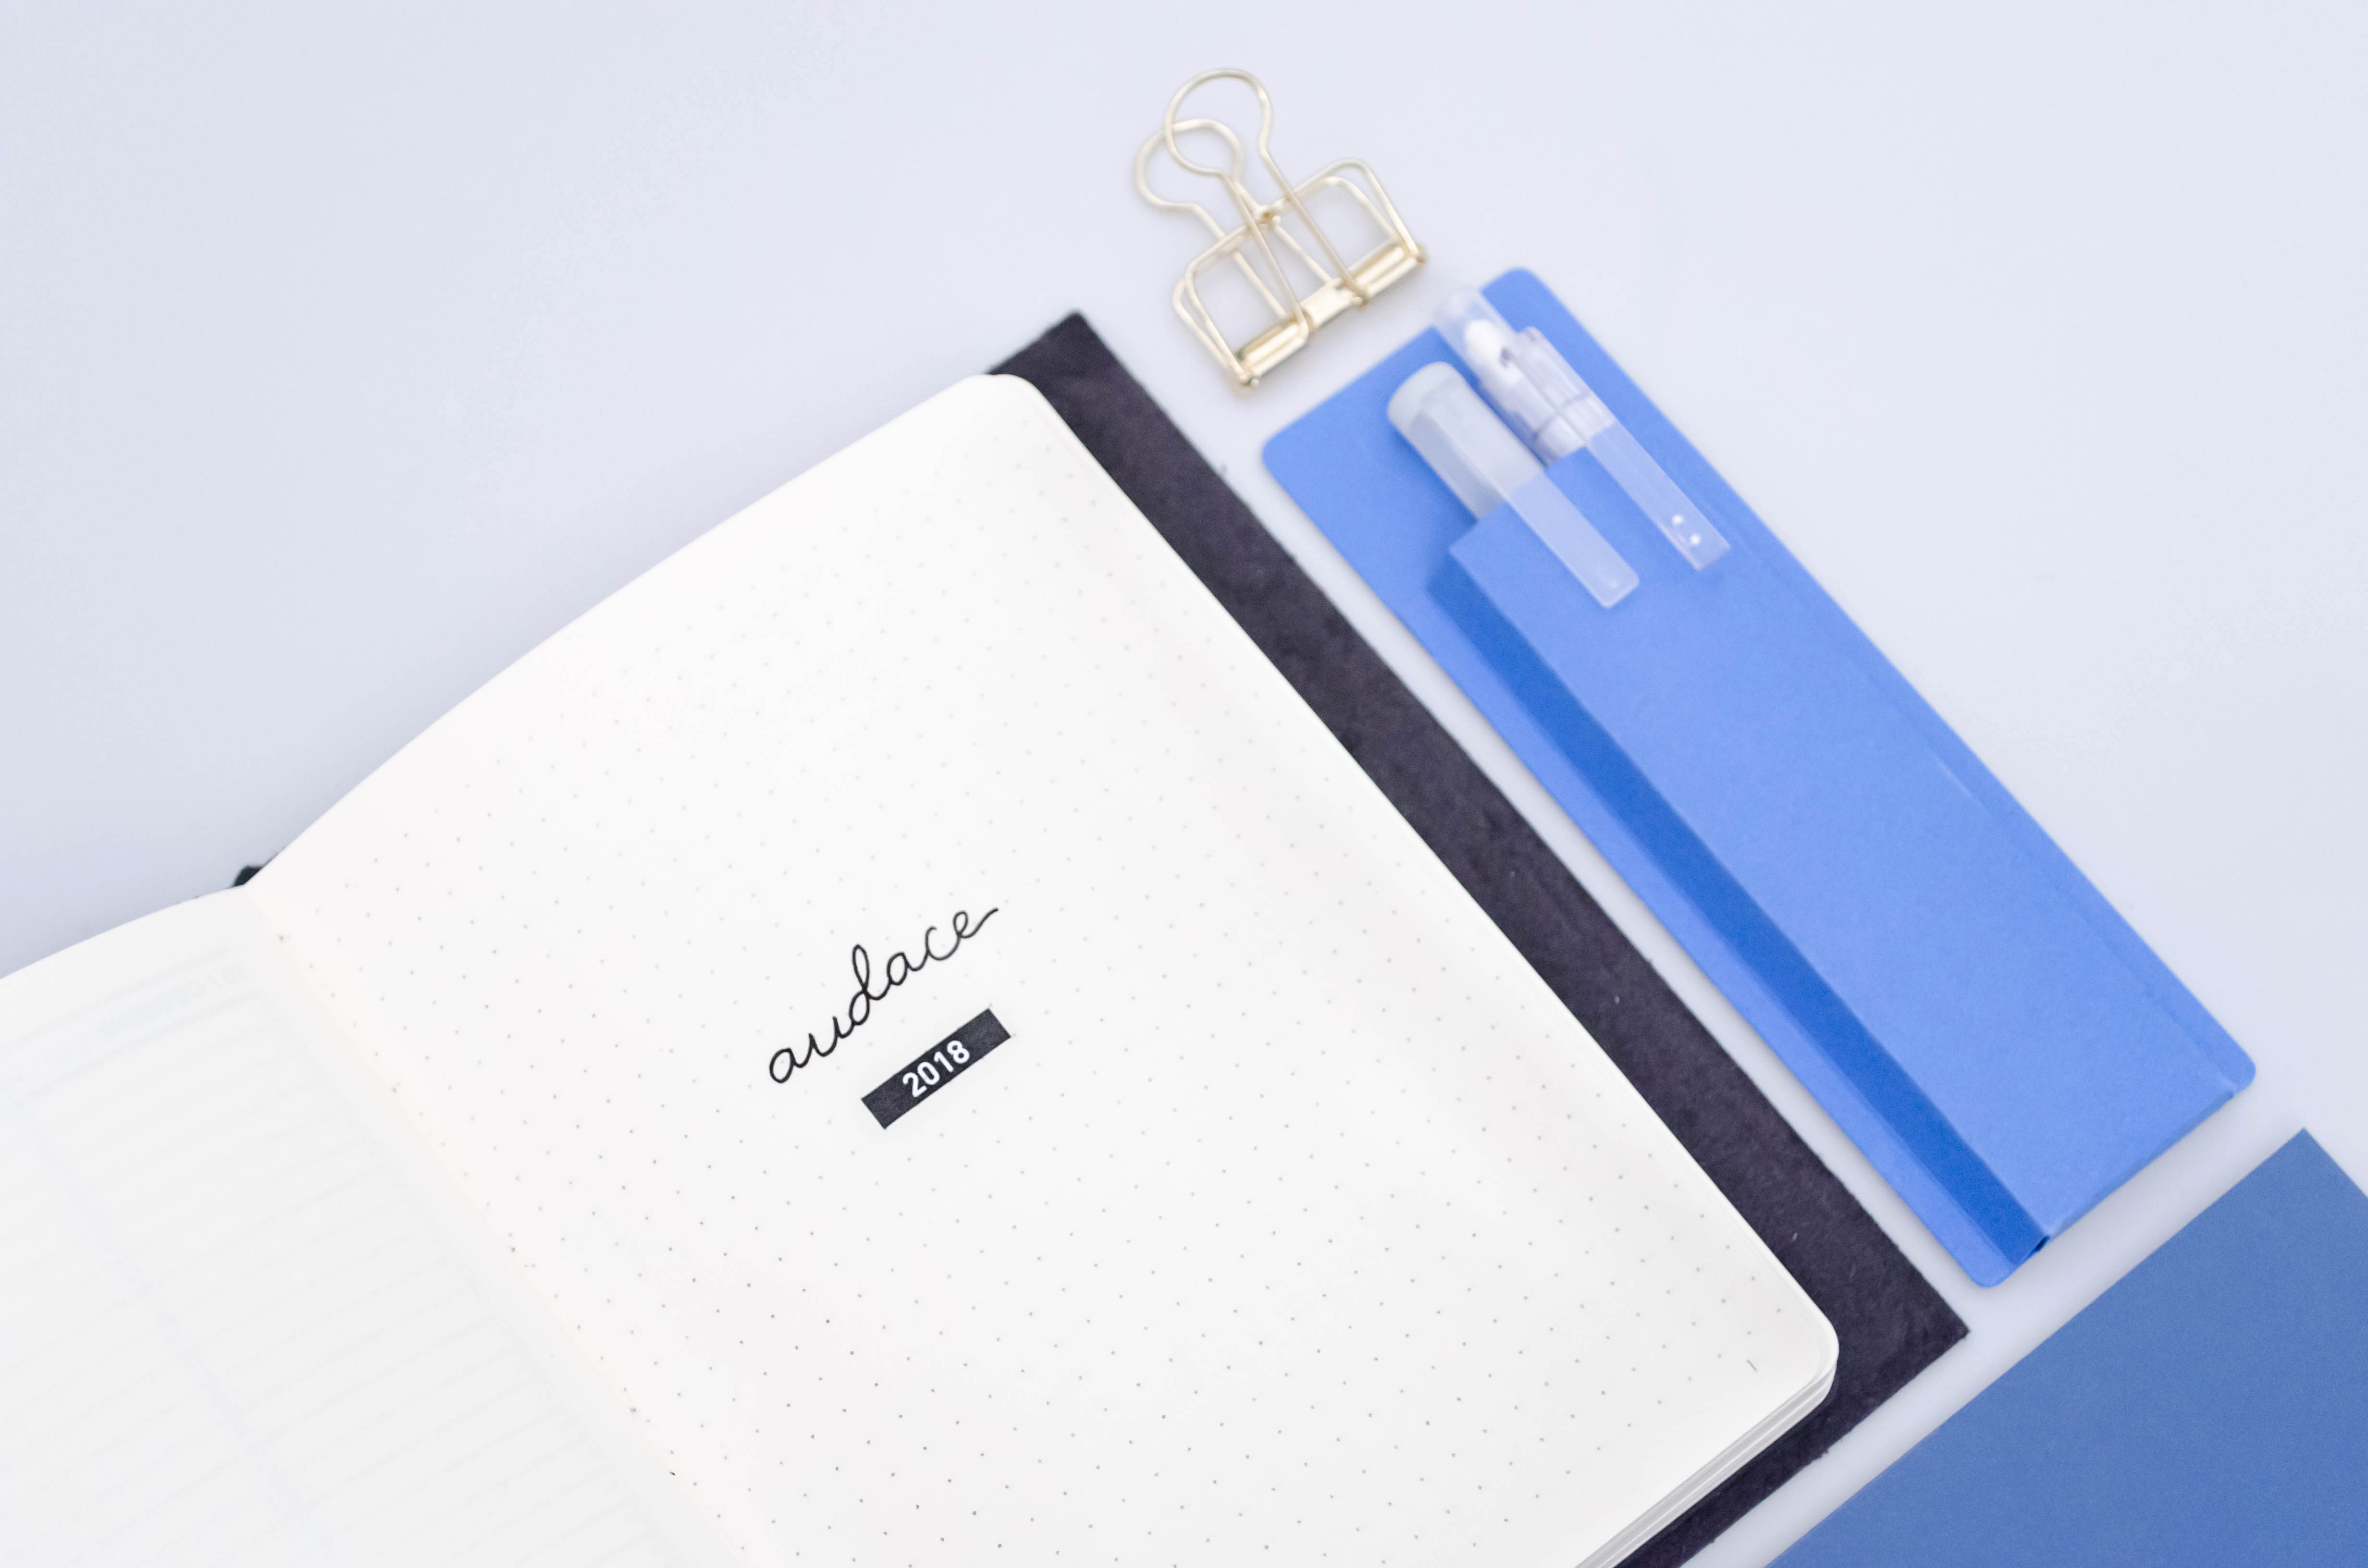
There’s been a lot of positive changes in both my personal and professional lives these past 11 months… I hardly realise that so many things happened in 2017. I stepped out of my comfort zone on many occasions and I really want to persevere in daring. So my 2018 word of the year is “Dare” and it lies on the very first page of my 2018 notebook as a constant reminder that I should follow my desires and not my fears!
Annual calendars
Beside my future log, I created 2 annual calendars that I’ll refer to when setting up my monthly logs. These collections are very likely to be reused for several years (unless I realize my best friend lied to me about his birth date… but that’s an other problem!).
- Birthdays using the Alastair Johnston’s system: I’m the worst when it comes to remember the birthdays of my friends and relatives…so I’m pretty sure this spread will be useful! Each tiny column stands for a month so that I can have the whole year lying on one page. The only change I made compared to Johnston’s method is that I wrote the exact date of birth in the column (instead of a dot and date next to the entry). The space left will be for gifts ideas.
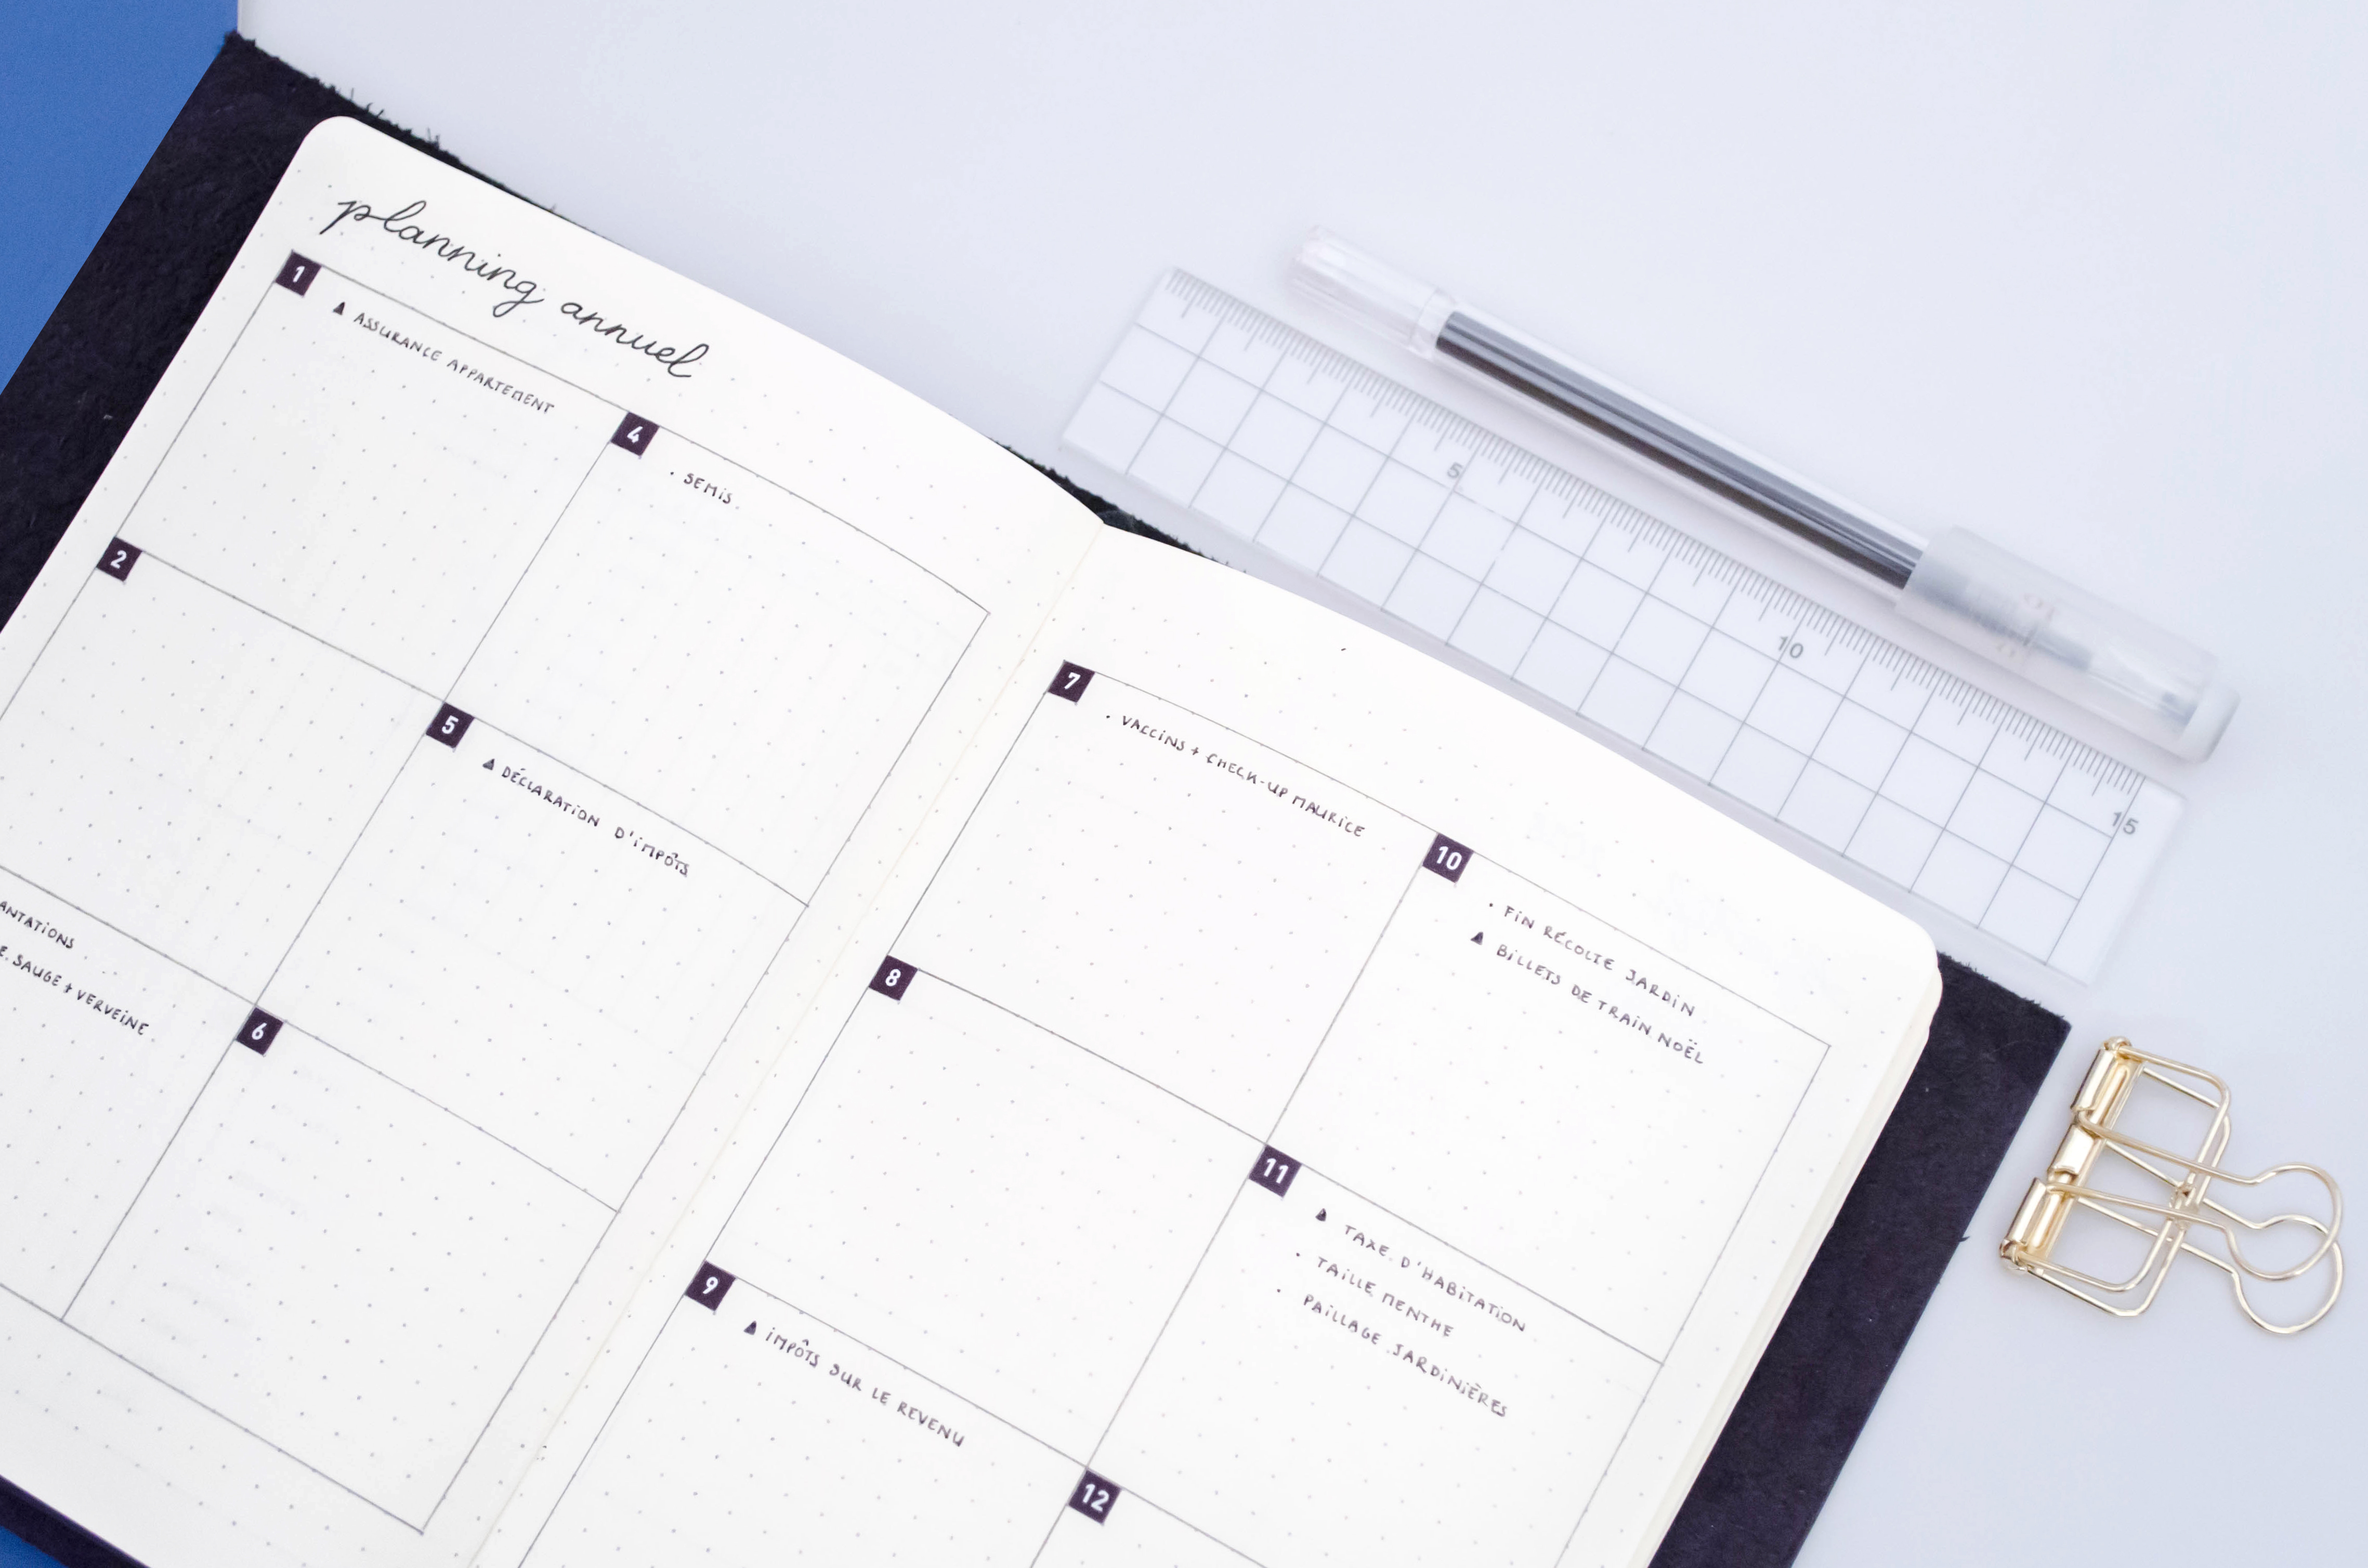
- Recurring tasks and events: I put all the recurring events and tasks in this overview. There are a lot of not so nice entries such as taxes due dates, subscription renewal, but also some happy ones (gardening recurring tasks, TV show releases…). One box stands for one month.

Yearly overview of recurring tasks and events.
Goals and bucket list
The 2 following pages are dedicated to my goals and my 2018 bucket list. I set 3 personal and 3 professional goals to achieve this year. Beside these goals that will be my focus, I also created a bucket list with 12 entries (one for each month of the year). The bucket list is meant to help me spice things up and help me to stay true to my word of the year!
Blog spreads
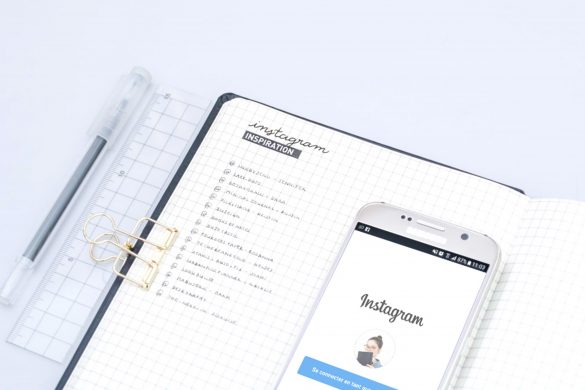
As one of my goals with this new journal is to keep everything in one single notebook, I also migrated some of my blog spreads from my blog journal to my 2018 bullet journal. These collections aim to help me manage the blog easily and to keep my blog projects on tracks.
2018 metrics and recurring tasks
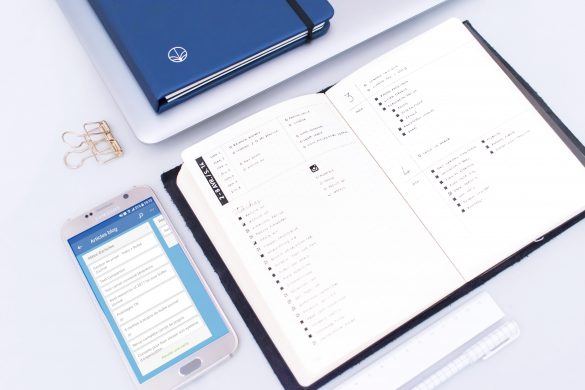
As I explained in the post I wrote about my blog journal, I keep track of some metrics on a monthly basis: amount of visits, sessions, following on social medias… This spread helps me to have an overview of how the blog is doing. Even though the blog is not my full time job, it’s always cheering to see the figures grow as I put a lot of time and energy in it!
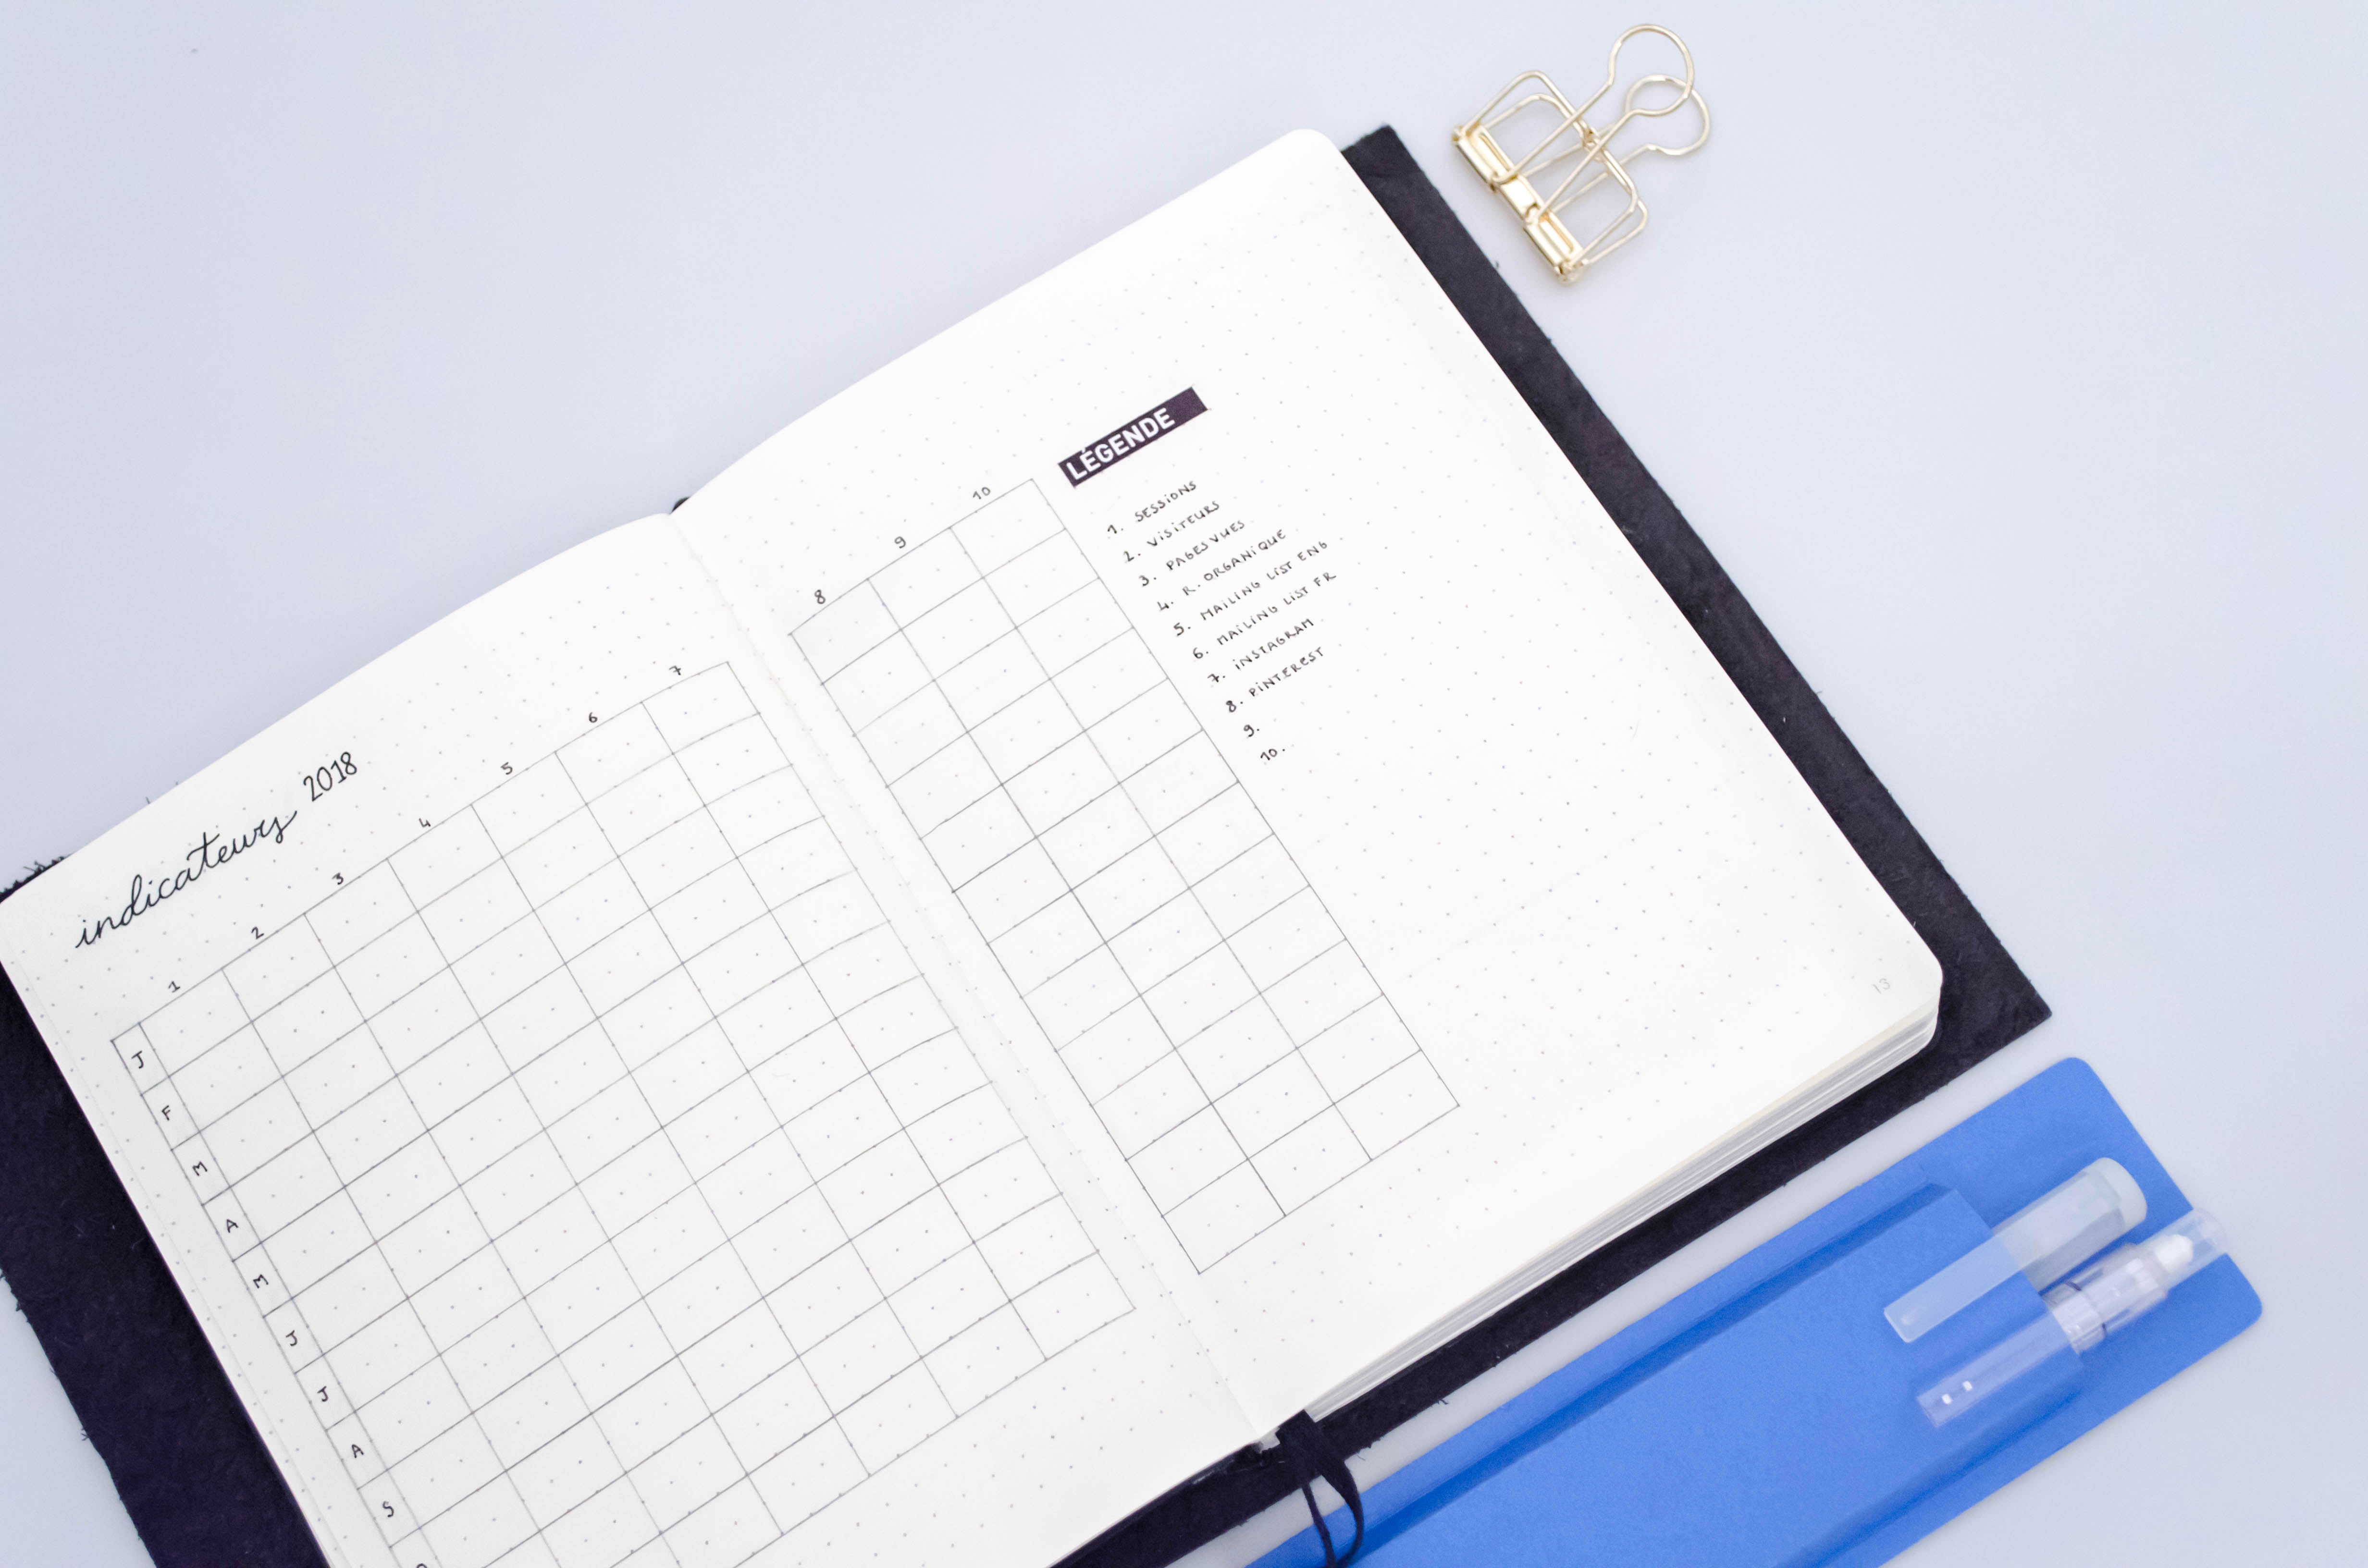
My blog metrics collection will be updated on a monthly basis.
Having a blog takes organisation. I started to work on some routines in 2017 and expect to make them habits in 2018. To help me save time, I created 2 checklists of tasks to achieve at the end of each quarter and each month: create a back up of the blog, log the stats…
Editorial calendars and projects
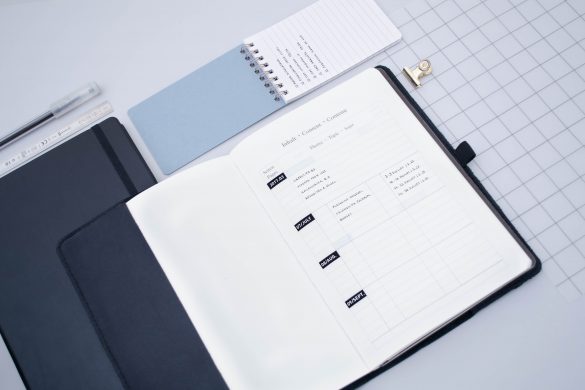
I kept this collection as I migrated my blog journal in my 2018 bullet journal as I found it so helpful in 2017. My editorial calendar is a quarterly spread, unlike the previous blog collections that are yearly ones.
My editorial calendar helps me to plan the post releases. For each post I plan to work on, I created a tag on a sticky note, that I then put in the boxes to draw a schedule (1 box stands for 1 week). This way, I can have an overview of my work schedule, and move the tags around if I need to change the initial plan.
On the right page, I started a list of blog related projects I want to achieve or start.

My dynamic editorial calendar is a tried and true.
I’ve been migrating very few collections from my blog journal to my new bullet journal, as most of them are getting digital. It especially true for all the master checklists I was using in my notebook: I’m currently experimenting a bullet journal + Trello combo to manage the blog posts writing process. And if I realise that it doesn’t fit my needs, I can always re-create the spreads as needed.
Now that my 2018 bullet journal is (almost) set up, I can’t wait to start using it. I honestly never really understood the new year fever… But now that I’m ready for 2018, I have to admit that I’m joining the party at last. After all the changes 2017 brought, I hope that 2018 will be as full of growth and surprises. In any case, I’ll definitely rely on my bullet journal to help me stay on top of things!
PS: I hesitated to share my January monthly set-up as well, but decided that it would be more interesting to give you a flipthrough and feedback at the end of the month!
Do you start a new notebook with the new year too? Are you trying something different for 2018?
This post features affiliate links. Purchases made from it earn me a modest commission at no cost to you. Thank you for your support!