It’s now been a bit more than a month since I came back from my trip in Ecuador… And it already feels like it’s been decades. Luckily, I still have my travel journal to bring memories back and imagine that the journey isn’t over yet. I make a travel journal for each of my trips. As I’m planning my coming adventures in Barcelona, I thought I’d share some tips and tricks on how to make a travel journal!
And I included a travel journal printable to be downloaded at the end of the post!
How to make a travel journal
step 1: Pick the right notebook
You can use any notebook to start your travel journal. But there are some criteria to take into account depending on the travel journal you’d like to craft.
Paper quality:
If you’re just planning to write and paste stuff in your travel journal, almost any notebook will do the job. If you’re planning to doodle and eventually use paint in it, you should pay extra attention to the paper quality of the notebook you chose. Pick a notebook with thick paper that will be watercolour and ink friendly.
Here are some options you can consider:
- Scribbles that matters (A5 dotted journal, 201 numbered pages, 100gsm paper)
- Dingbats (A5 dotted journal, 192 pages, 100gsm paper)
- Archer & Olive sketch notebook (A5 blank journal, 112 pages, 160gsm paper)
You can also decide to get a regular notebook, doodle and paint on loose paper and then paste your sketches in your travel journal.
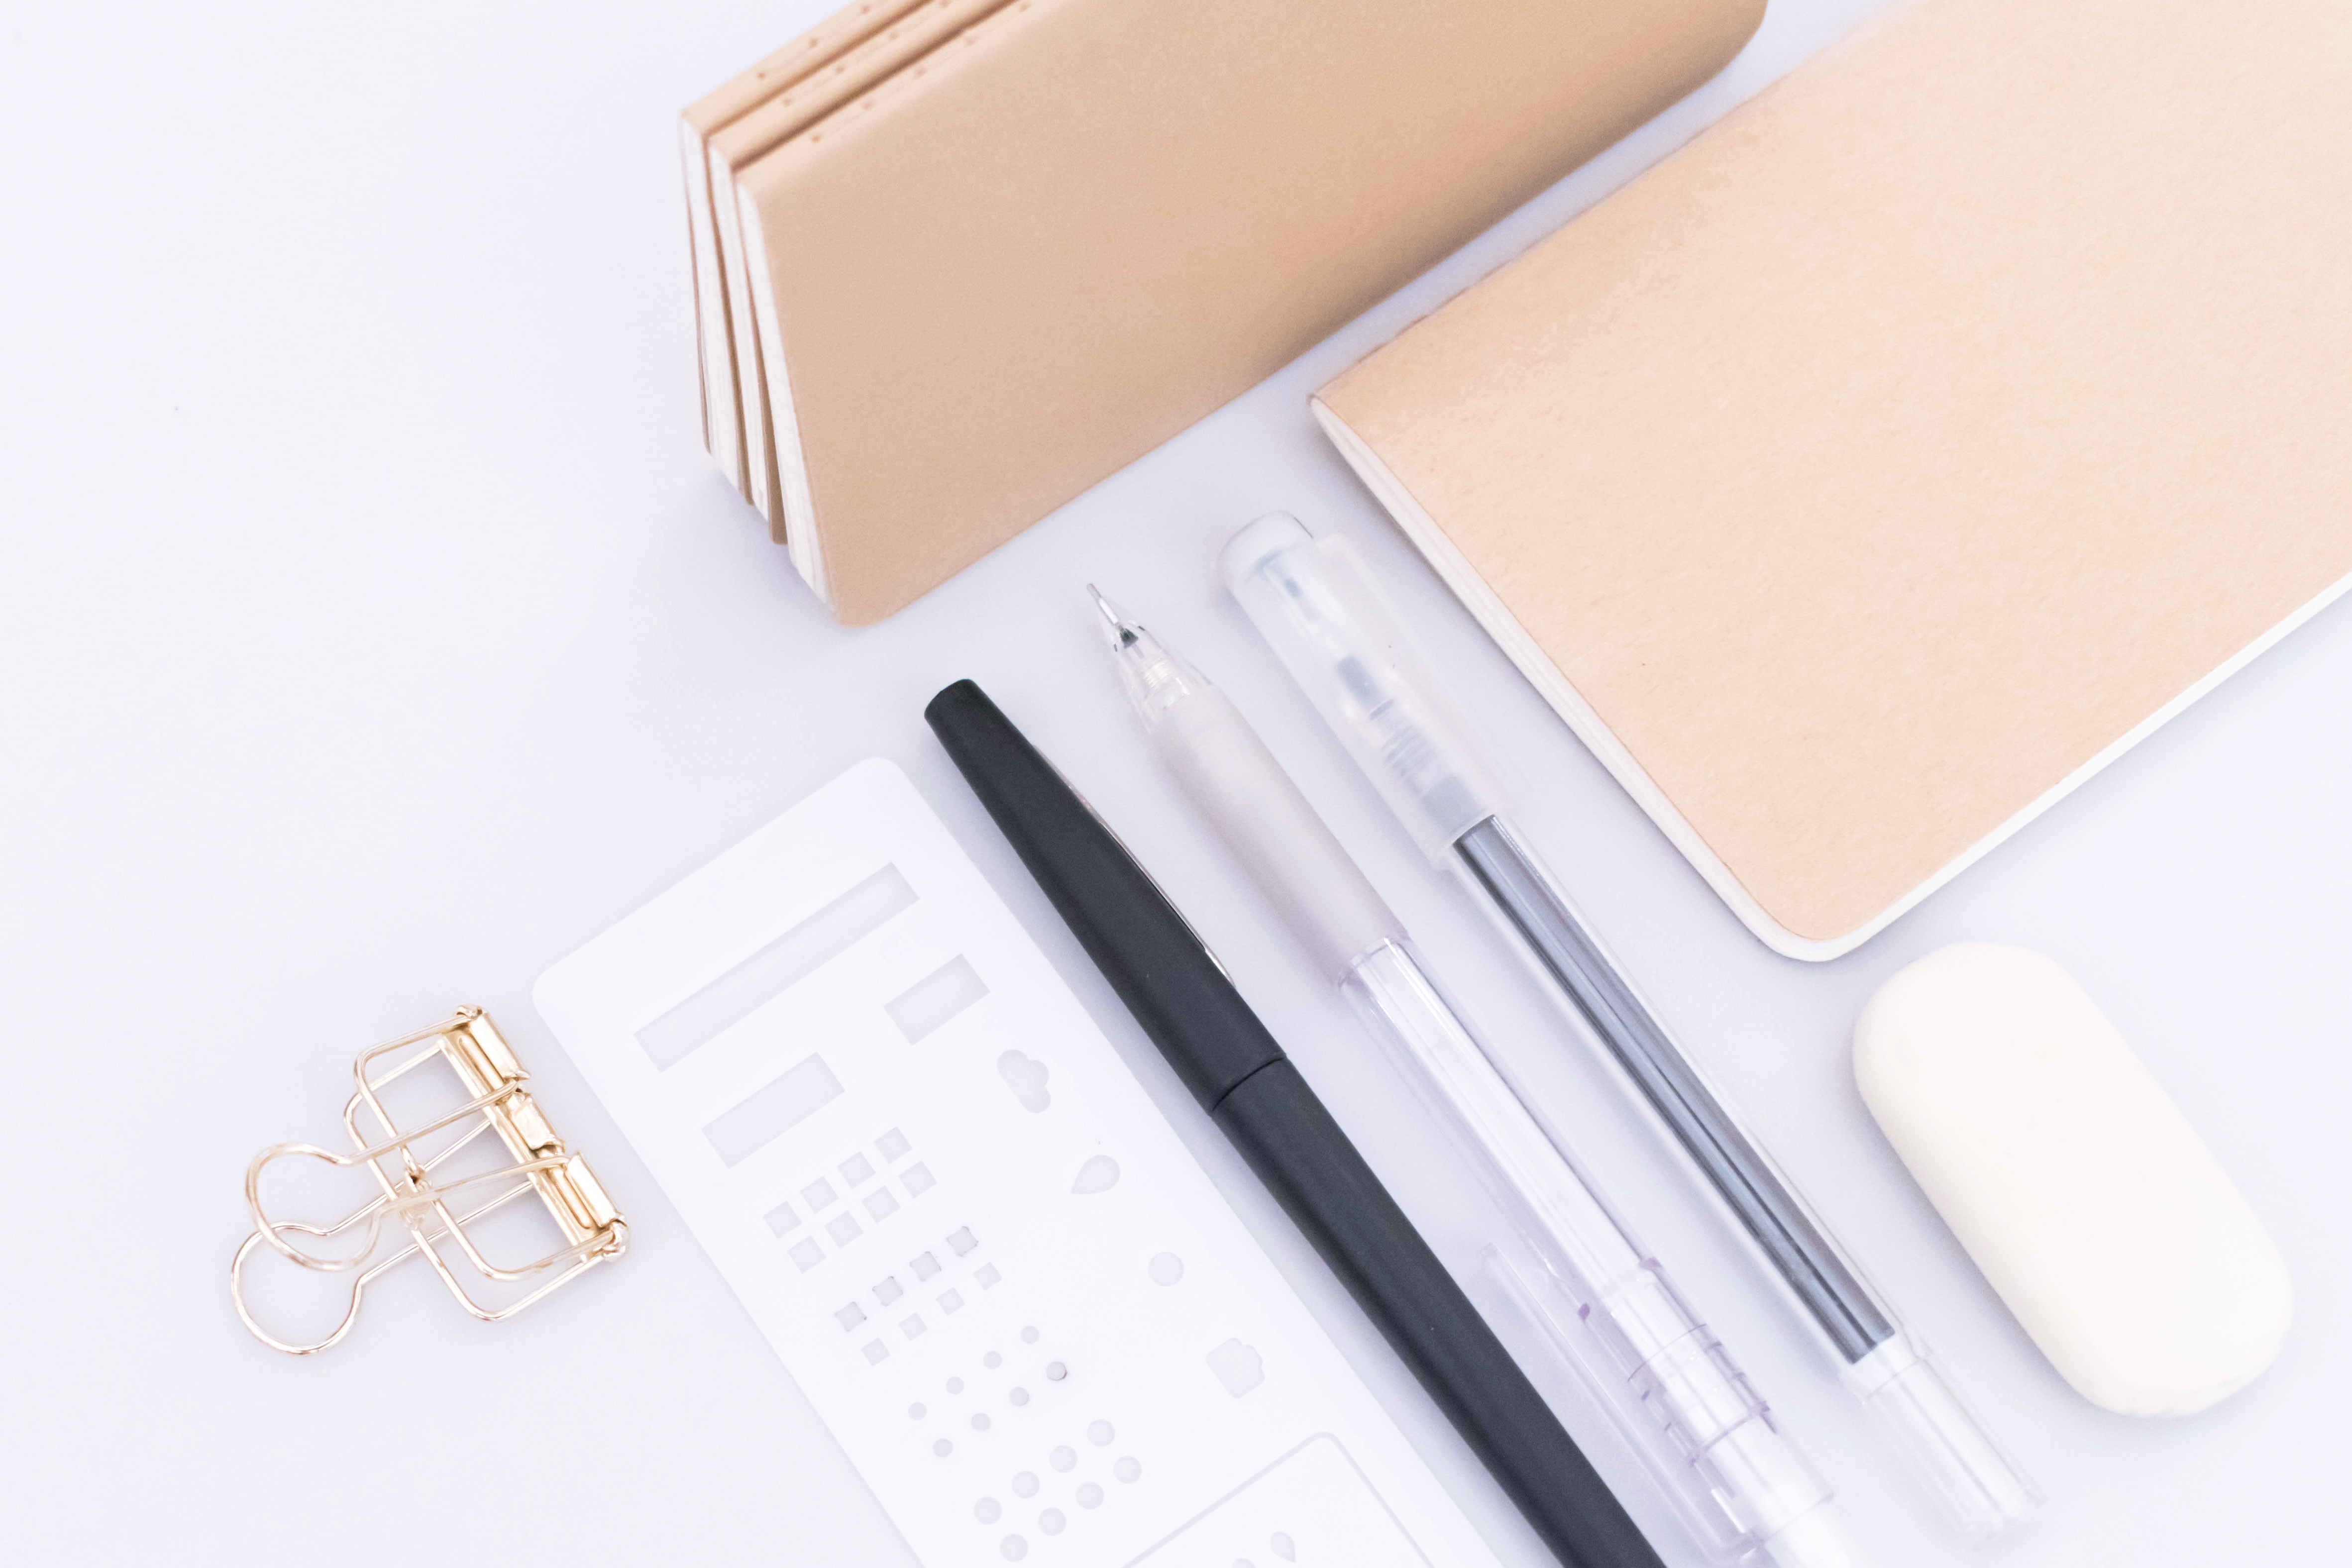
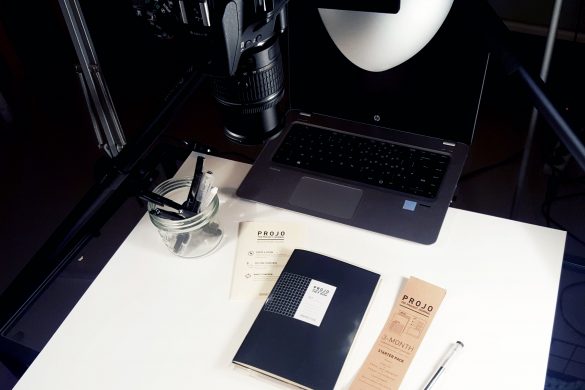
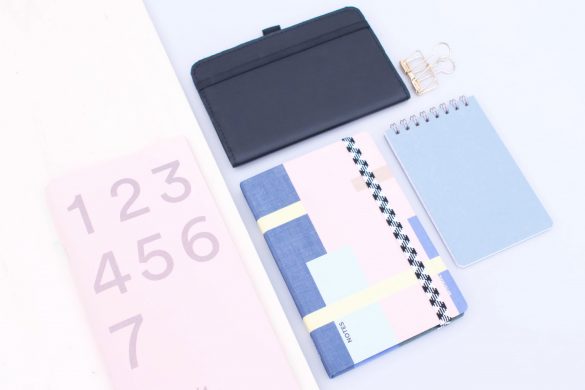
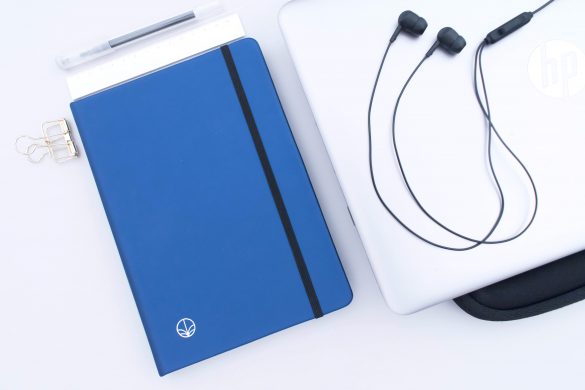
My super simple travel journal kit: notebooks, pens and a stencil.
Notebook size & number of pages:
The second thing to consider before buying a notebook to make a travel journal is its size. Think of the kind of travel or vacations you want to use this travel journal for. If you’re planning to head to some place and stay there for several days / weeks, anything between A5 and B6 size will be perfect. You’ll have plenty of room to write, paste and sketch to keep memories.
- Leuchtturm medium (A5 notebook, 249 dotted pages)
- Moleskine journal (13x21cm notebook, 80 ruled pages, 70gsm paper)
- Lemome notebook (A5 journal, 180 dotted pages, 125gsm paper)
On the opposite, if you know you’ll be on the road most of the time, maybe a smaller notebook would be better: the A6 size (named pocket by some brands) is a great option in that case. It’s lighter and small and will easily fit almost any of your bags.
- Rhodia webnotebook A6 (A6 notebook, 192 dotted pages, 90gsm paper)
- Moleskine pocket (9×14 cm notebook, 64 squared pages, 70 gsm paper)
I personally use Moleskine pocket notebooks as travel journals. They feature only 64 pages, but I find them perfect as they’re super light. I usually use 1 notebook for 1 week of memories, as I include a lot of pictures in my journals.
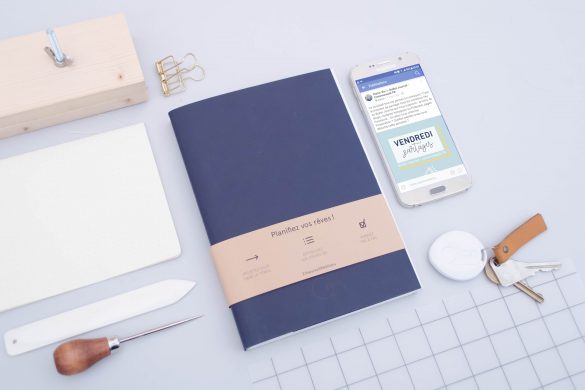
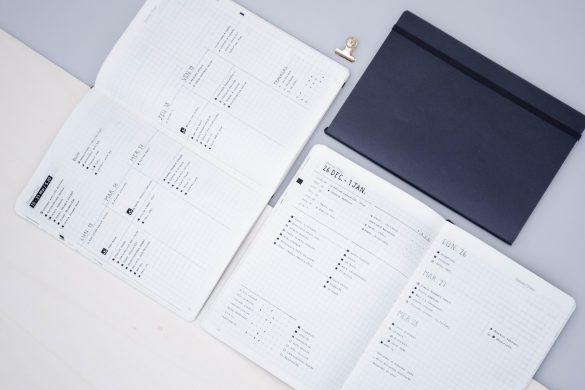
An other option is to use your regular planner as a travel journal. It only takes some imagination to turn your regular layout into a memory log. Passion Planner is regularly sharing some tips & tricks on their Instagram feed to do so.
In addition to your notebook, consider bringing some paste and scissors to cut papers to size. It’s up to you to decide which pens and craft material you take with you. But don’t pack too many things: we usually overestimate the time and energy we’ll be able able to put in a travel journal… So keep it simple!
How to make a travel journal
Step 2: Outline your journal
Once you have your notebook, you may wonder how to make a travel journal in it and where to start.
There’s actually 3 kind of spreads you can include in a travel journal:
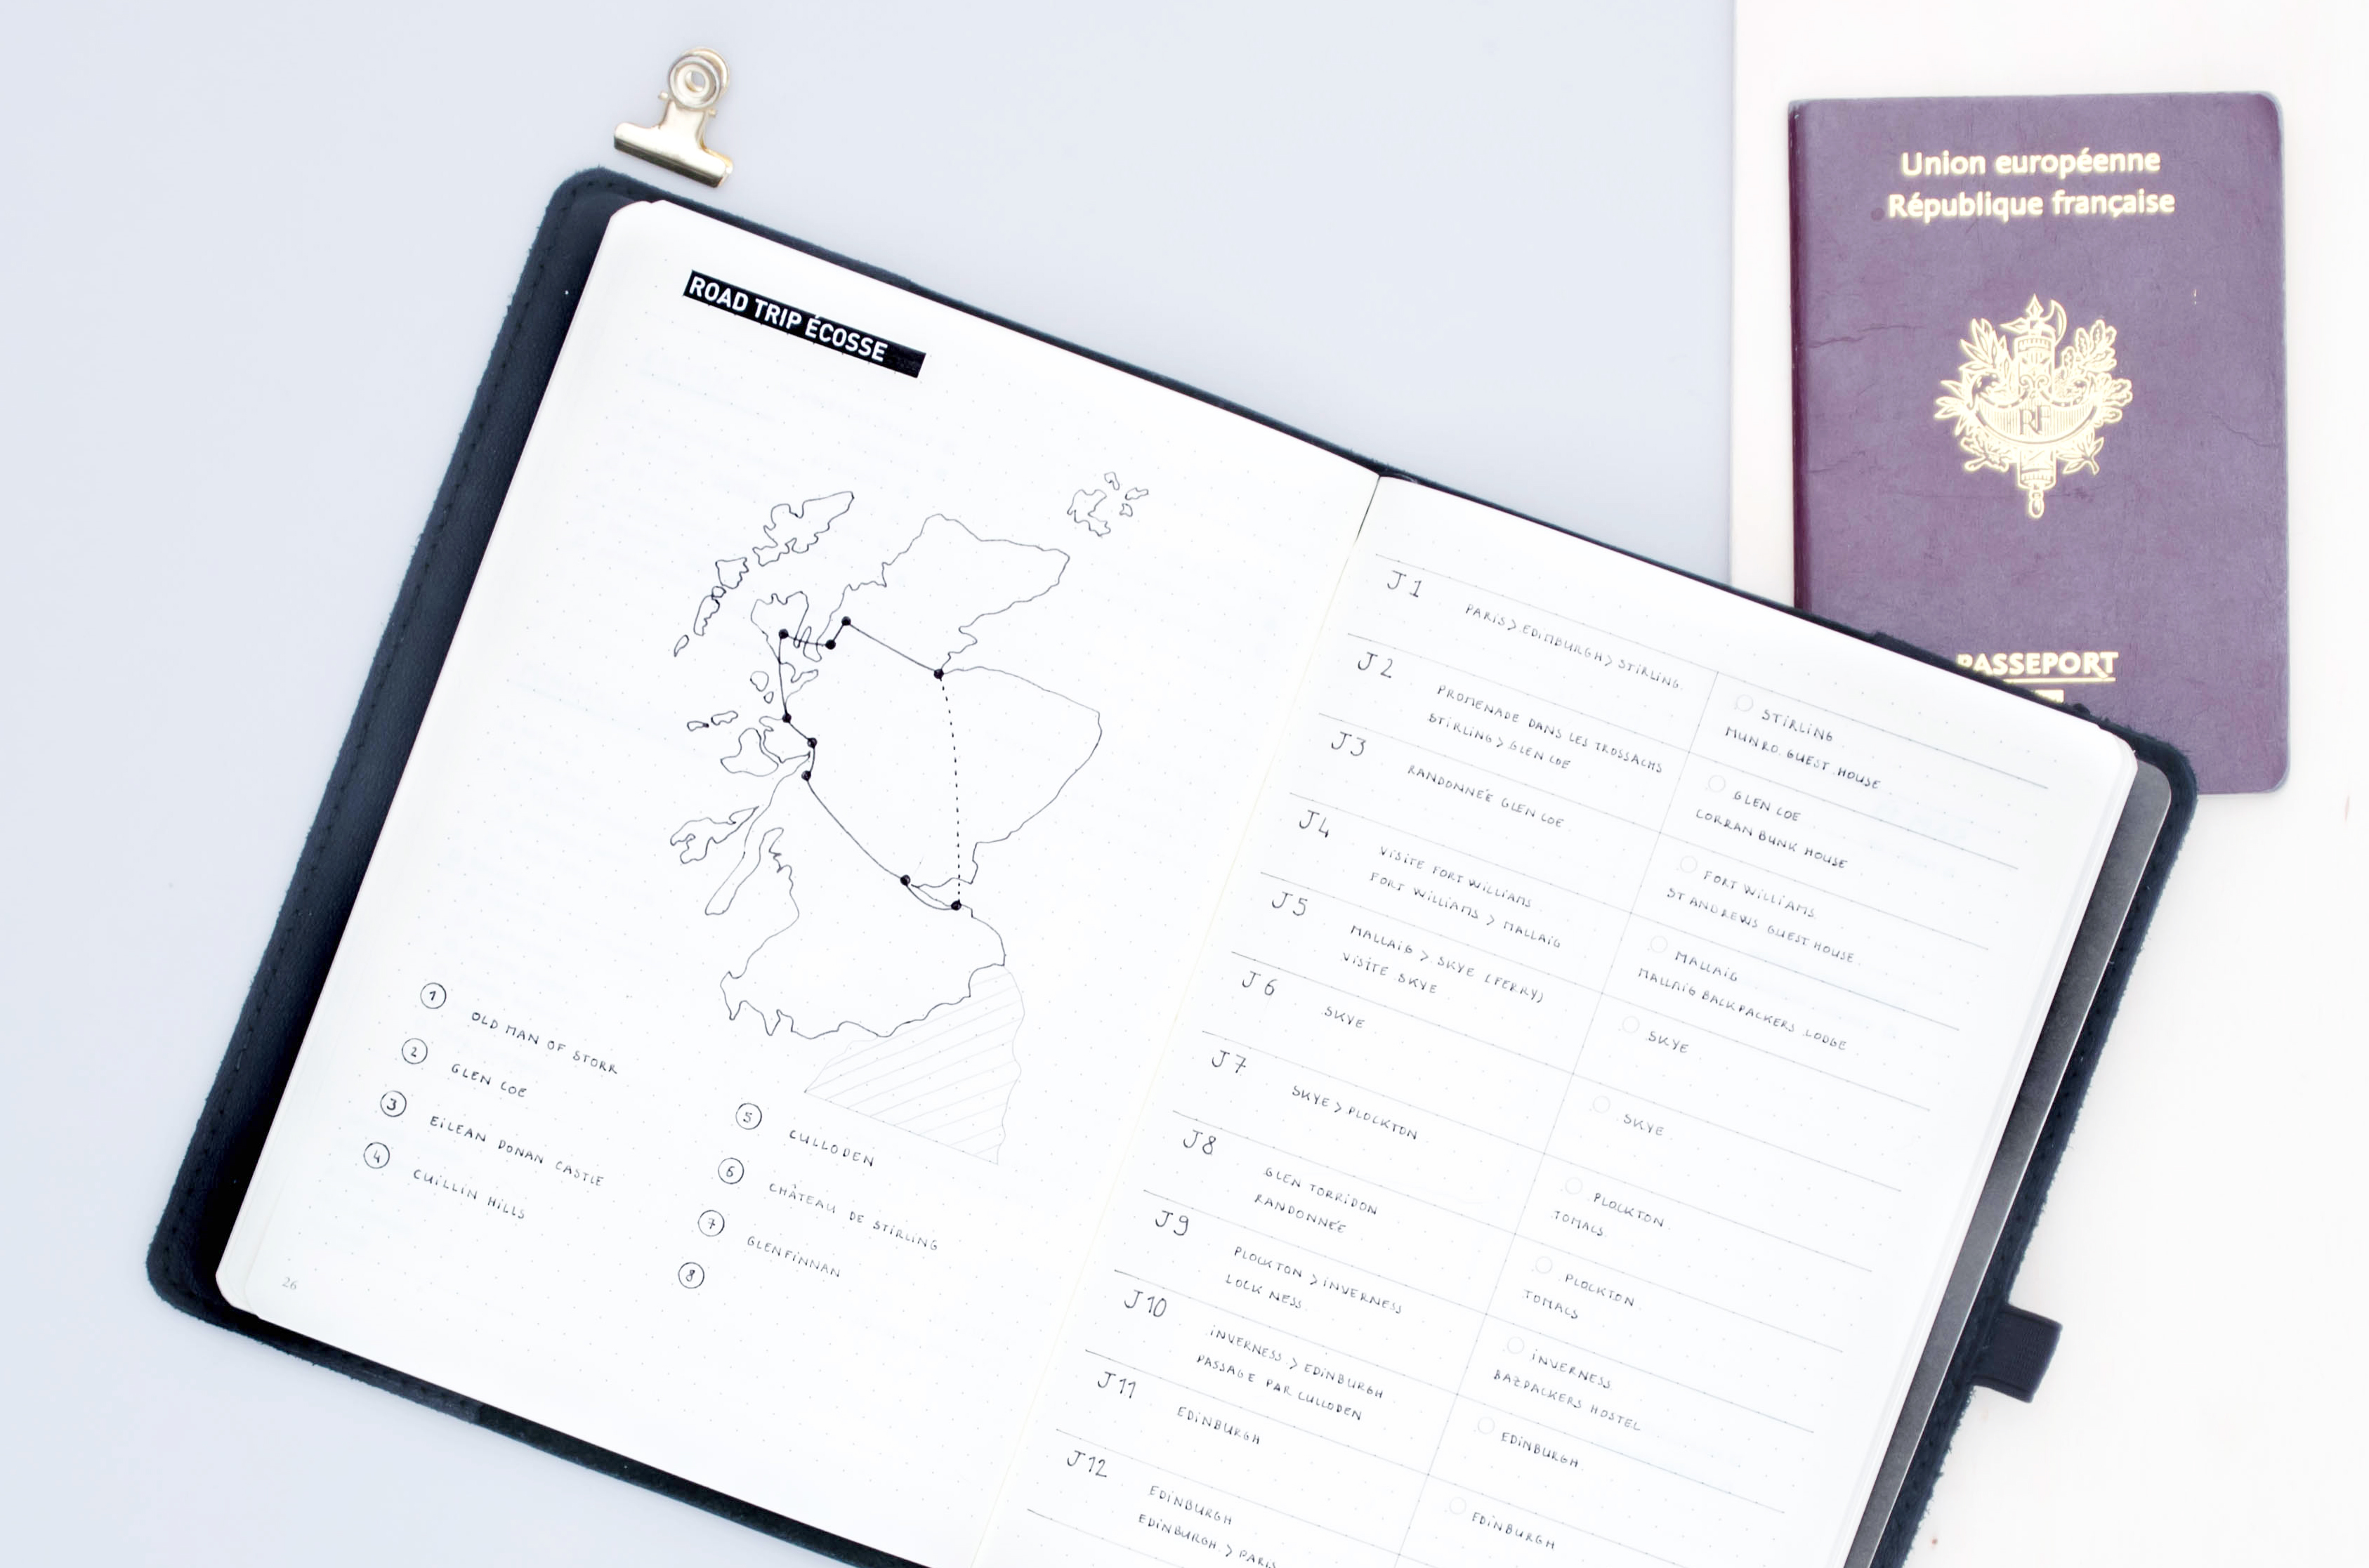
Planning spreads: these are the one you’ll mostly use before your go. It includes itinerary spreads, packing lists, things to do & things to buy before you leave… Just create them as it becomes clear that you need it.
Daily use spreads: this includes useful informations you may need during your trip (like restaurants to try or things to see) and all the memories pages you’ll create to document your adventure on a daily basis.
Back home spreads: don’t neglect the spreads you’ll use after your return home. It can be a “back to work” checklist, a map that sums up your overall itinerary… It really depends on what you need!
Make sure to leave some blank pages at the beginning of your journal if you’re planning to index its content. You can also use edge indexing as an alternative.
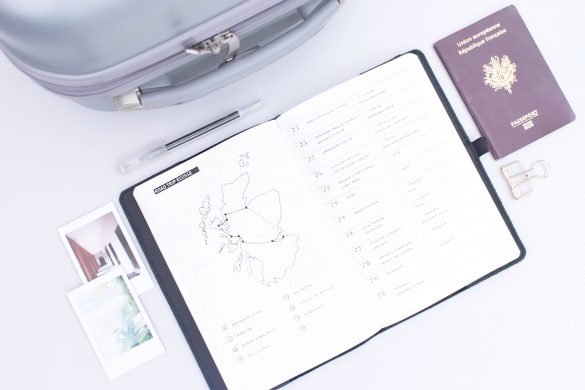
If you’d like some inspiration to create your spreads, check my 10 travel journal spreads post, and my travel journal tour article, featuring the travel journal I used in Edinburgh.
How to make a travel journal
Step 3: Take time everyday to write in it
There’s no secret to keep a travel journal. It’s the same rule for any kind of journaling: you need to be consistent and take time everyday to write in it. The whole point of keeping a travel journal is to create memories that will last forever. And in this matter, trust me, consistency is key!
In the case of a travel journal, you may not have time or energy to write everyday. And that’s normal: when you leave for a hike at 7am and get back at sundown, you may not be in the mood of writing. Still, try to not let more than 2 or 3 days pass without writing in your journal. If your memory is as tricky as mine, you’d lost most of the details of what you’ve done during the day.
The secret of keeping a travel journal is to stay consistent and write every single day in it.
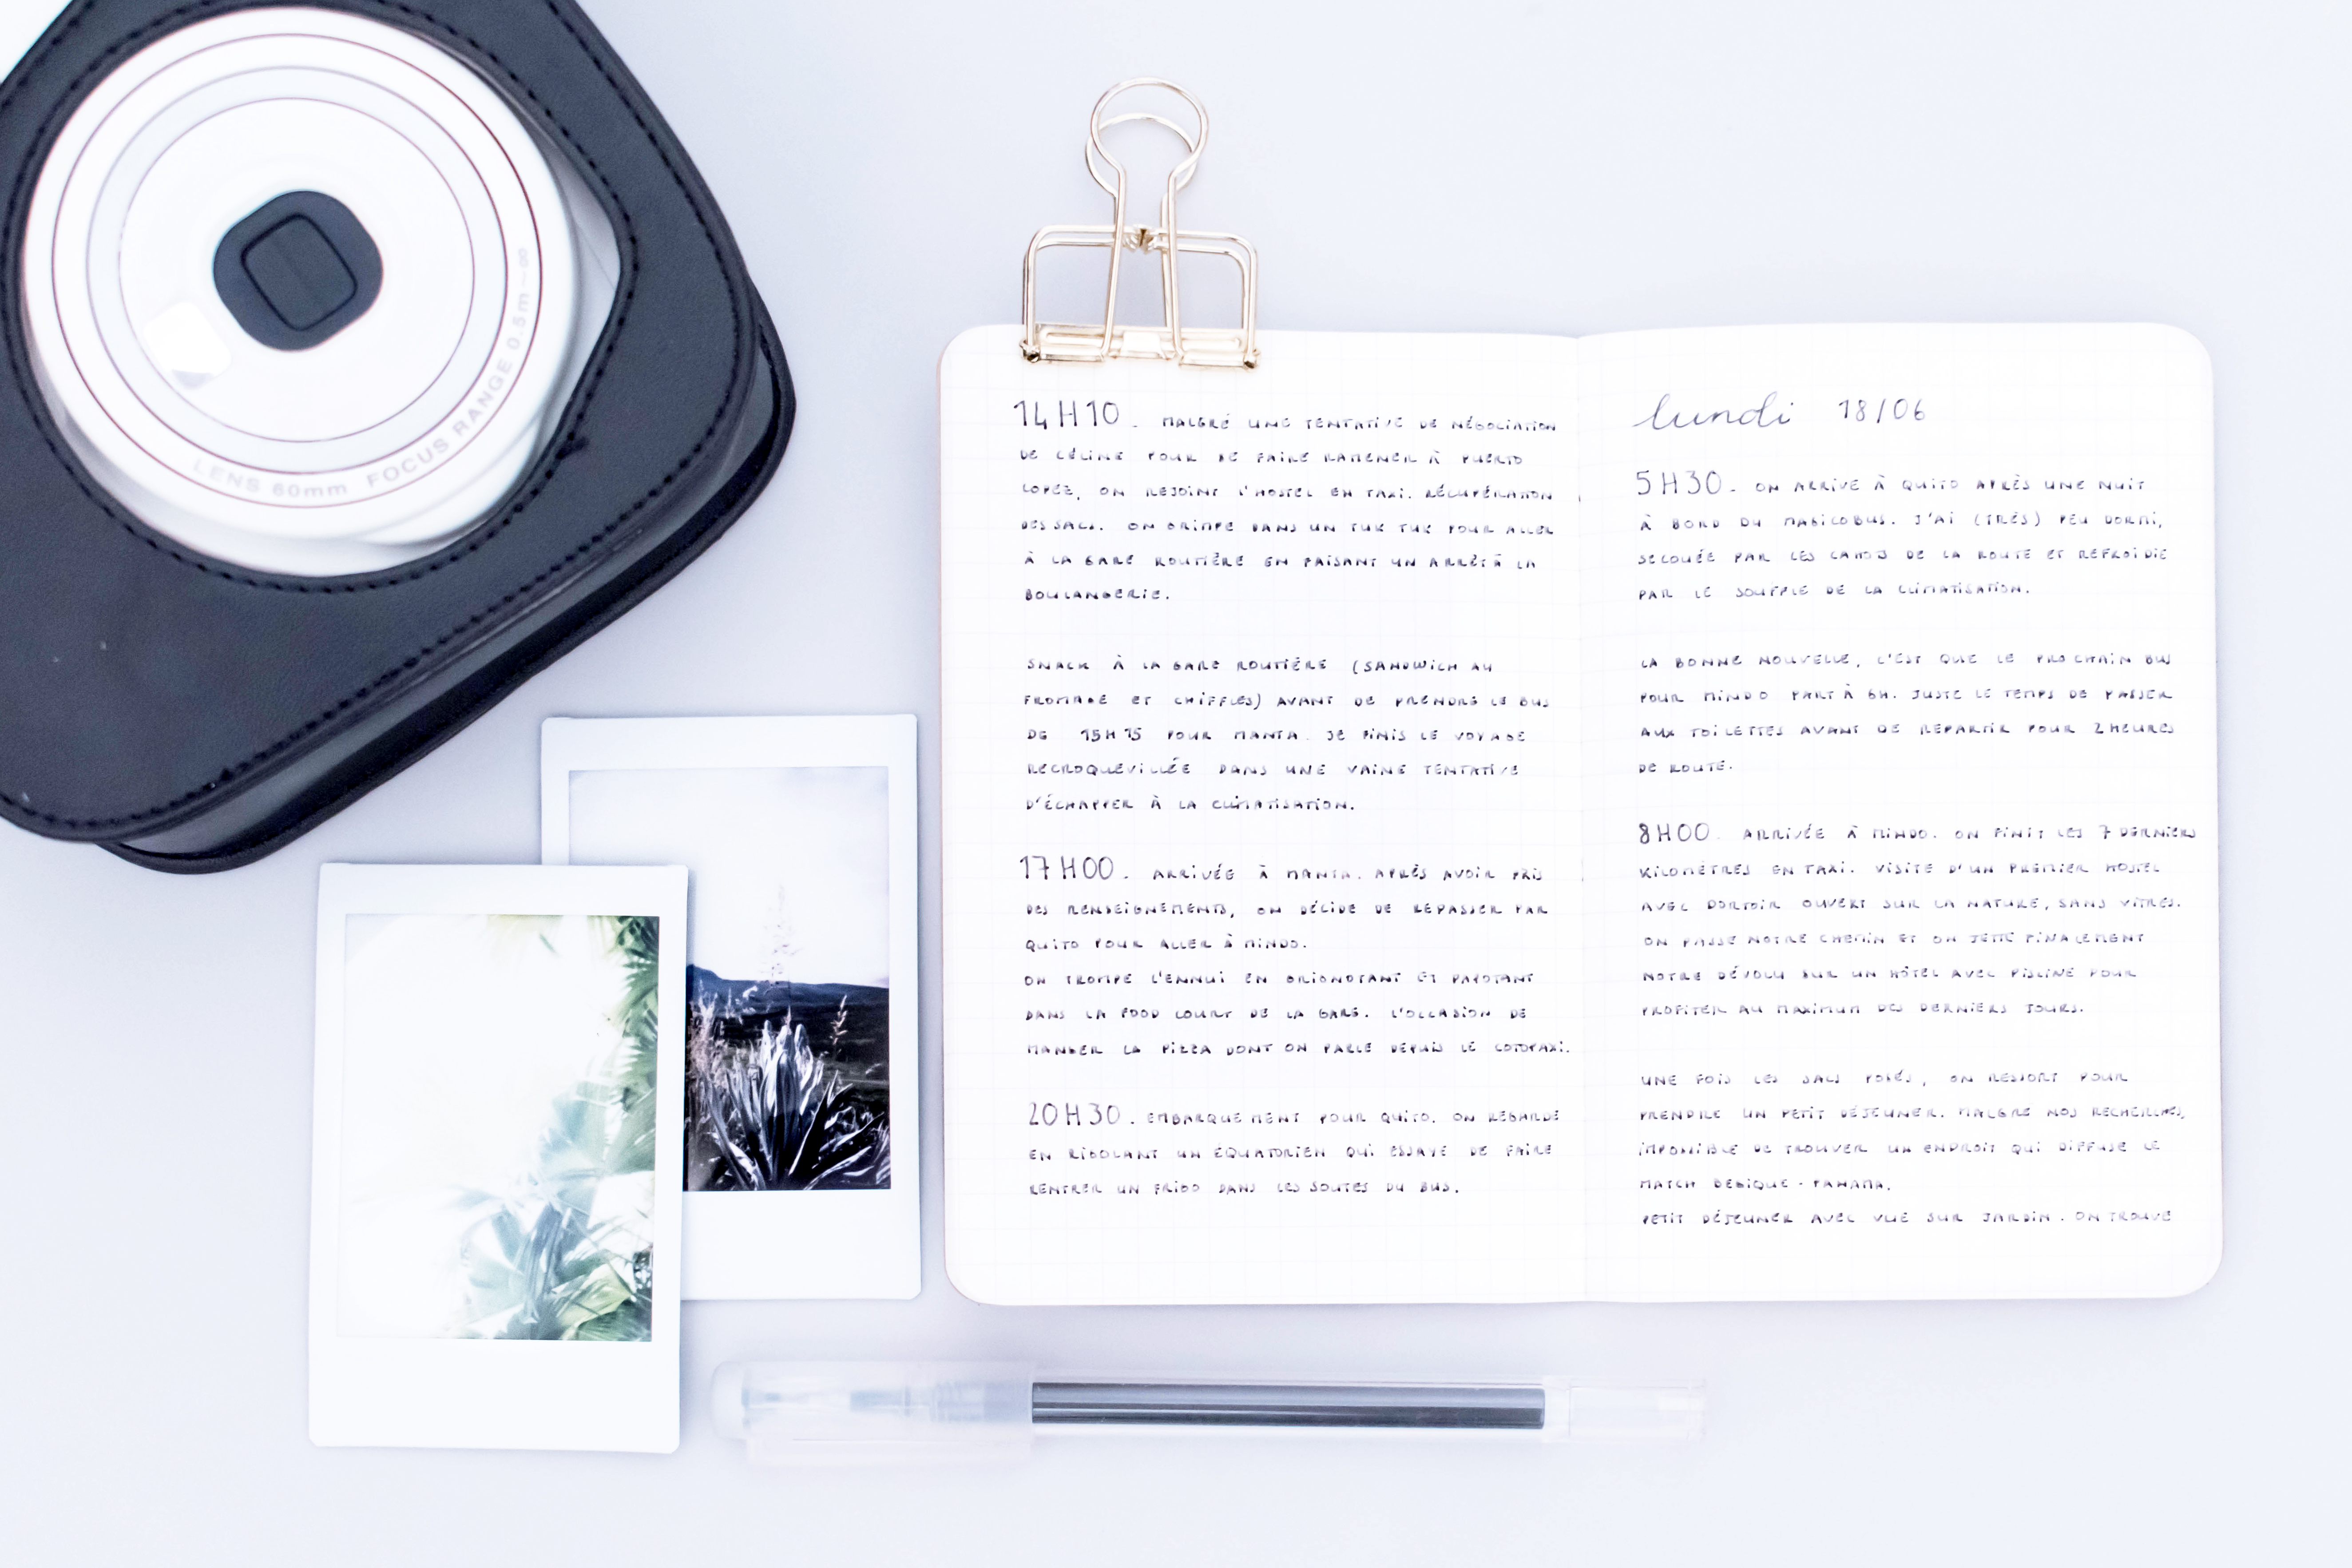
Take advantage of dead times to pull your travel journal out of your bag and jot down your memories: at the station while you wait for a train, at the beach enjoying the sun…
I personally use the early hours of the morning to update my journal every 2 days or so (depending on our schedule and the opportunity I had to lay my journal on a proper table). Keeping a travel journal is a good way to take some “me time” if you’re travelling with friends or family. And if you’re travelling alone, well you should have plenty of opportunities to take some time to write your memories down in your notebook.
How to make a travel journal
Step 4: Take time after your return to wrap it up
Sorting my Instax pictures out after my trip in Edinburgh last September
Pasting the last pictures, creating some additional spreads to sum your trip… There’s plenty to do once you’re home to finish your travel journal, and extend the pleasure of using your travel journal.
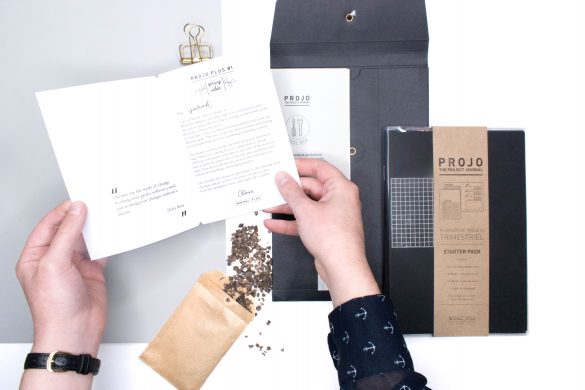
Papers & pictures
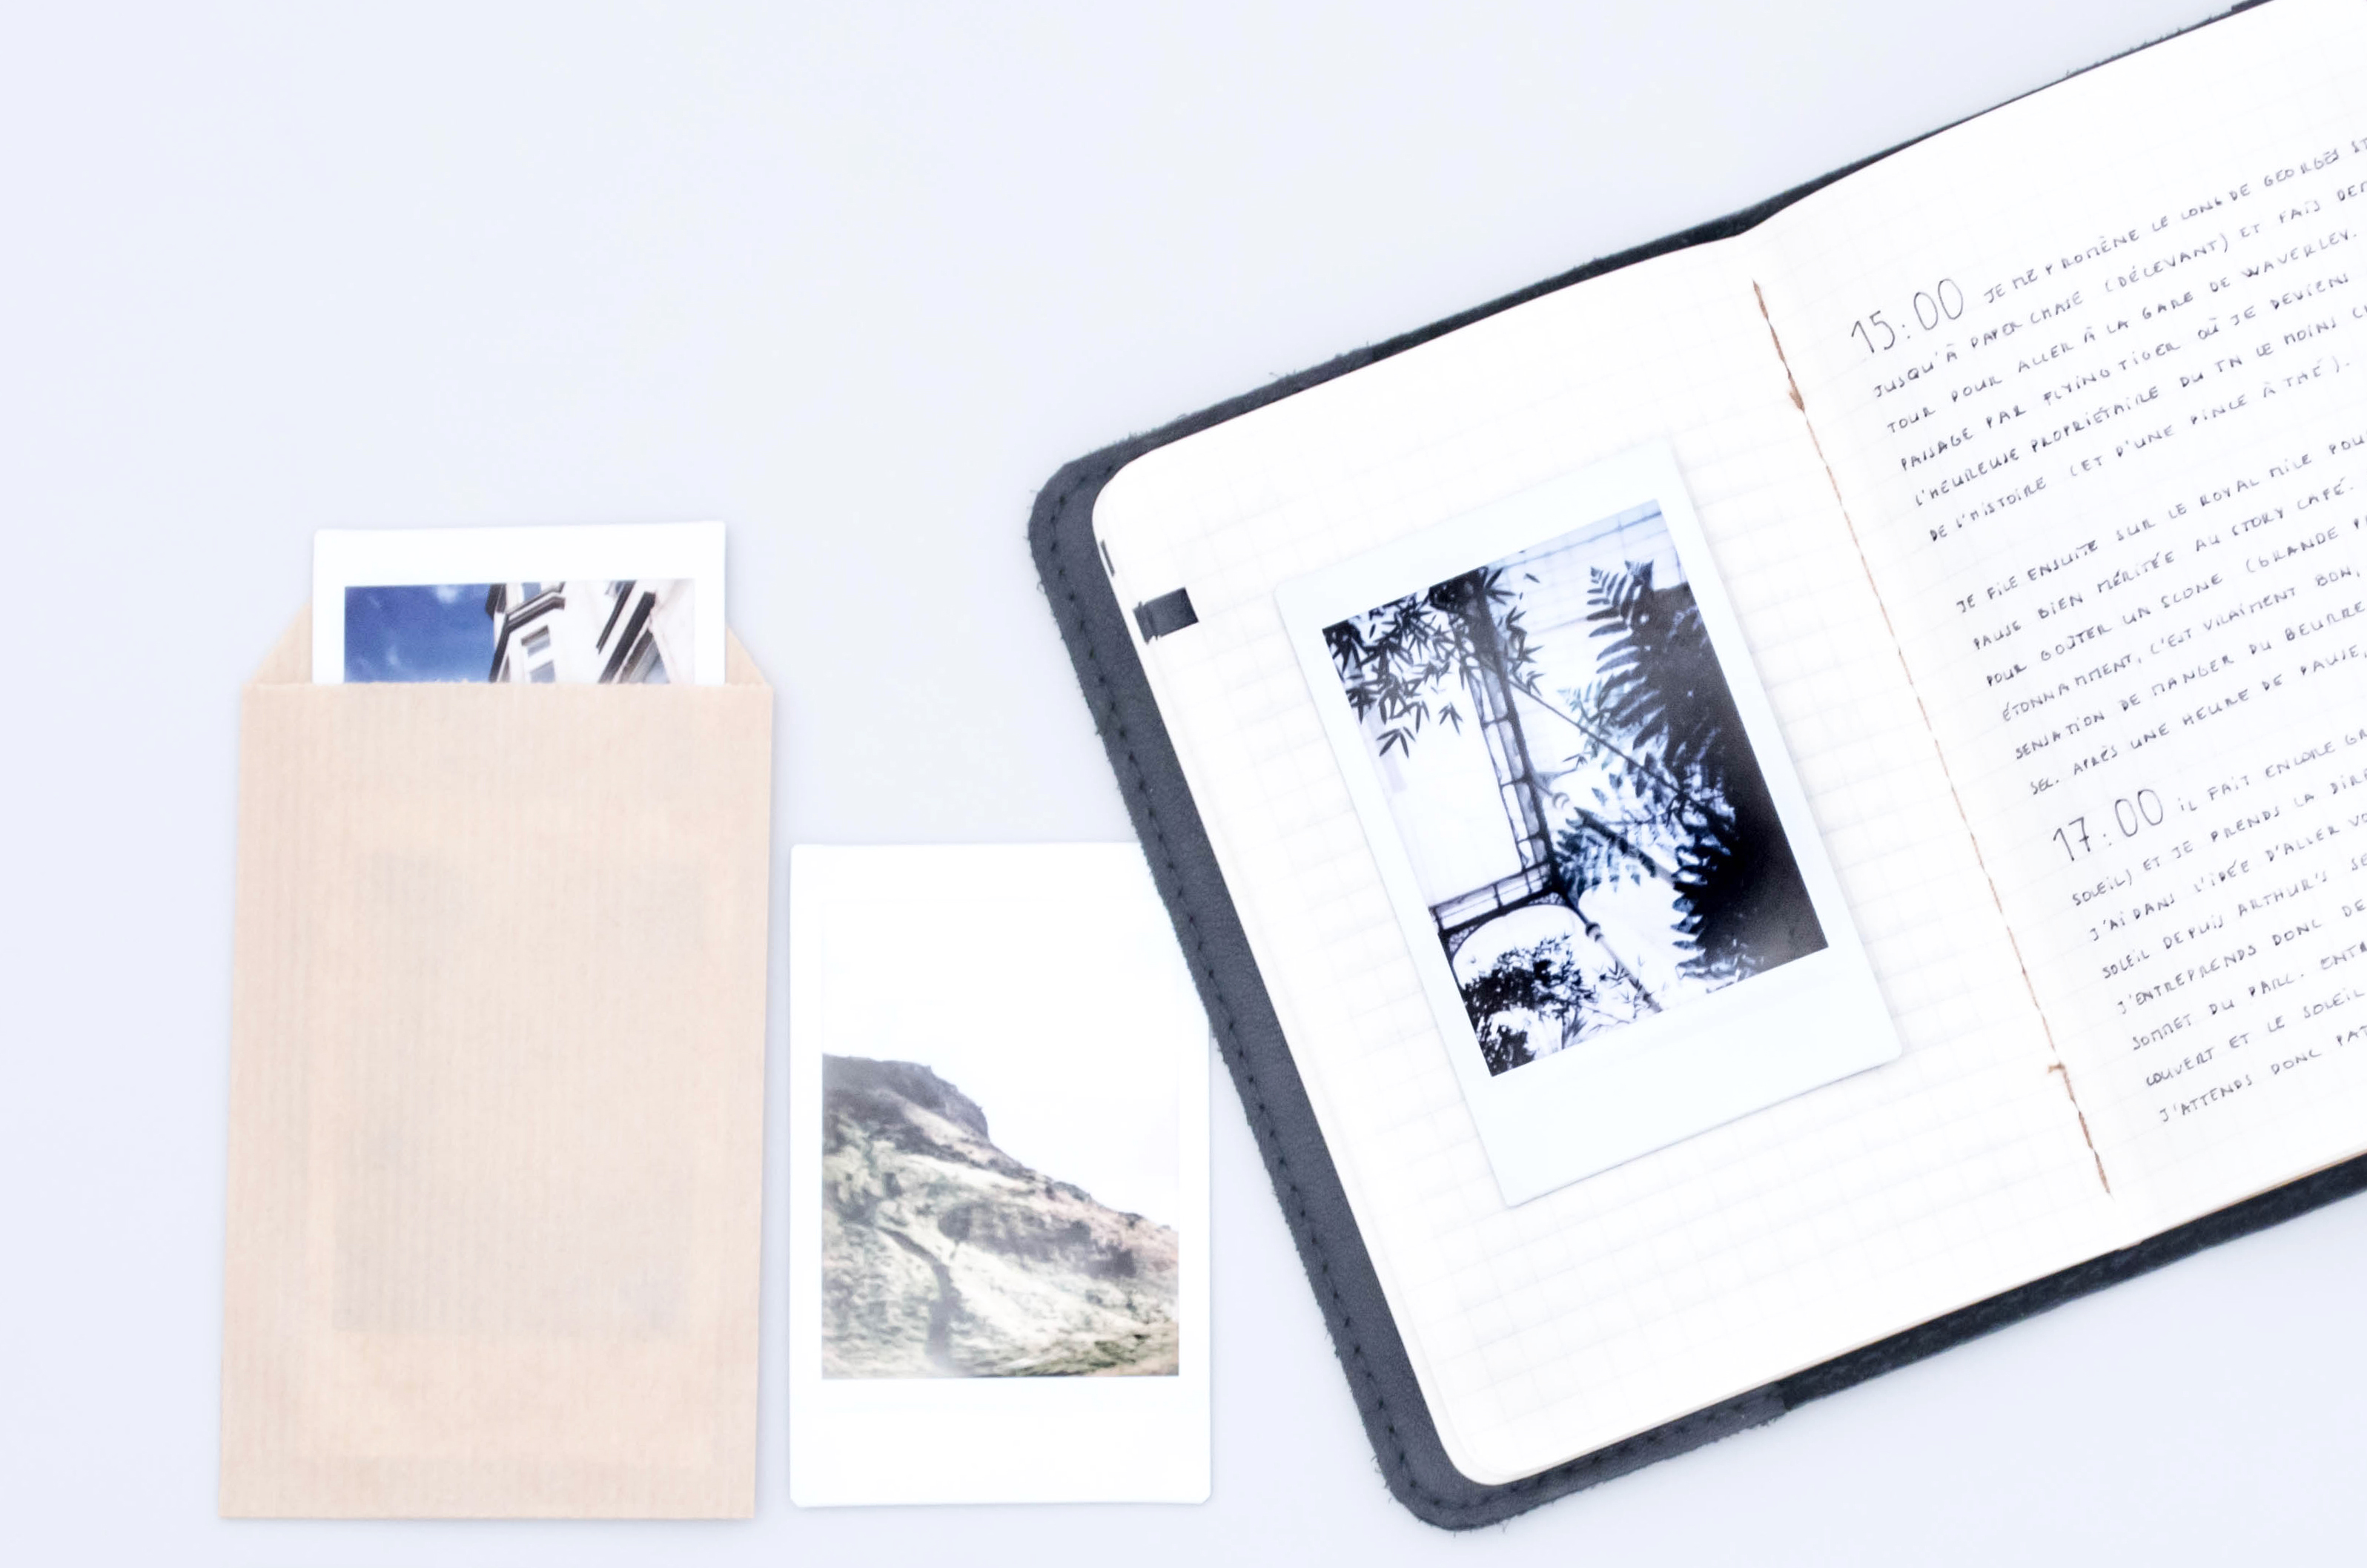
Start with all the paper you collected along the way. Decide which ones you want to include in your travel journal, the ones you’d like to keep, and the ones you’ll get rid of. Paste the firsts, store the seconds in the back pocket of your journal (or in any other place), and trash the rest.
Review the pictures you took during your trip and chose the best ones. Print them out and paste them in your journal to highlight your favourite memories.
Archiving your journal
The last step of keeping a travel journal is to archive it. I know it hurts, because it means that the adventure’s came to an end… until the next one.
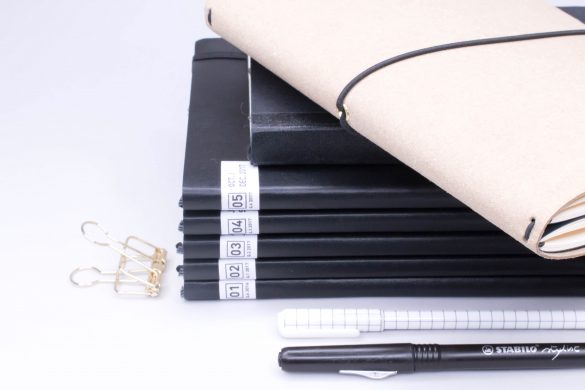
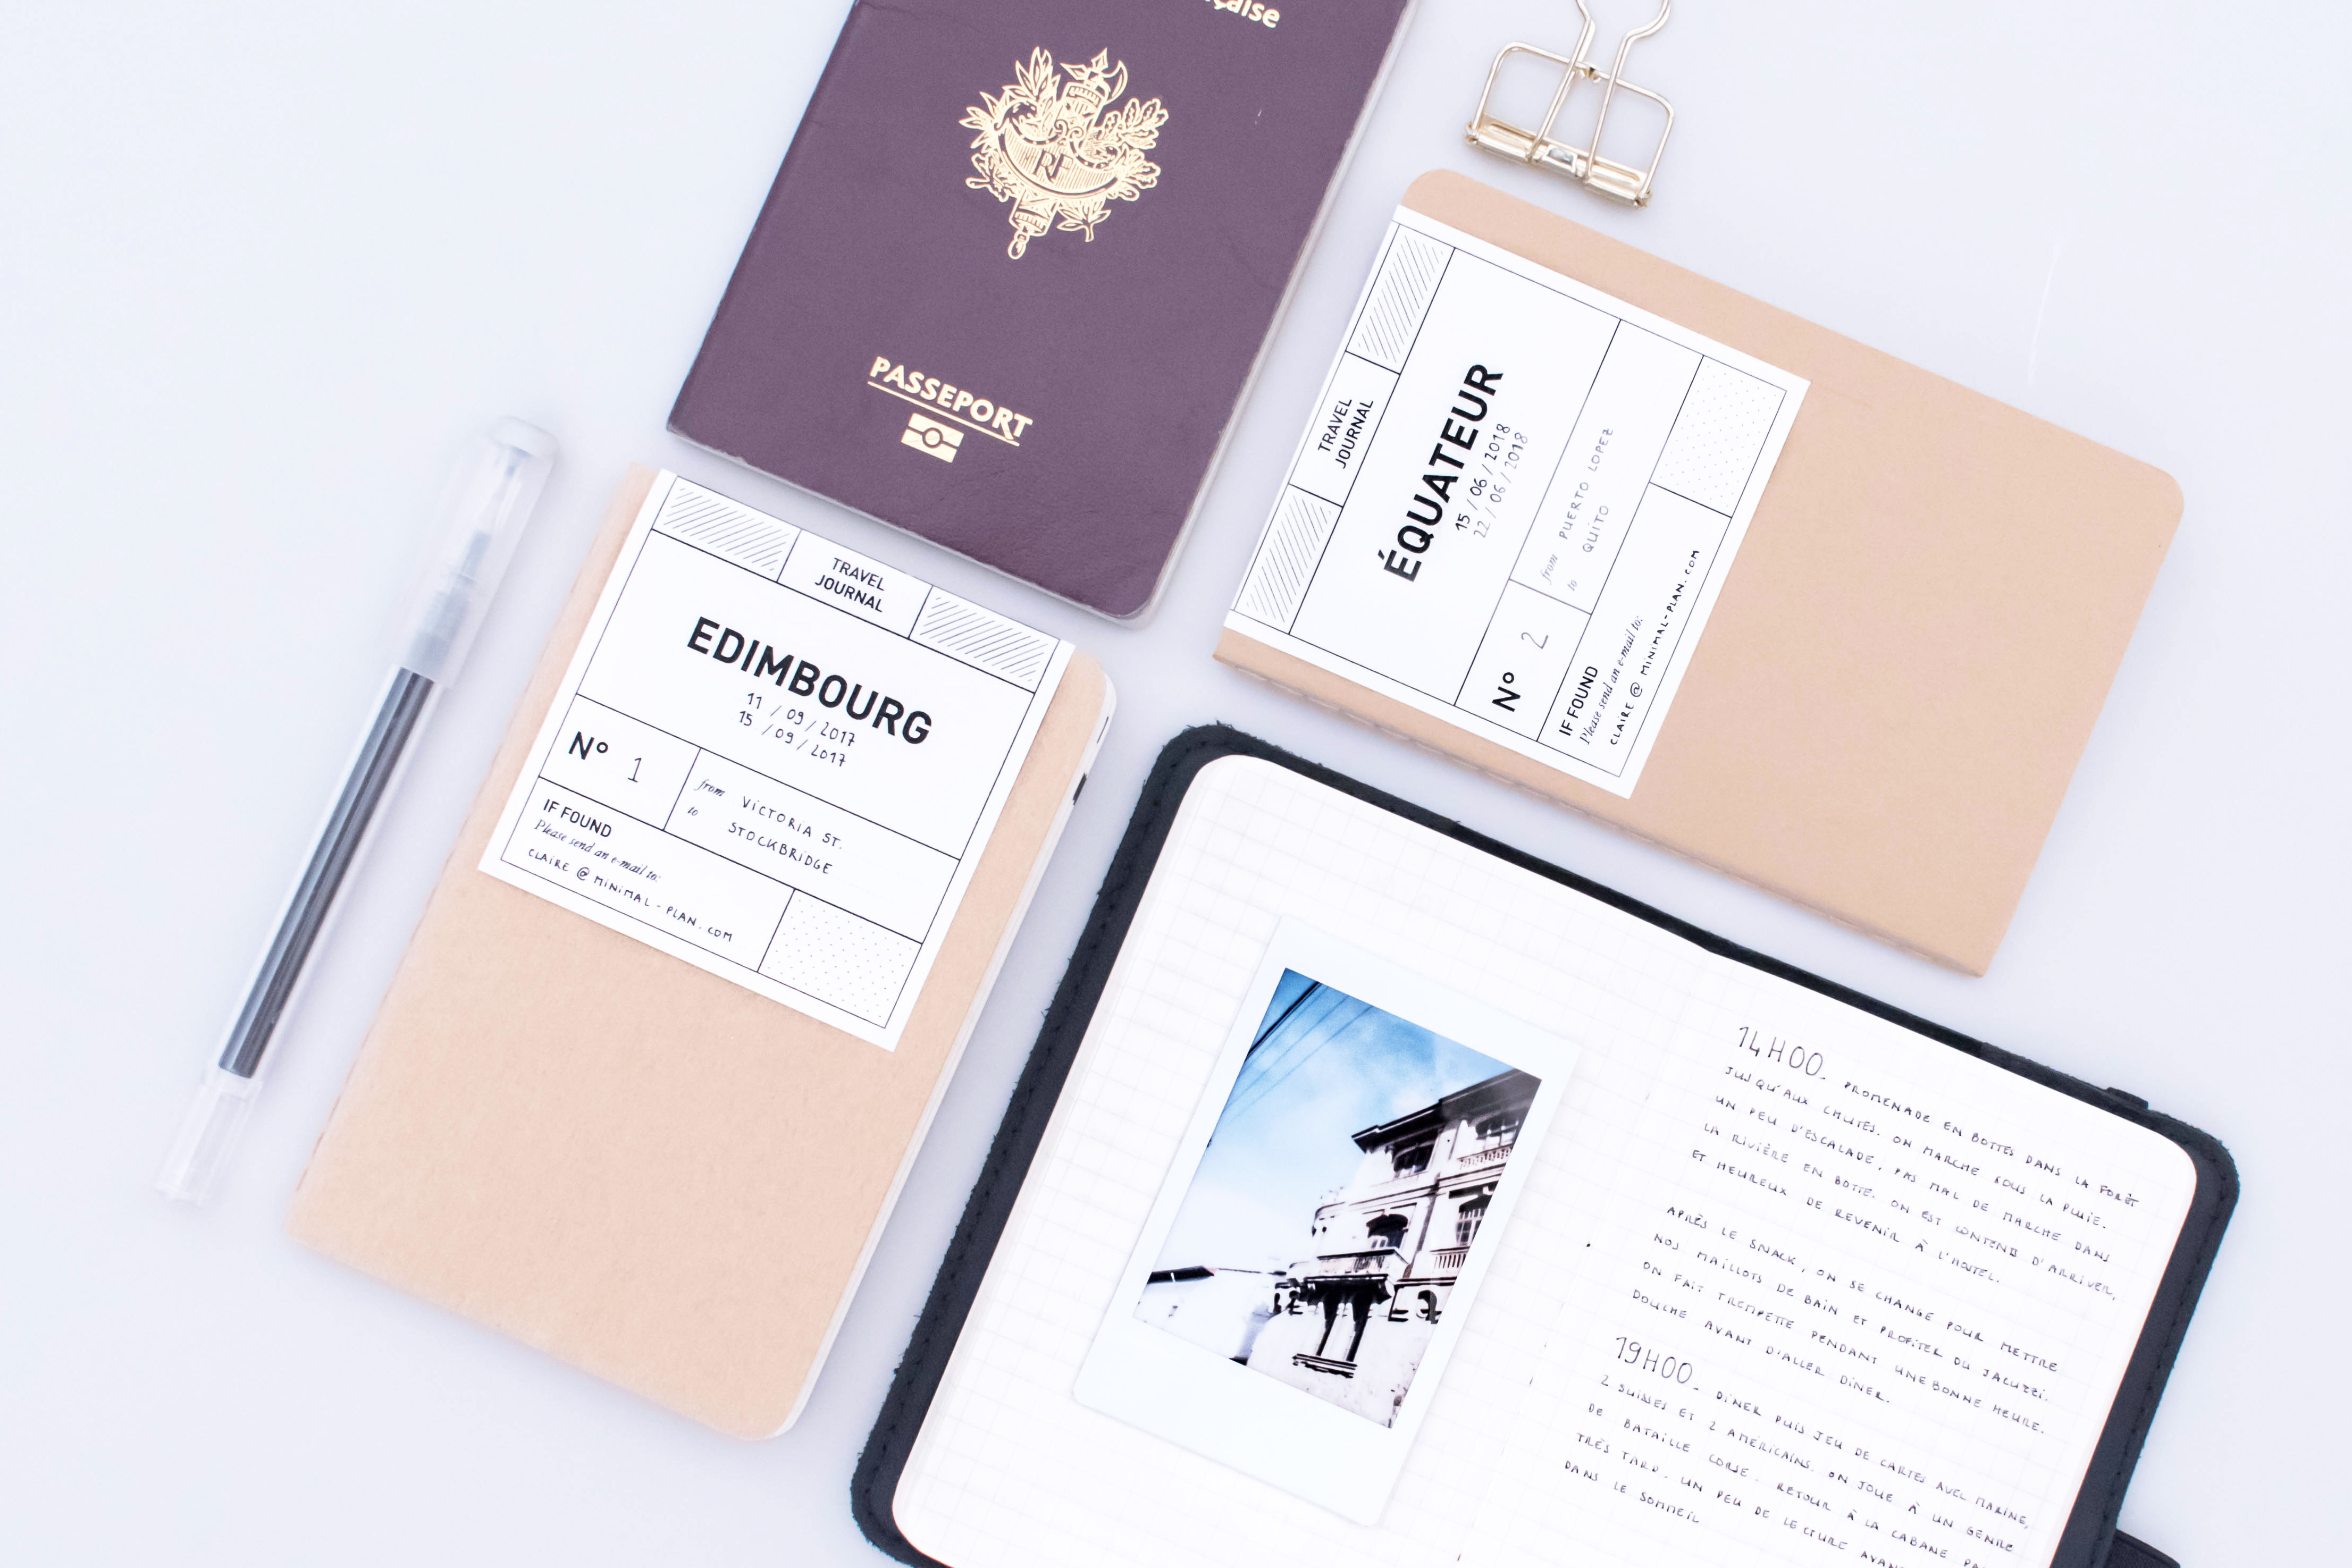
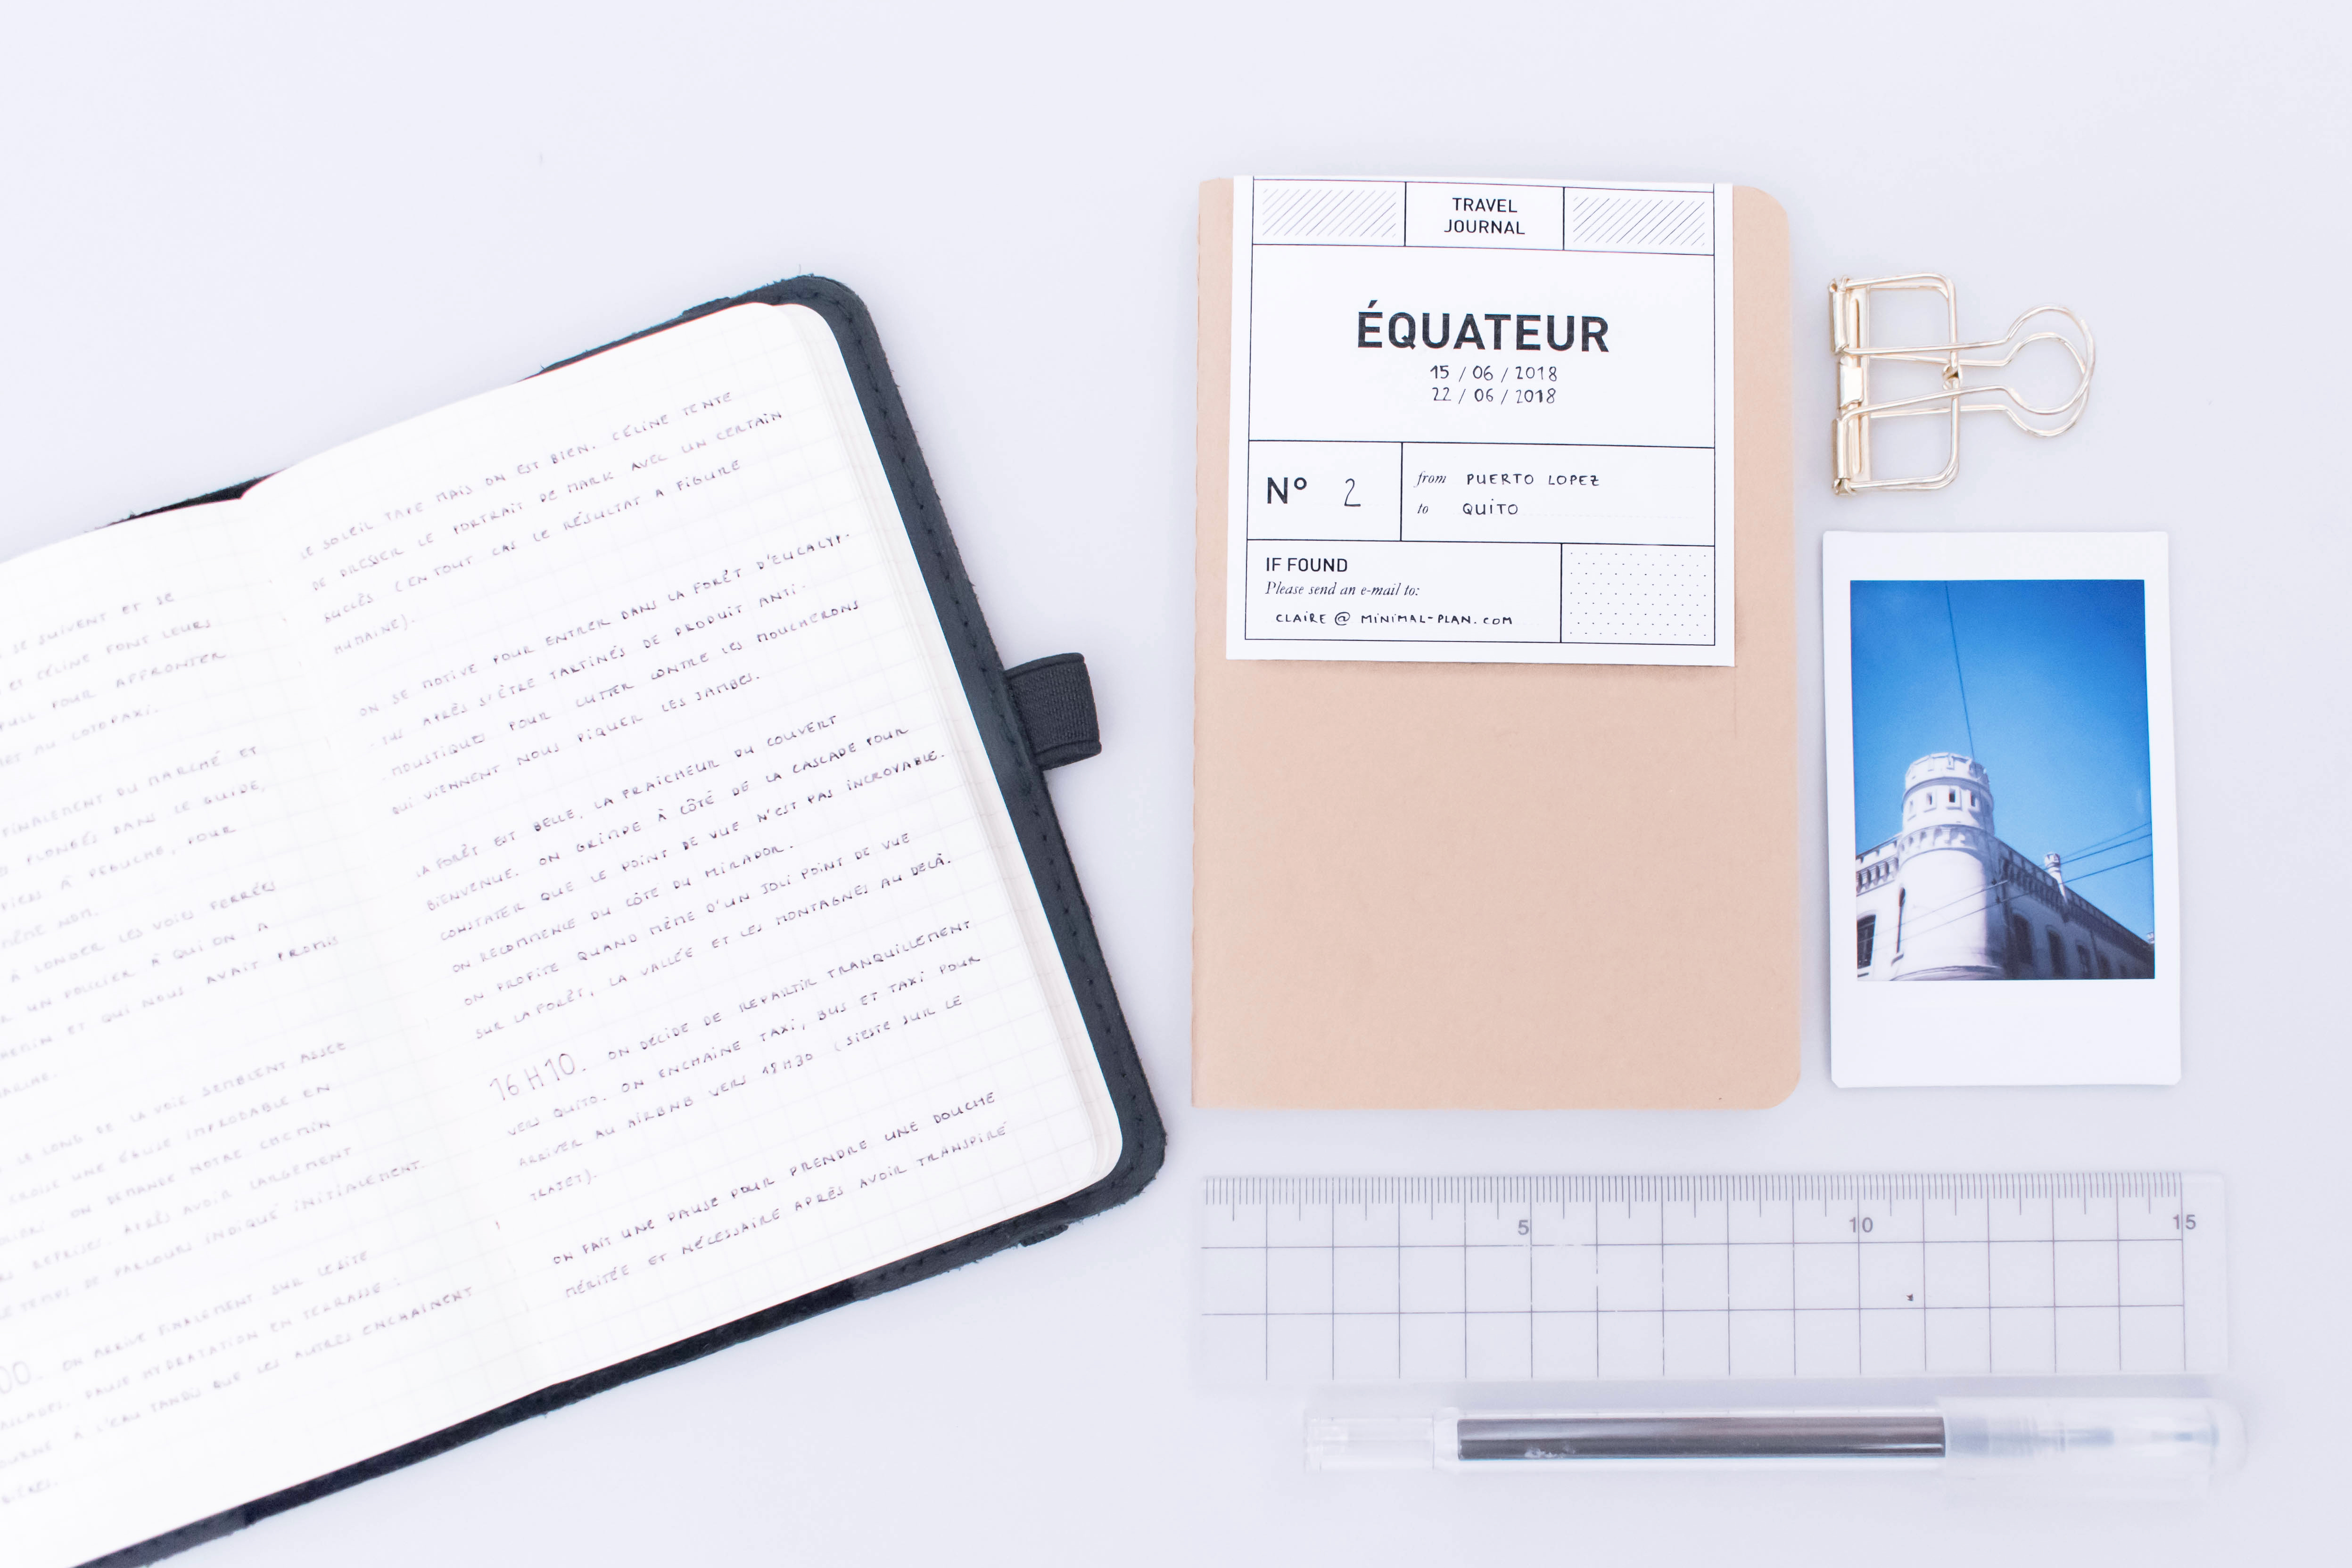
Start with filling the index if it’s not up to date yet. And take some time to put a label on your journal to make it easily identifiable. That’s especially needed if, just like me, you use more than one notebook to document a travel. Archiving labels are a good way to keep your journal in orders.
Archive labels are helping me keeping all my journals in order.
And that brings me to the printable I’d like to share with you!
I added the travel journals labels I use to the Freebies Library so that you can print & use them to create or archive your own travels journals. Click the link below to visit the Library and download the printable file!
![]()
As always, my advice is to print them on self-adhesive paper.
Make sure to check “100%” or “true size” in the printing settings.
The final size of the labels is 7,6×8,6 cm. The design is inspired by the Museum Books’ labels.
Now you know everything about how to make a travel journal. Travel journals are the best souvenirs you can bring back from any trip. So book your next travel and open a brand new notebook to document your adventures!